Sample Intents in ODK-X Tables
This guide is for creating and launching intents supported by ODK-X Tables using odkCommonIf Java Interface through the odkCommon.doAction call.
Barcode Scanner
This section describes the process of creating a simple ODK-X Tables app capable of scanning a barcode and displaying the results in a custom webpage. In this example, we will make use of the Census Form created earlier in the build-app section.
In Application Designer, open app/config/tables/census/html/census_list.html and add a button to scan a barcode.
Ensure the file looks like this:
<!DOCTYPE html PUBLIC "-//W3C//DTD HTML 4.01 Transitional//EN">
<html>
<!--List View-->
    <head>
        <link href="../../../assets/css/list.css" type="text/css" rel="stylesheet" />
        <link href="../../../assets/libs/bootstrap-3.3.7-dist/css/bootstrap.css" type="text/css" rel="stylesheet" />
        <script type="text/javascript" src="../../../assets/libs/jquery-3.4.1.js"></script>
        <script type="text/javascript" src="../../../assets/libs/jquery-migrate-3.0.0.js"></script>
        <script type="text/javascript" src="../../../framework/tables/js/control.js"></script>
        <script type="text/javascript" src="../../../framework/tables/js/data.js"></script>
        <script type="text/javascript" src="../../../assets/commonDefinitions.js"></script>
        <script type="text/javascript" src="../tableSpecificDefinitions.js"></script>
        <script type="text/javascript" src="../../../../system/js/odkCommon.js"></script>
        <script type="text/javascript" src="../../../../system/js/odkData.js"></script>
        <script type="text/javascript" src="../../../../system/tables/js/odkTables.js"></script>
    </head>
    <style>
        .d-flex{
            display:flex;
            justify-content: space-around;
            align-items: center;
            margin: 5px;
        }
    </style>
    <body>
        <script type="text/javascript" src="../js/census_detail.js"></script>
        <div class="d-flex">
            <button class="btn btn-primary" id="launch-button">
                Click to Scan a Barcode
            </button>
            <code id="results"></code>
        </div>
        <div id="wrapper">
            <ul id="list"></ul>
        </div>
        <script>
            $(function() { resumeFn(0); });
        </script>
    </body>
</html>
Set up an on-click listener to the button to call odkCommon.doAction. Three parameters will be passed to this function.
dispatchStruct: holds reconstructive state for JS. This is always sent back to the page.
action: SCAN in our case
com.google.zxing.client.android.SCAN.intent object: Intent extras - use
null.
The next step is to register a listener. A listener listens for updates in a queue and triggers a callback function to process these updates. In this case, the scan will be launched in a different app and to use the data returned in our ODK-X Tables application, a callback function needs to be defined. The registered listener will then trigger this callback function whenever there is an update to be processed. Whatever has to be done with the result of the scan can be configured in the callback function. In this case we just log the output to the console and print the results to the screen.
The listener should be called once after registration to process any updates in the queue prior to registration.
The census_list.js looks like this after the modifications:
/* global $, odkTables, odkData, odkCommon */
'use strict';

// The first function called on load
var resumeFn = function() {
    // Retrieves the query data from the database
    // Sets displayGroup as the success callback
    // and cbFailure as the fail callback
    odkData.getViewData(displayGroup, cbFailure);

$( "#launch-button" ).on('click', readBarcode);
odkCommon.registerListener(callBackFn);
callBackFn();
}

/* code */
var actionBarcode = 0;
var htmlFileNameValue = "barcodeScnner_list"; //can be anything
var userActionValue = "launchBarcode";

var actionTypeKey = 'actionTypeKey'


//listener for queued messages
function callBackFn () {
    var action = odkCommon.viewFirstQueuedAction();
    if (action === null || action === undefined) {
        // The queue is empty
        return;
    }
    var dispatchStr = JSON.parse(action.dispatchStruct);
    if (dispatchStr === null || dispatchStr === undefined) {
        console.log('Error: missing dispatch struct');
        odkCommon.removeFirstQueuedAction();
        return;
    }
    var actionType = dispatchStr.actionTypeKey;
    if (actionType === userActionValue) {
        handleBarcodeCallback(action, dispatchStr);
    }
    odkCommon.removeFirstQueuedAction();
}

/***
*
* */
function handleBarcodeCallback(action, dispatchStr) {
    console.log('handling barcode results', action, dispatchStr);
    var jsonValue = action.jsonValue;

    if (jsonValue != undefined
        && jsonValue != null
        && jsonValue.result != null
        && jsonValue.status === -1){
        $( "#results" ).text(jsonValue.result.SCAN_RESULT);
    }
}

/***
* launch an intent to scan a barcode
*/
function readBarcode() {
var dispatchStruct = JSON.stringify({
    action: actionBarcode,
    htmlPath: htmlFileNameValue,
    actionTypeKey: userActionValue
});
odkCommon.doAction(dispatchStruct, 'com.google.zxing.client.android.SCAN', null);
}

// Display the list of barcode results
var displayGroup = function(barcodeResultSet) {

    // Set the function to call when a list item is clicked
    $('#list').click(function(e) {

        // Retrieve the row ID from the item_space attribute
                    var jqueryObject = $(e.target);
                    var containingDiv = jqueryObject.closest('.item_space');
                    var rowId = containingDiv.attr('rowId');

        // Retrieve the tableID from the query results
                    var tableId = barcodeResultSet.getTableId();

                    if (rowId !== null && rowId !== undefined) {

            // Opens the detail view from the file specified in
            // the properties worksheet
                                    odkTables.openDetailView(null, tableId, rowId, null);
                        }
                });

    // Iterate through the query results, rendering list items
    for (var i = 0; i < barcodeResultSet.getCount(); i++) {

        // Creates the item space and stores the row ID in it
        var item = $('<li>');
        item.attr('id', barcodeResultSet.getRowId(i));
        item.attr('rowId', barcodeResultSet.getRowId(i));
        item.attr('class', 'item_space');

        // Display the barcodeScanner name
        var name = barcodeResultSet.getData(i, 'itemName');
        if (name === null || name === undefined) {
            name = 'unknown name';
        }
        item.text(name);

        // Creates arrow icon
        var chevron = $('<img>');
        chevron.attr('src', odkCommon.getFileAsUrl('config/assets/img/little_arrow.png'));
        chevron.attr('class', 'chevron');
        item.append(chevron);

        // Add the item to the list
        $('#list').append(item);

        // Don't append the last one to avoid the fencepost problem
        var borderDiv = $('<div>');
        borderDiv.addClass('divider');
        $('#list').append(borderDiv);
    }
    if (i < barcodeResultSet.getCount()) {
        setTimeout(resumeFn, 0, i);
    }
};

var cbFailure = function(error) {
    console.log('barcode getViewData CB error : ' + error);
};
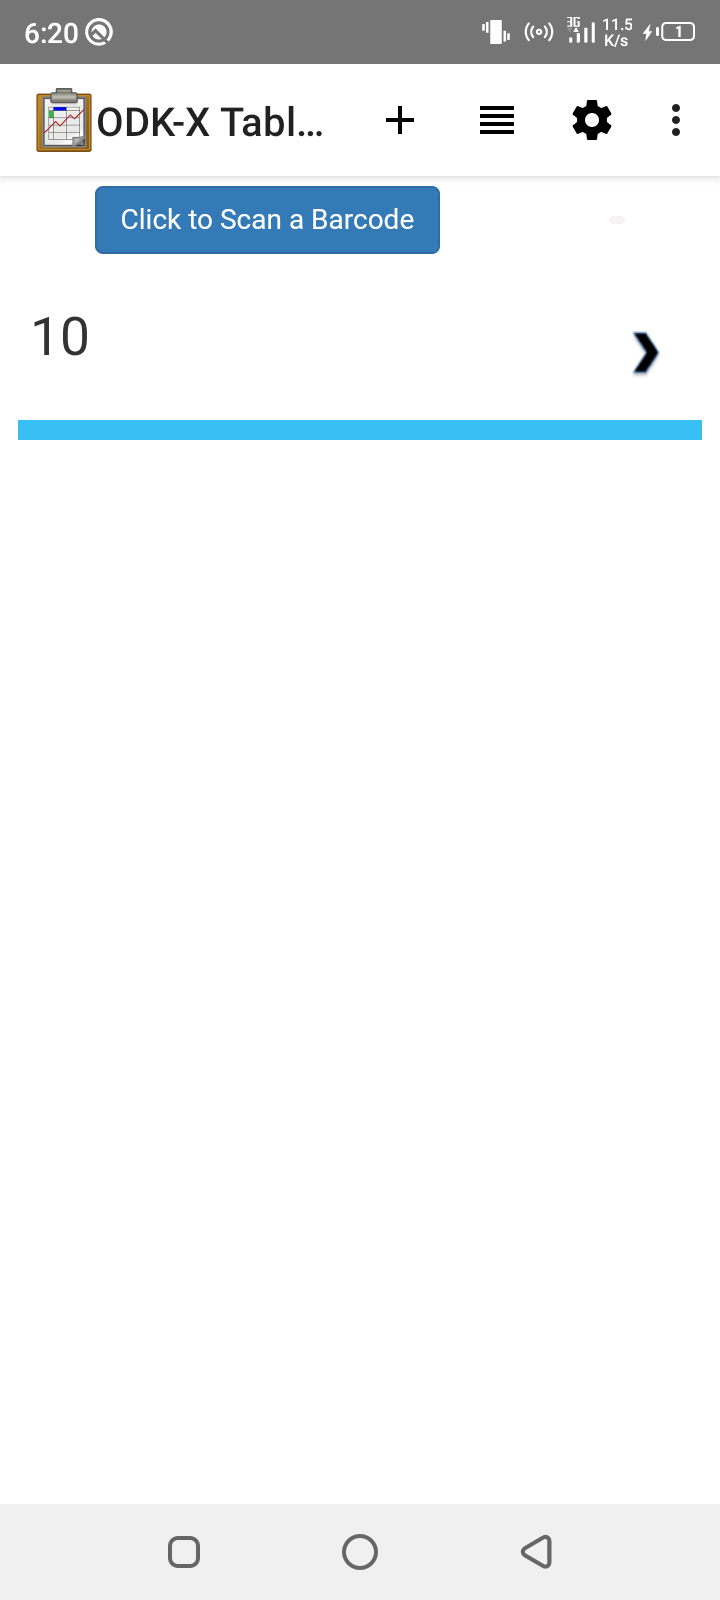
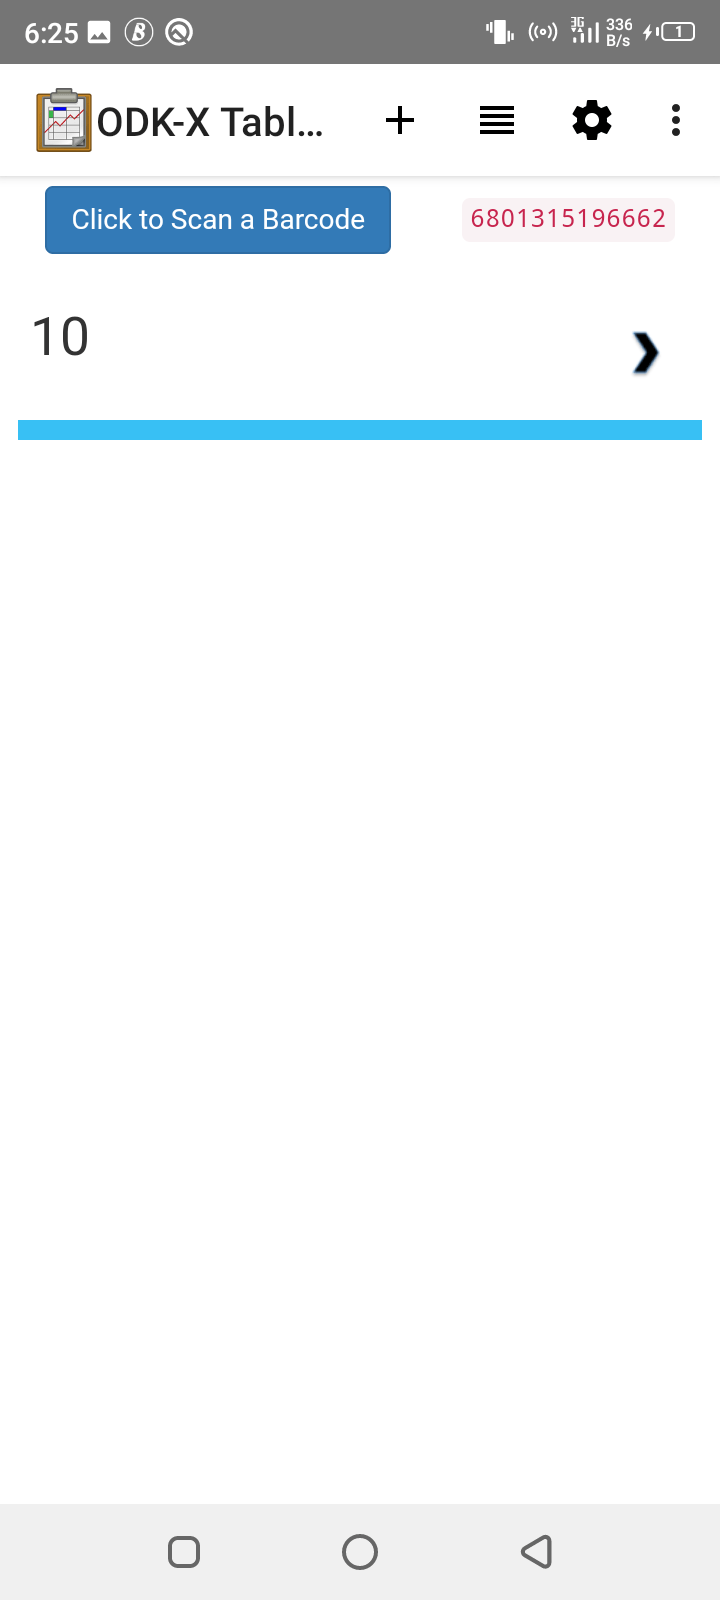
Deploy changes to the device. The Survey form will not be a requirement for this test since we earlier hooked up the button in the list view. Select the census form and click on the button to launch a barcode. This launches the barcode reader enabling you to capture the information on the barcode. Immediately after this is done, control switches back to the activity responsible for launching the intent, presenting you with the results from the scan. The results are now available for further processing as desired.
Example Chrome inspect console output is shown below:
> {
    "dispatchStruct": "{\"action\":0,\"htmlPath\":\"barcodeScnner_list\",\"actionTypeKey\":\"launchBarcode\"}",
    "action": "com.google.zxing.client.android.SCAN",
    "jsonValue": {
        "status": -1,
        "result": {
            "SCAN_RESULT": "6801315196662",
            "SCAN_RESULT_FORMAT": "EAN_13"
        }
    }
}
Sample screenshots are shown below:
Note
If clicking on the button does not launch any activity to scan a barcode, it is possible that no barcode reader application exists one the device or the barcode with the zxing package. Install a zxing scanner for example, QR & Barcode Reader from TeaCapps.