Using ODK-X Services
ODK-X Services is a program that handles database access, file access, and data synchronization services between all the ODK-X applications. Mostly this happens behind the scenes, but you will need to install ODK-X Services as a prerequisite to using the other ODK-X tools.
It also allows you to sync data collected by the ODK-X tools with an ODK-X Cloud Endpoint. The Services application can be used to reset the Cloud Endpoint with the data that is on a tablet or to sync the data on the tablet with what is currently on the Cloud Endpoint.
Learn more about ODK-X Services
Prerequisites
If you have not installed Services already, follow our guide for Installing ODK-X Basic Tools
Initial Server Configuration
Before you are able to synchronize your data or application files, you will need to configure your server settings. Instructions are provided in the Server Configuration guide.
Authenticating Users
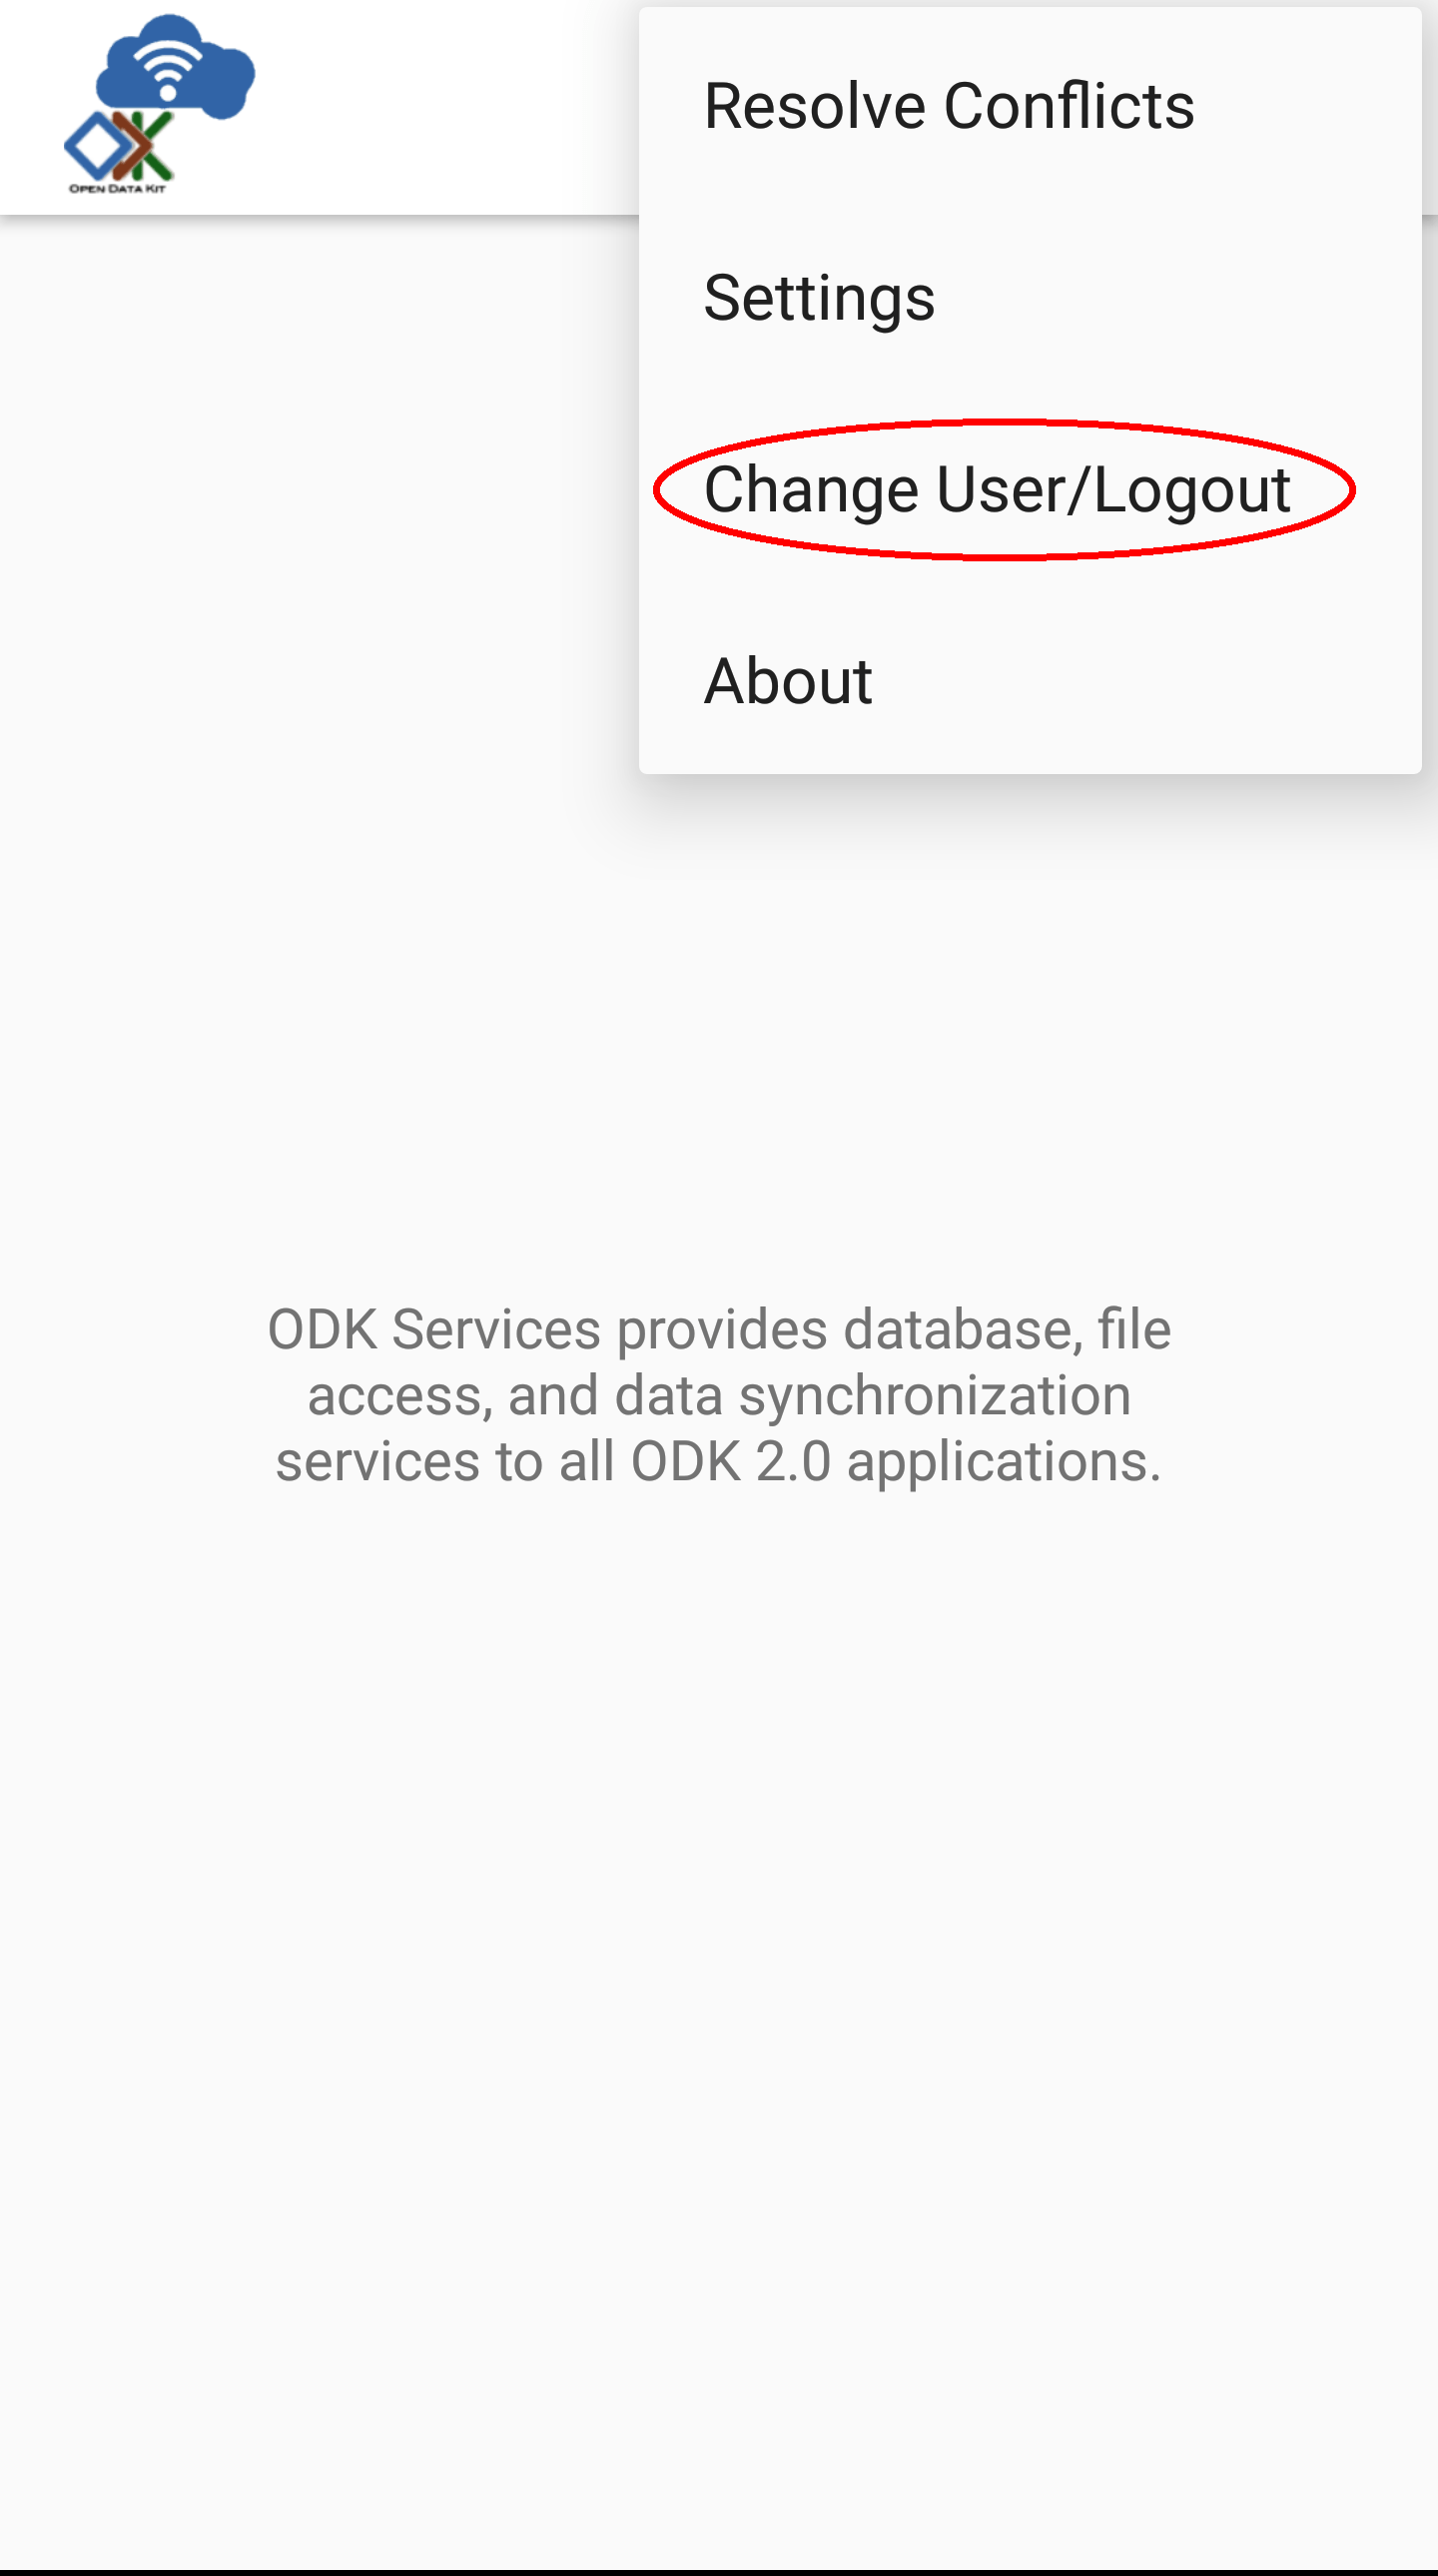
To log in or change the authenticated user, launch Services and open the user authentication screen. There are two ways to do this:
Launching From the Home-Screen: Press the Action Button (⋮) and select
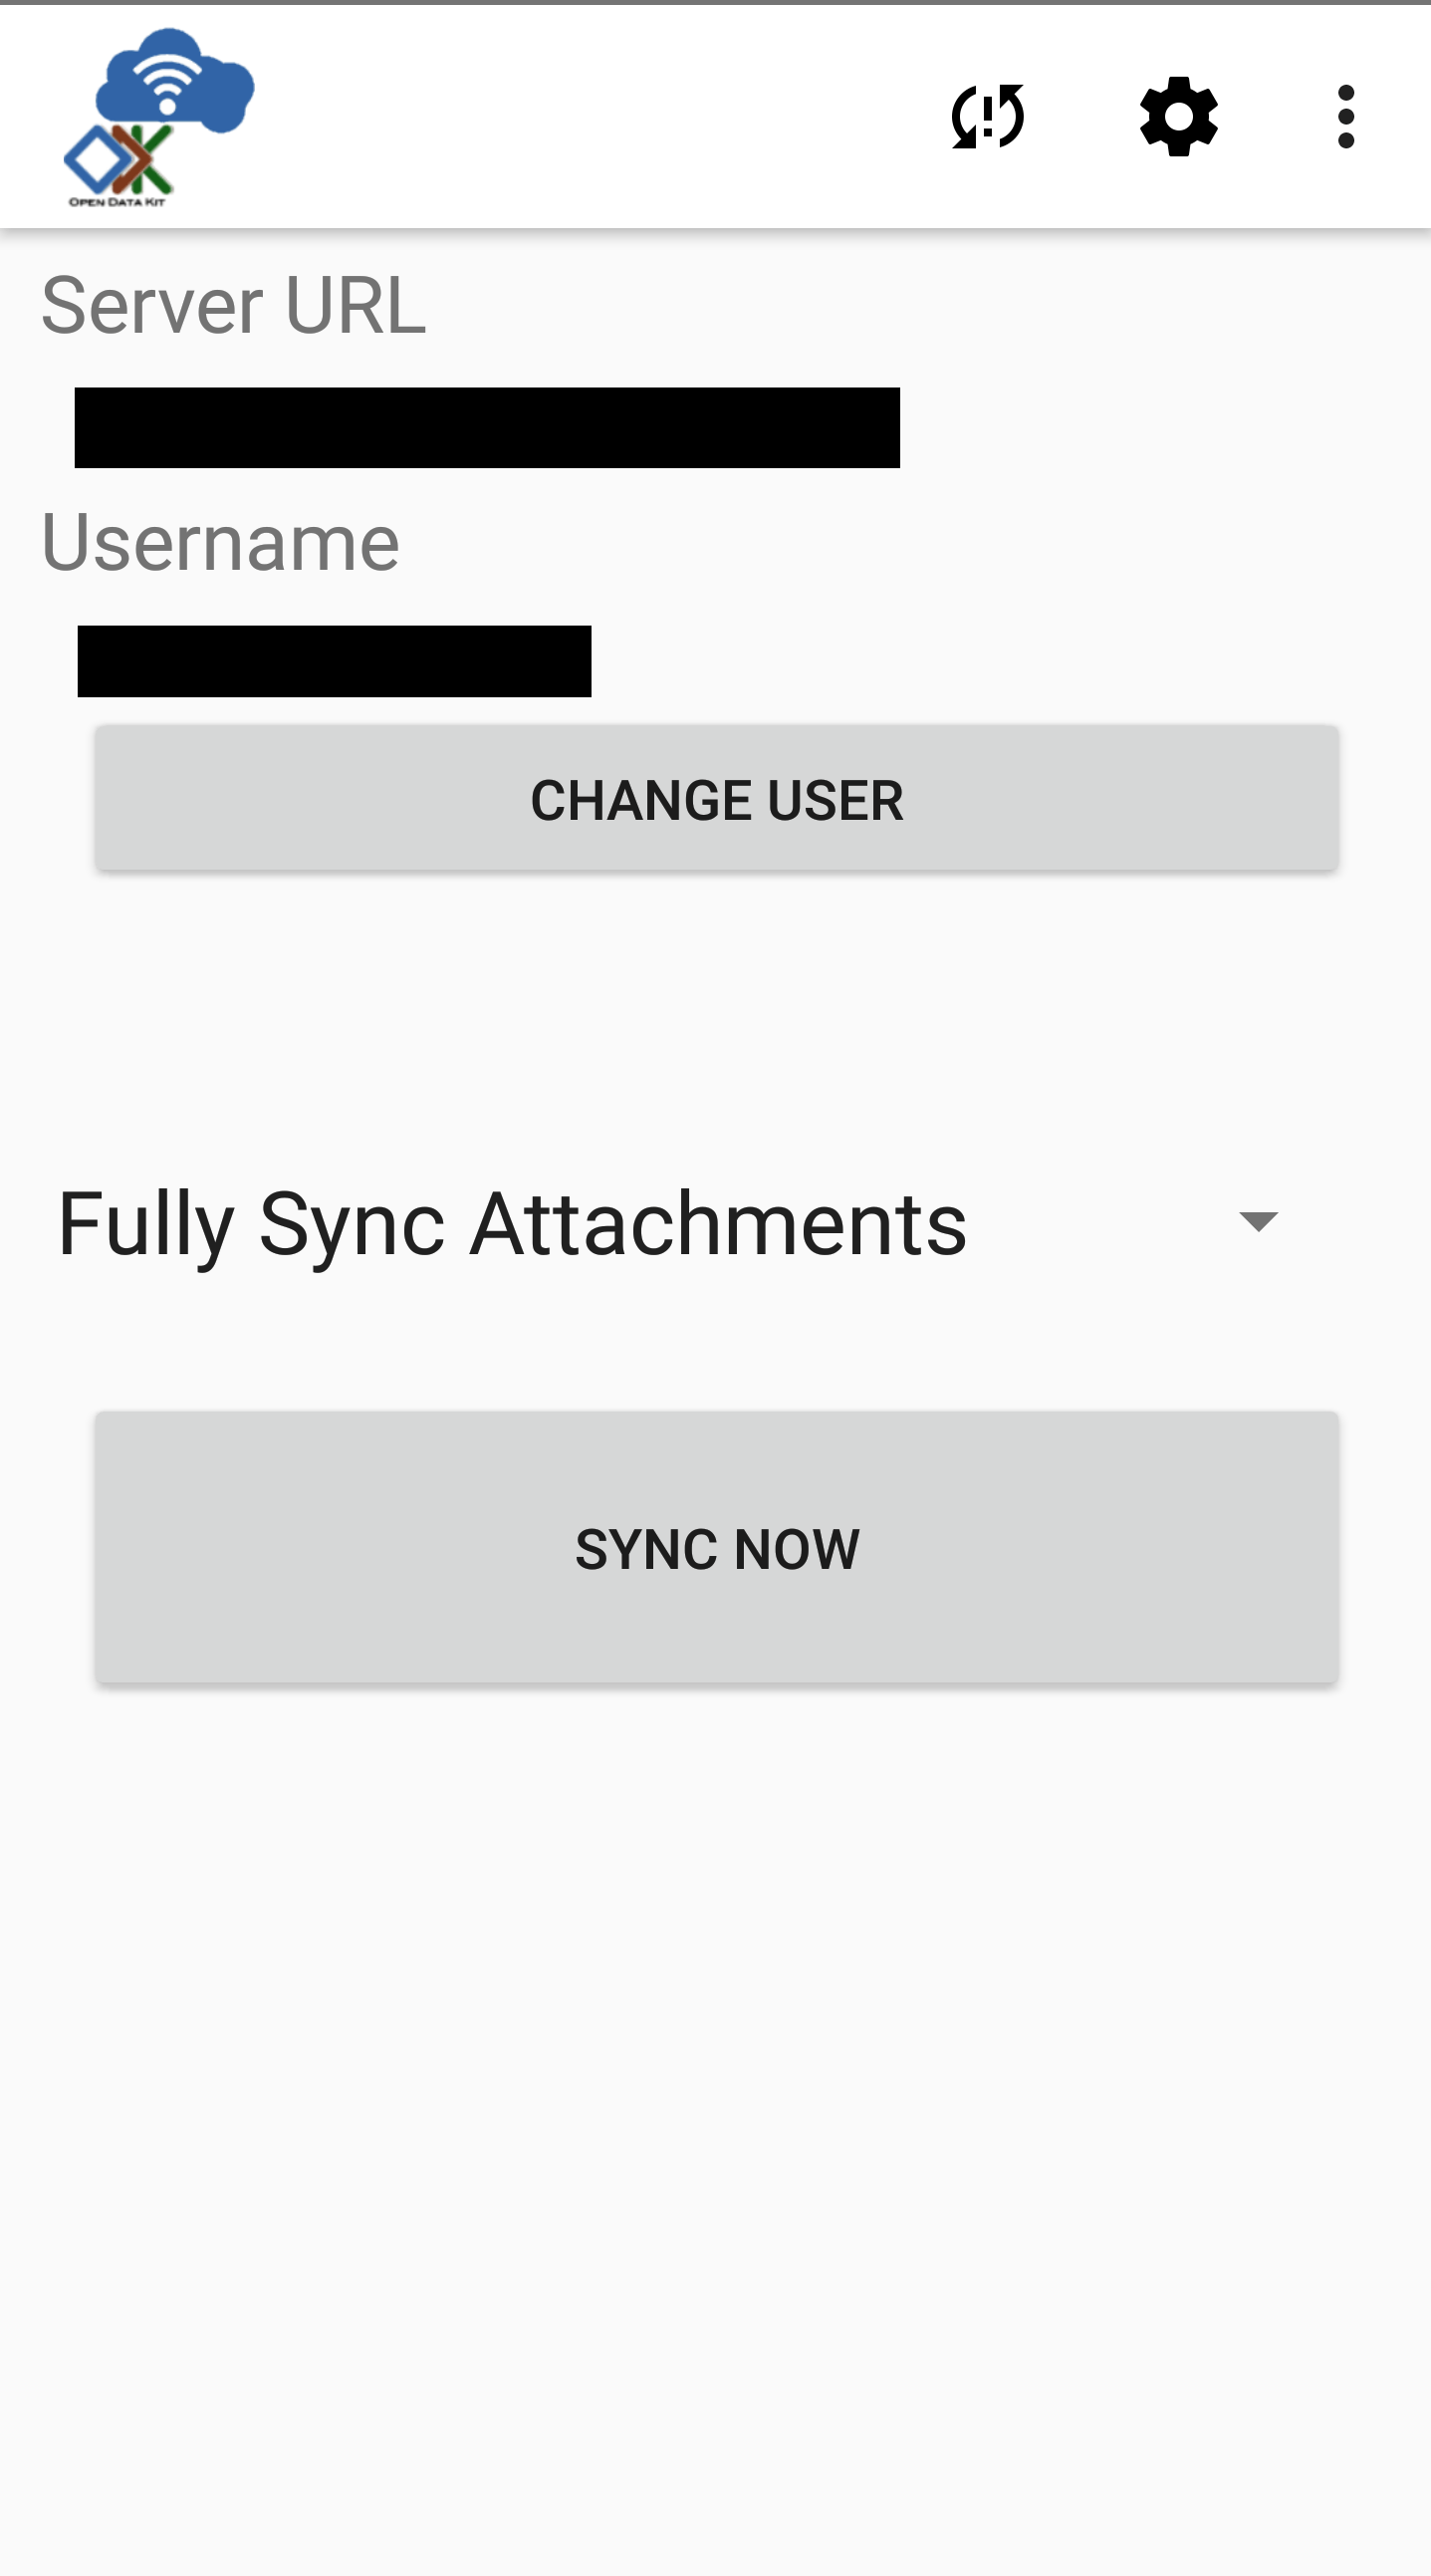
Launching From the Sync Screen: From within the Sync screen, press the Change User button.
You will see the user authentication screen.
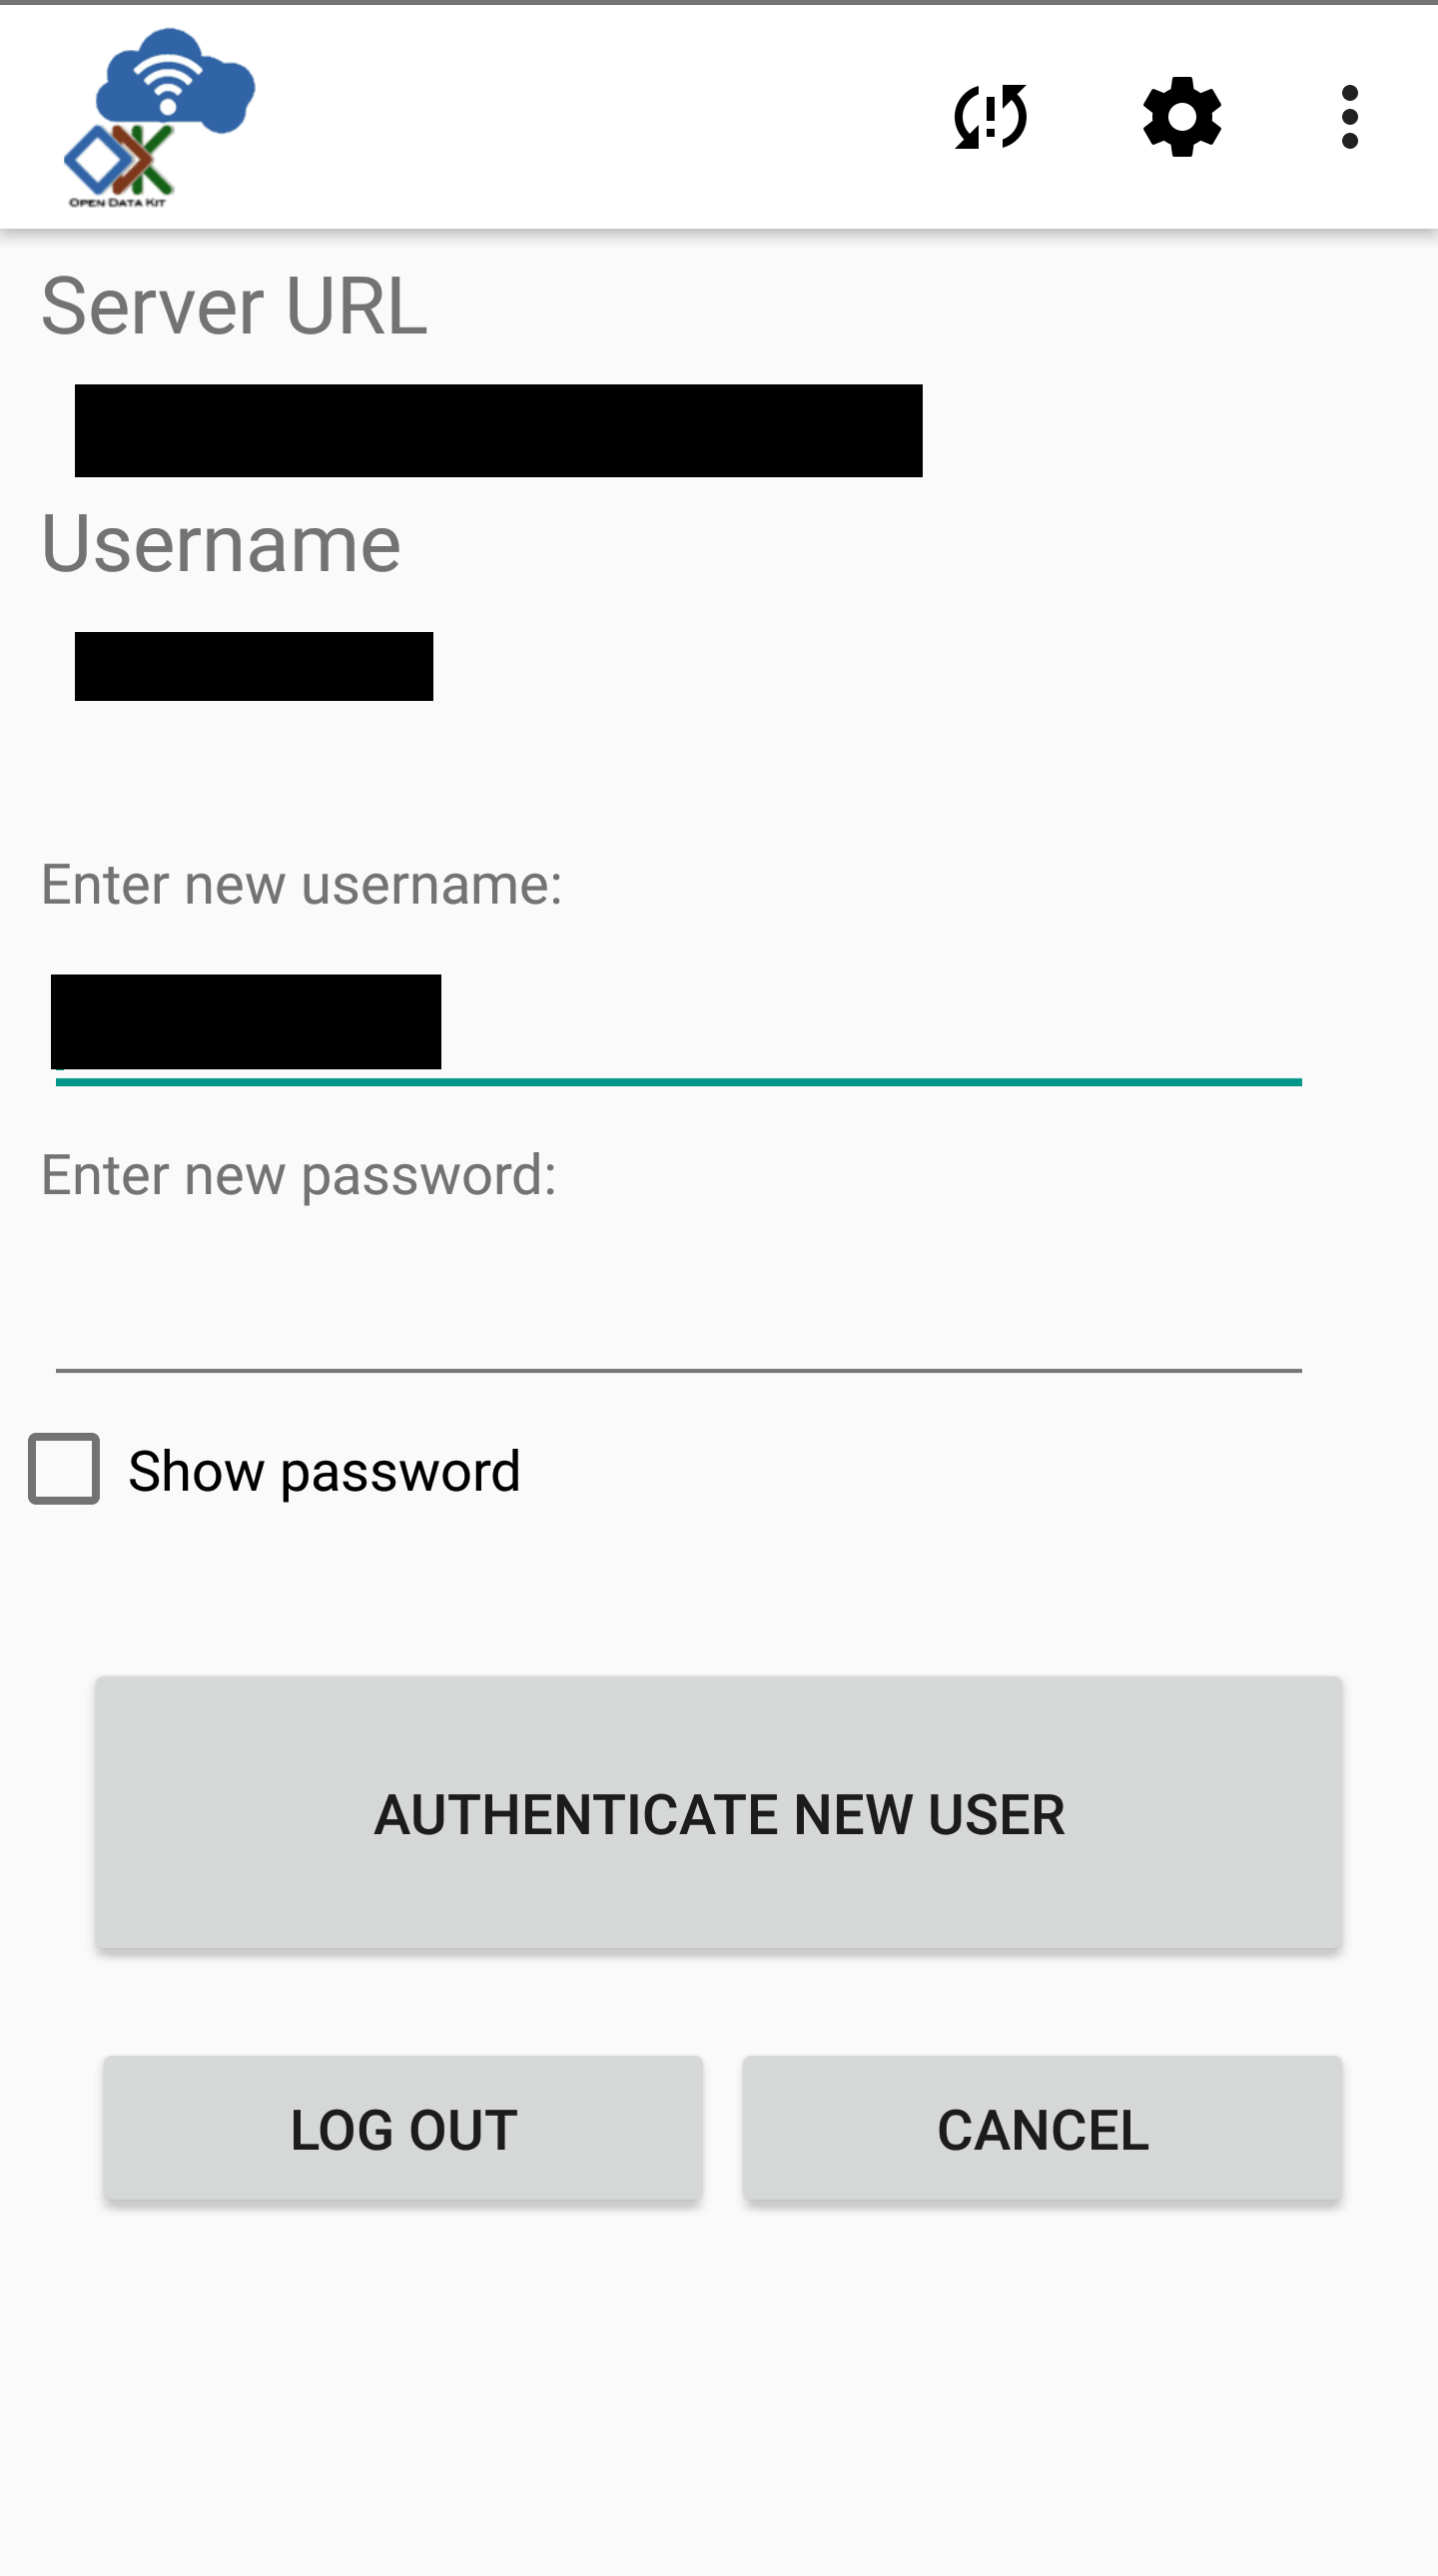
Within this page you can enter a new username and password and click the Authenticate New User button to contact the Cloud Endpoint and log in as this new user.
Note
To authenticate a new user, you must have a network connection and have the Server URL set appropriately. See the Server Configuration guide for instructions on how to set this.
If you want to log out of your current user without logging into a new user, click the Log Out button. This does not require a network connection.
Authenticating Users with QR-scanner
Users can alternatively log in using the QR code scanner, with QR codes generated by the ODK-X app-designer
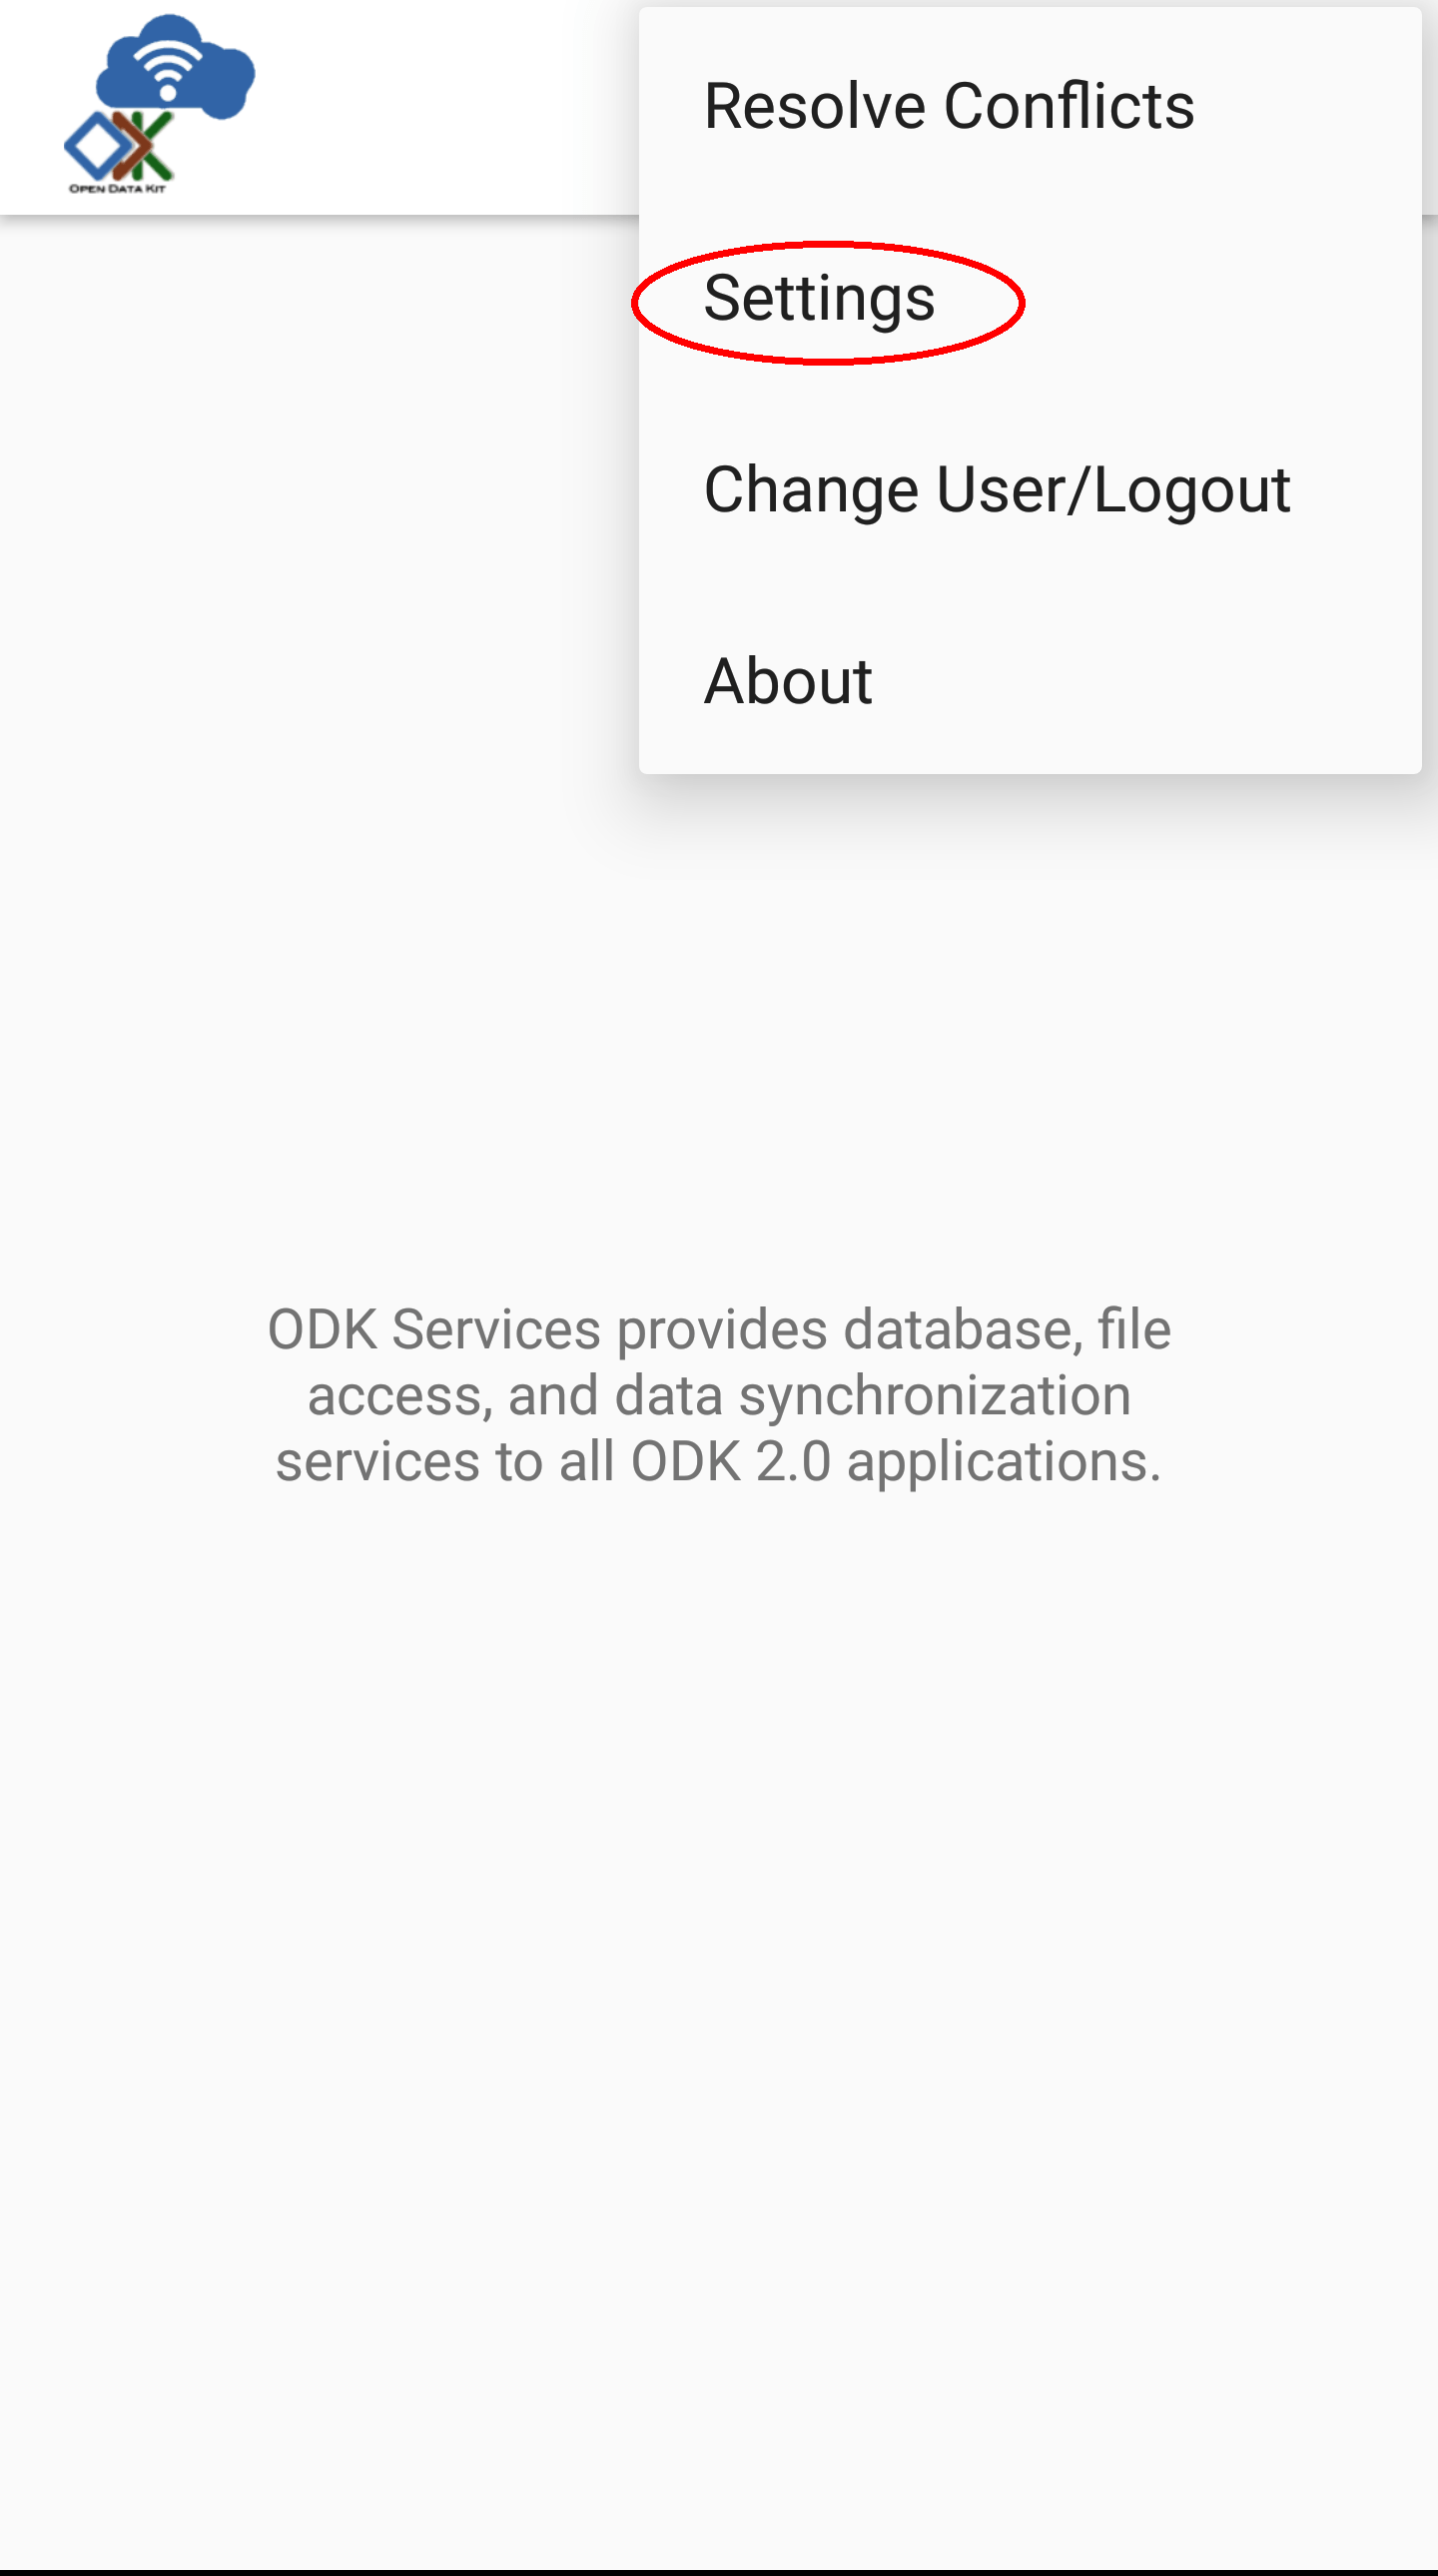
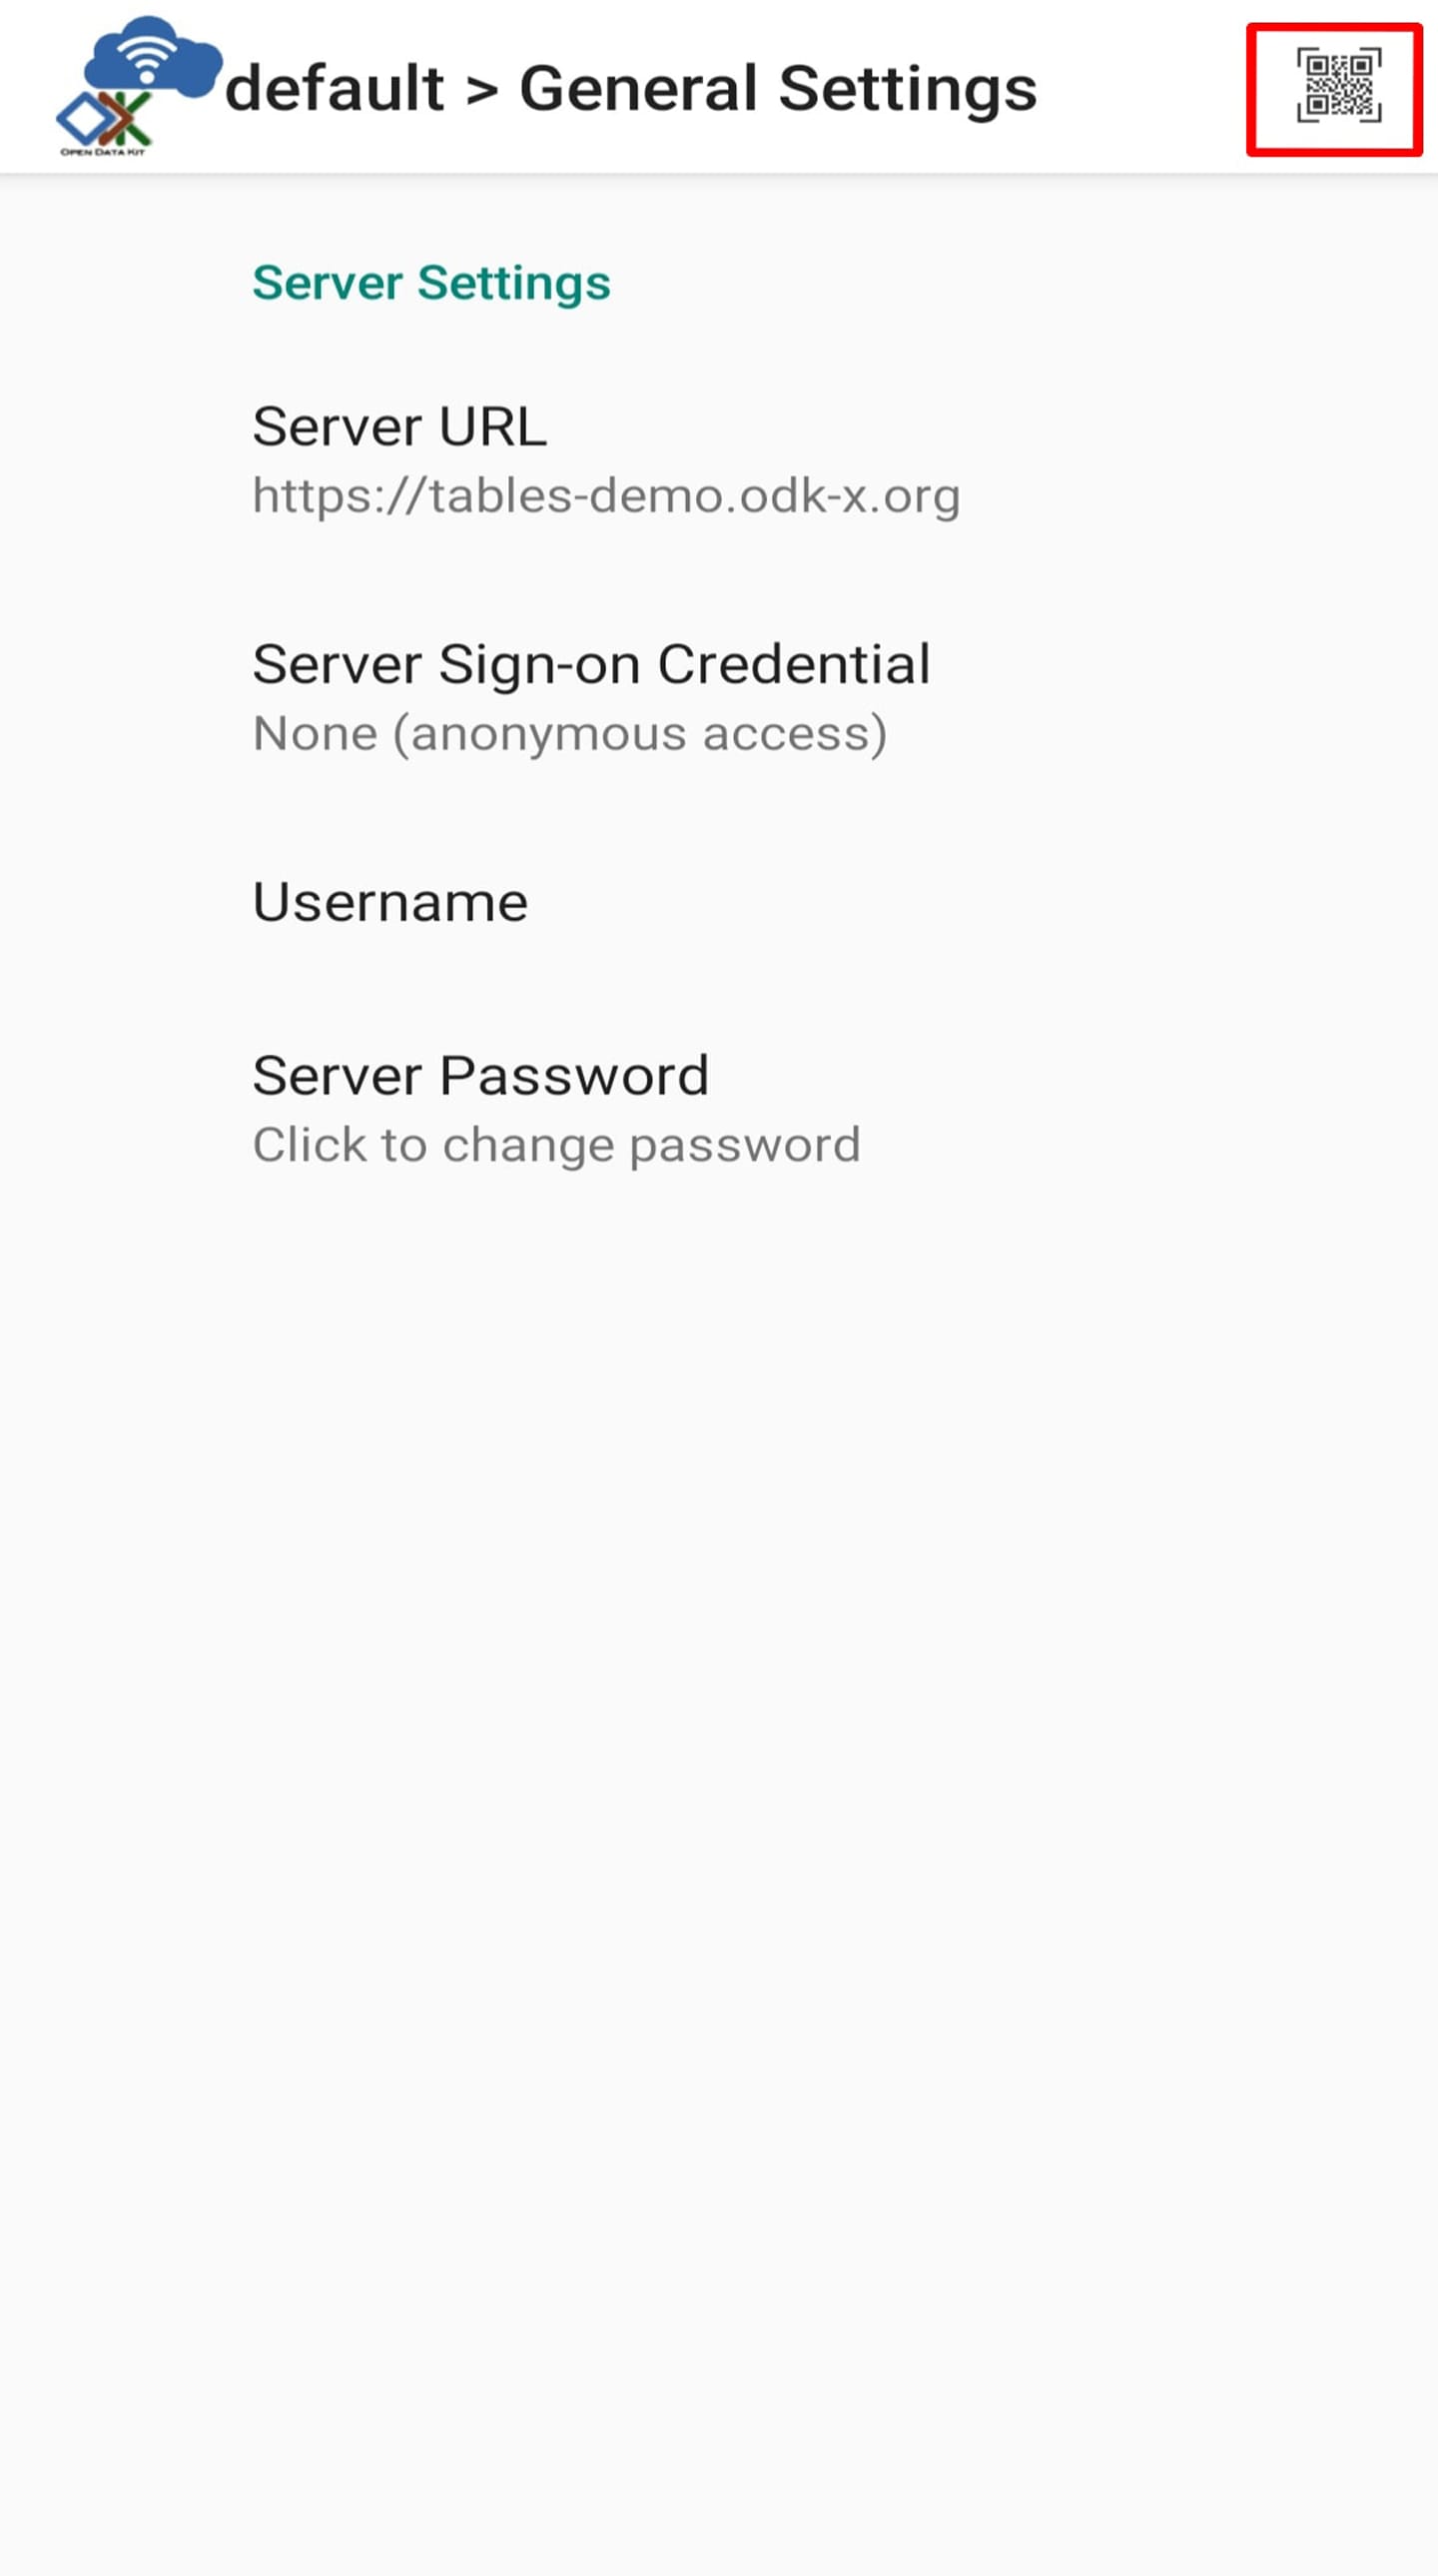
Press the Action Button (⋮) and select "Settings" options.
Select
Select the Scanner icon at the top right corner, to launch the QR-Scanner and scan the QR code generated by app-designer.
Syncing
Use this option to submit your data and download the latest updates from the server. When this process is finished, the data on your device and the server will match. You will also receive any updates to your application that those at your organization managing the application might have made.
There are two ways to launch the Sync screen.
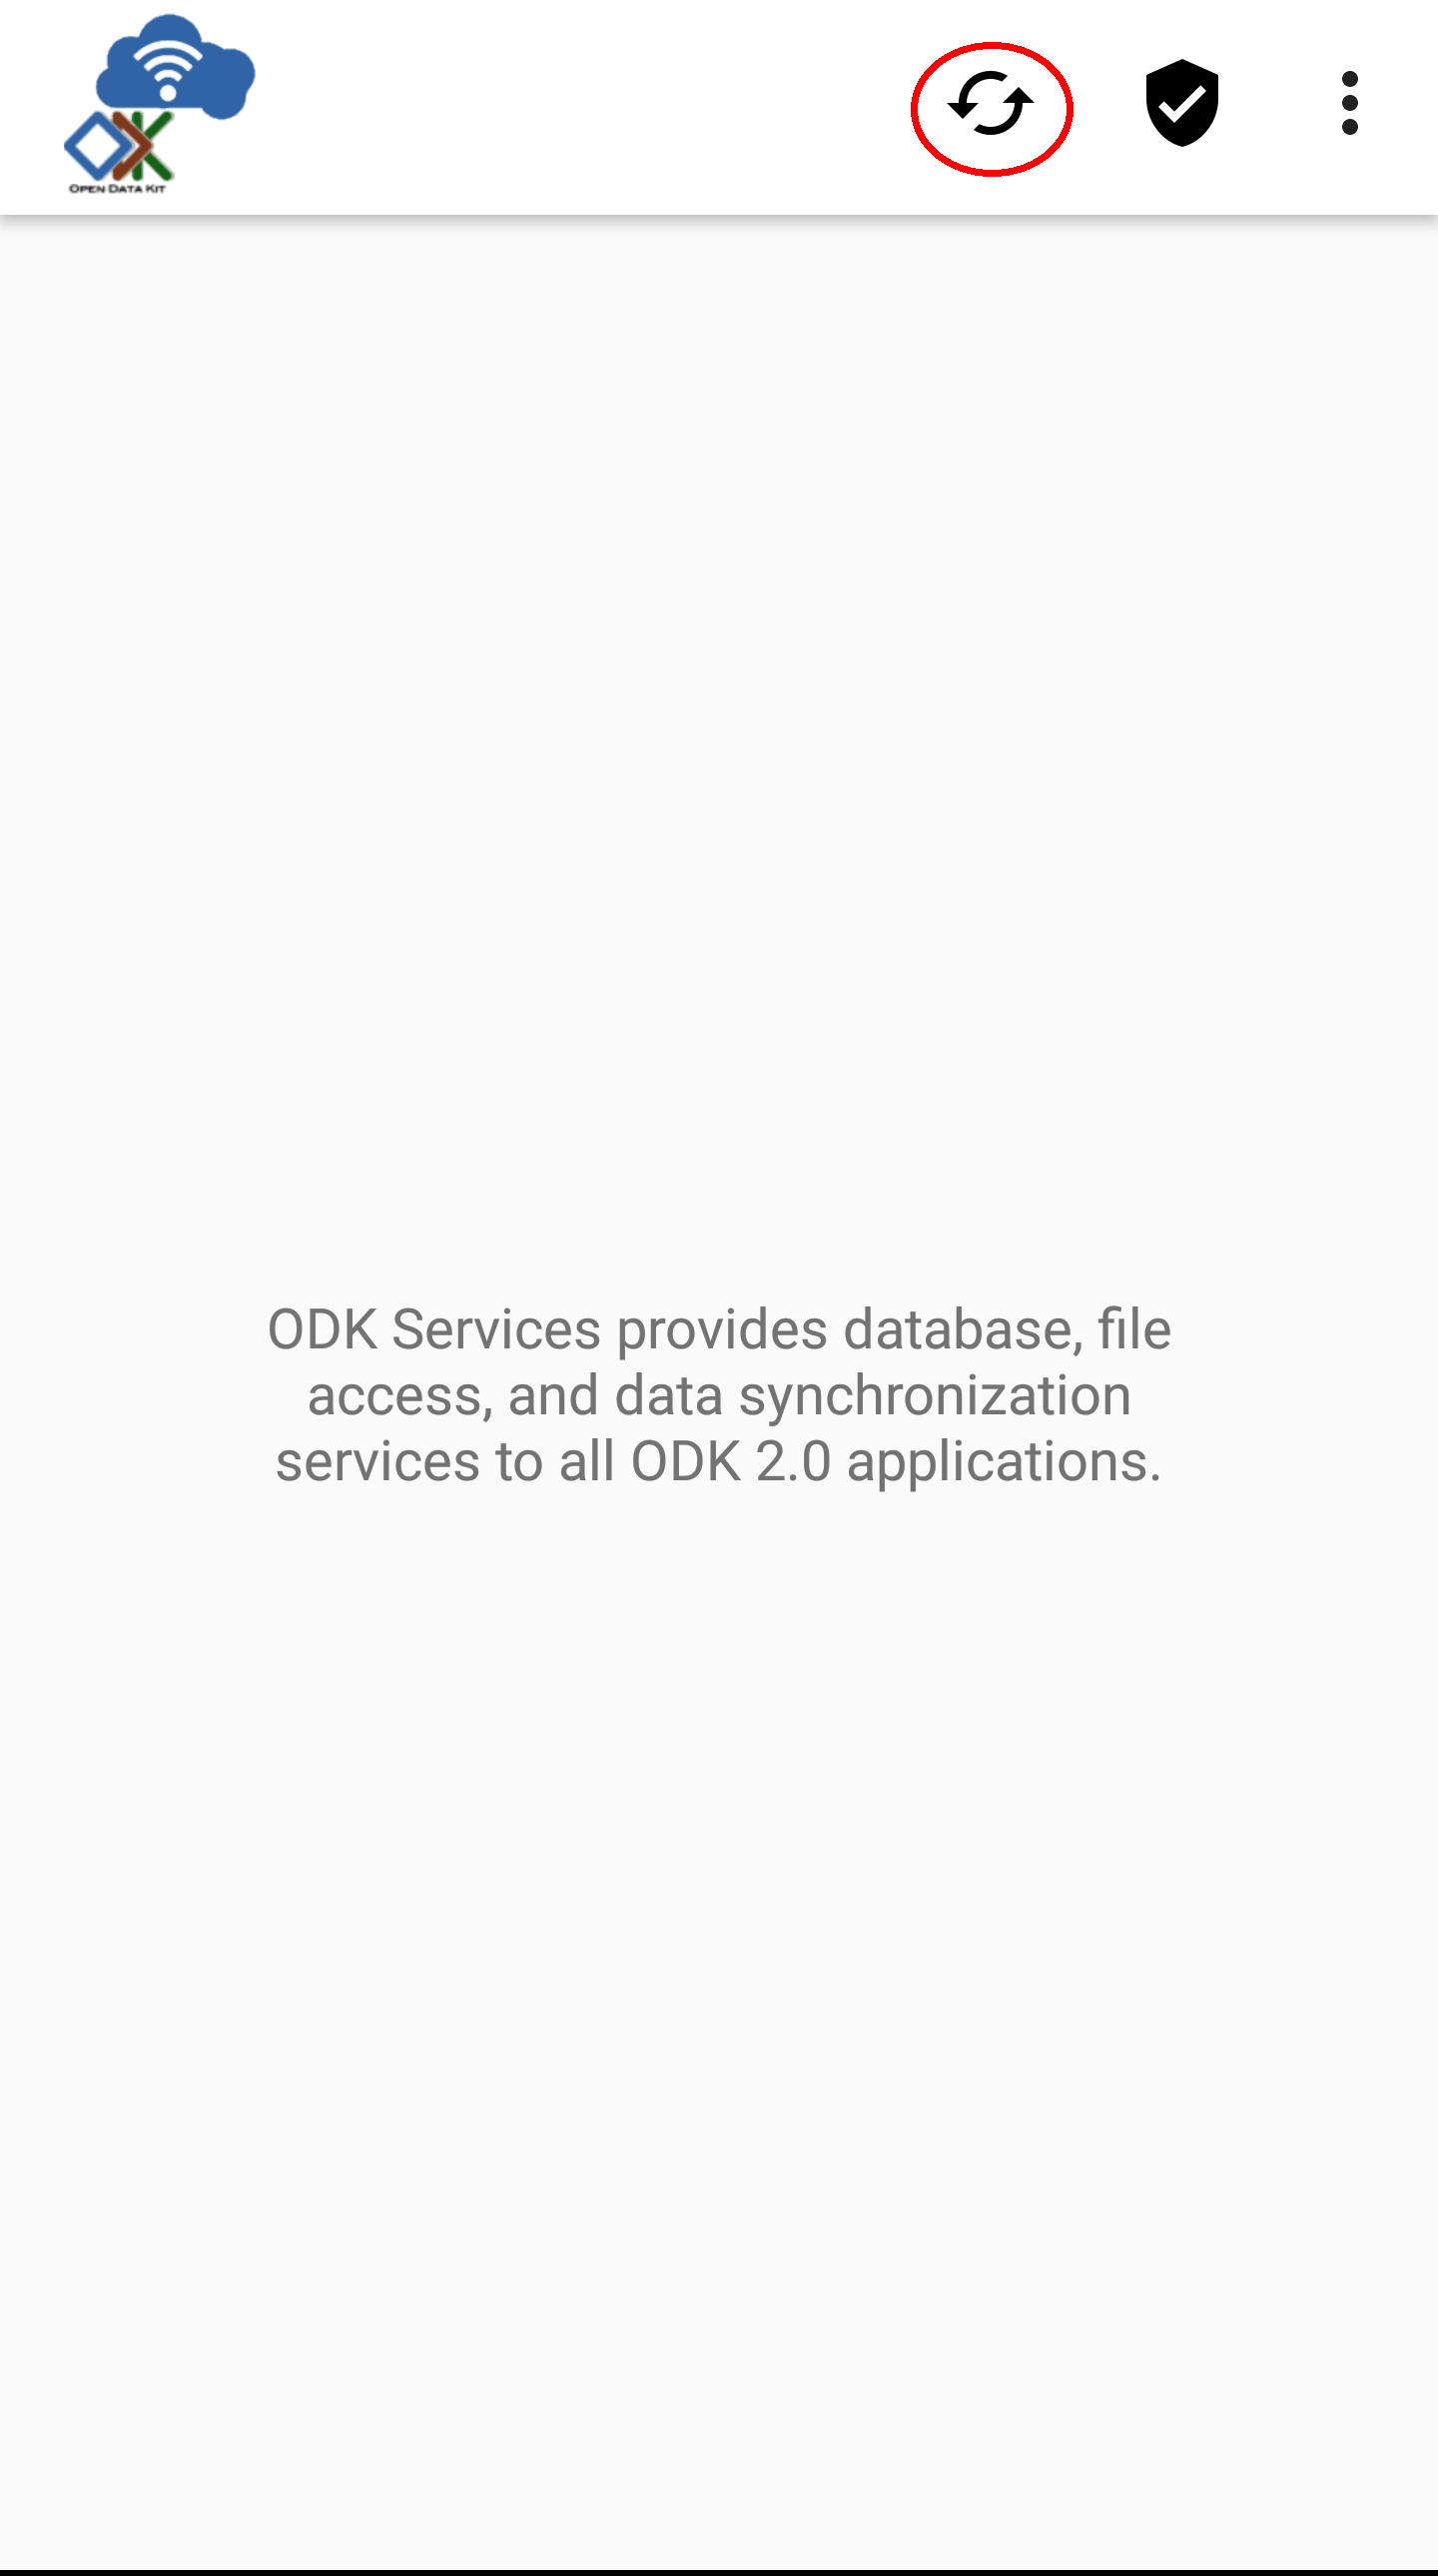
Launching From Services: Launch Services. Click the Sync icon that looks like two arrows circling each other.
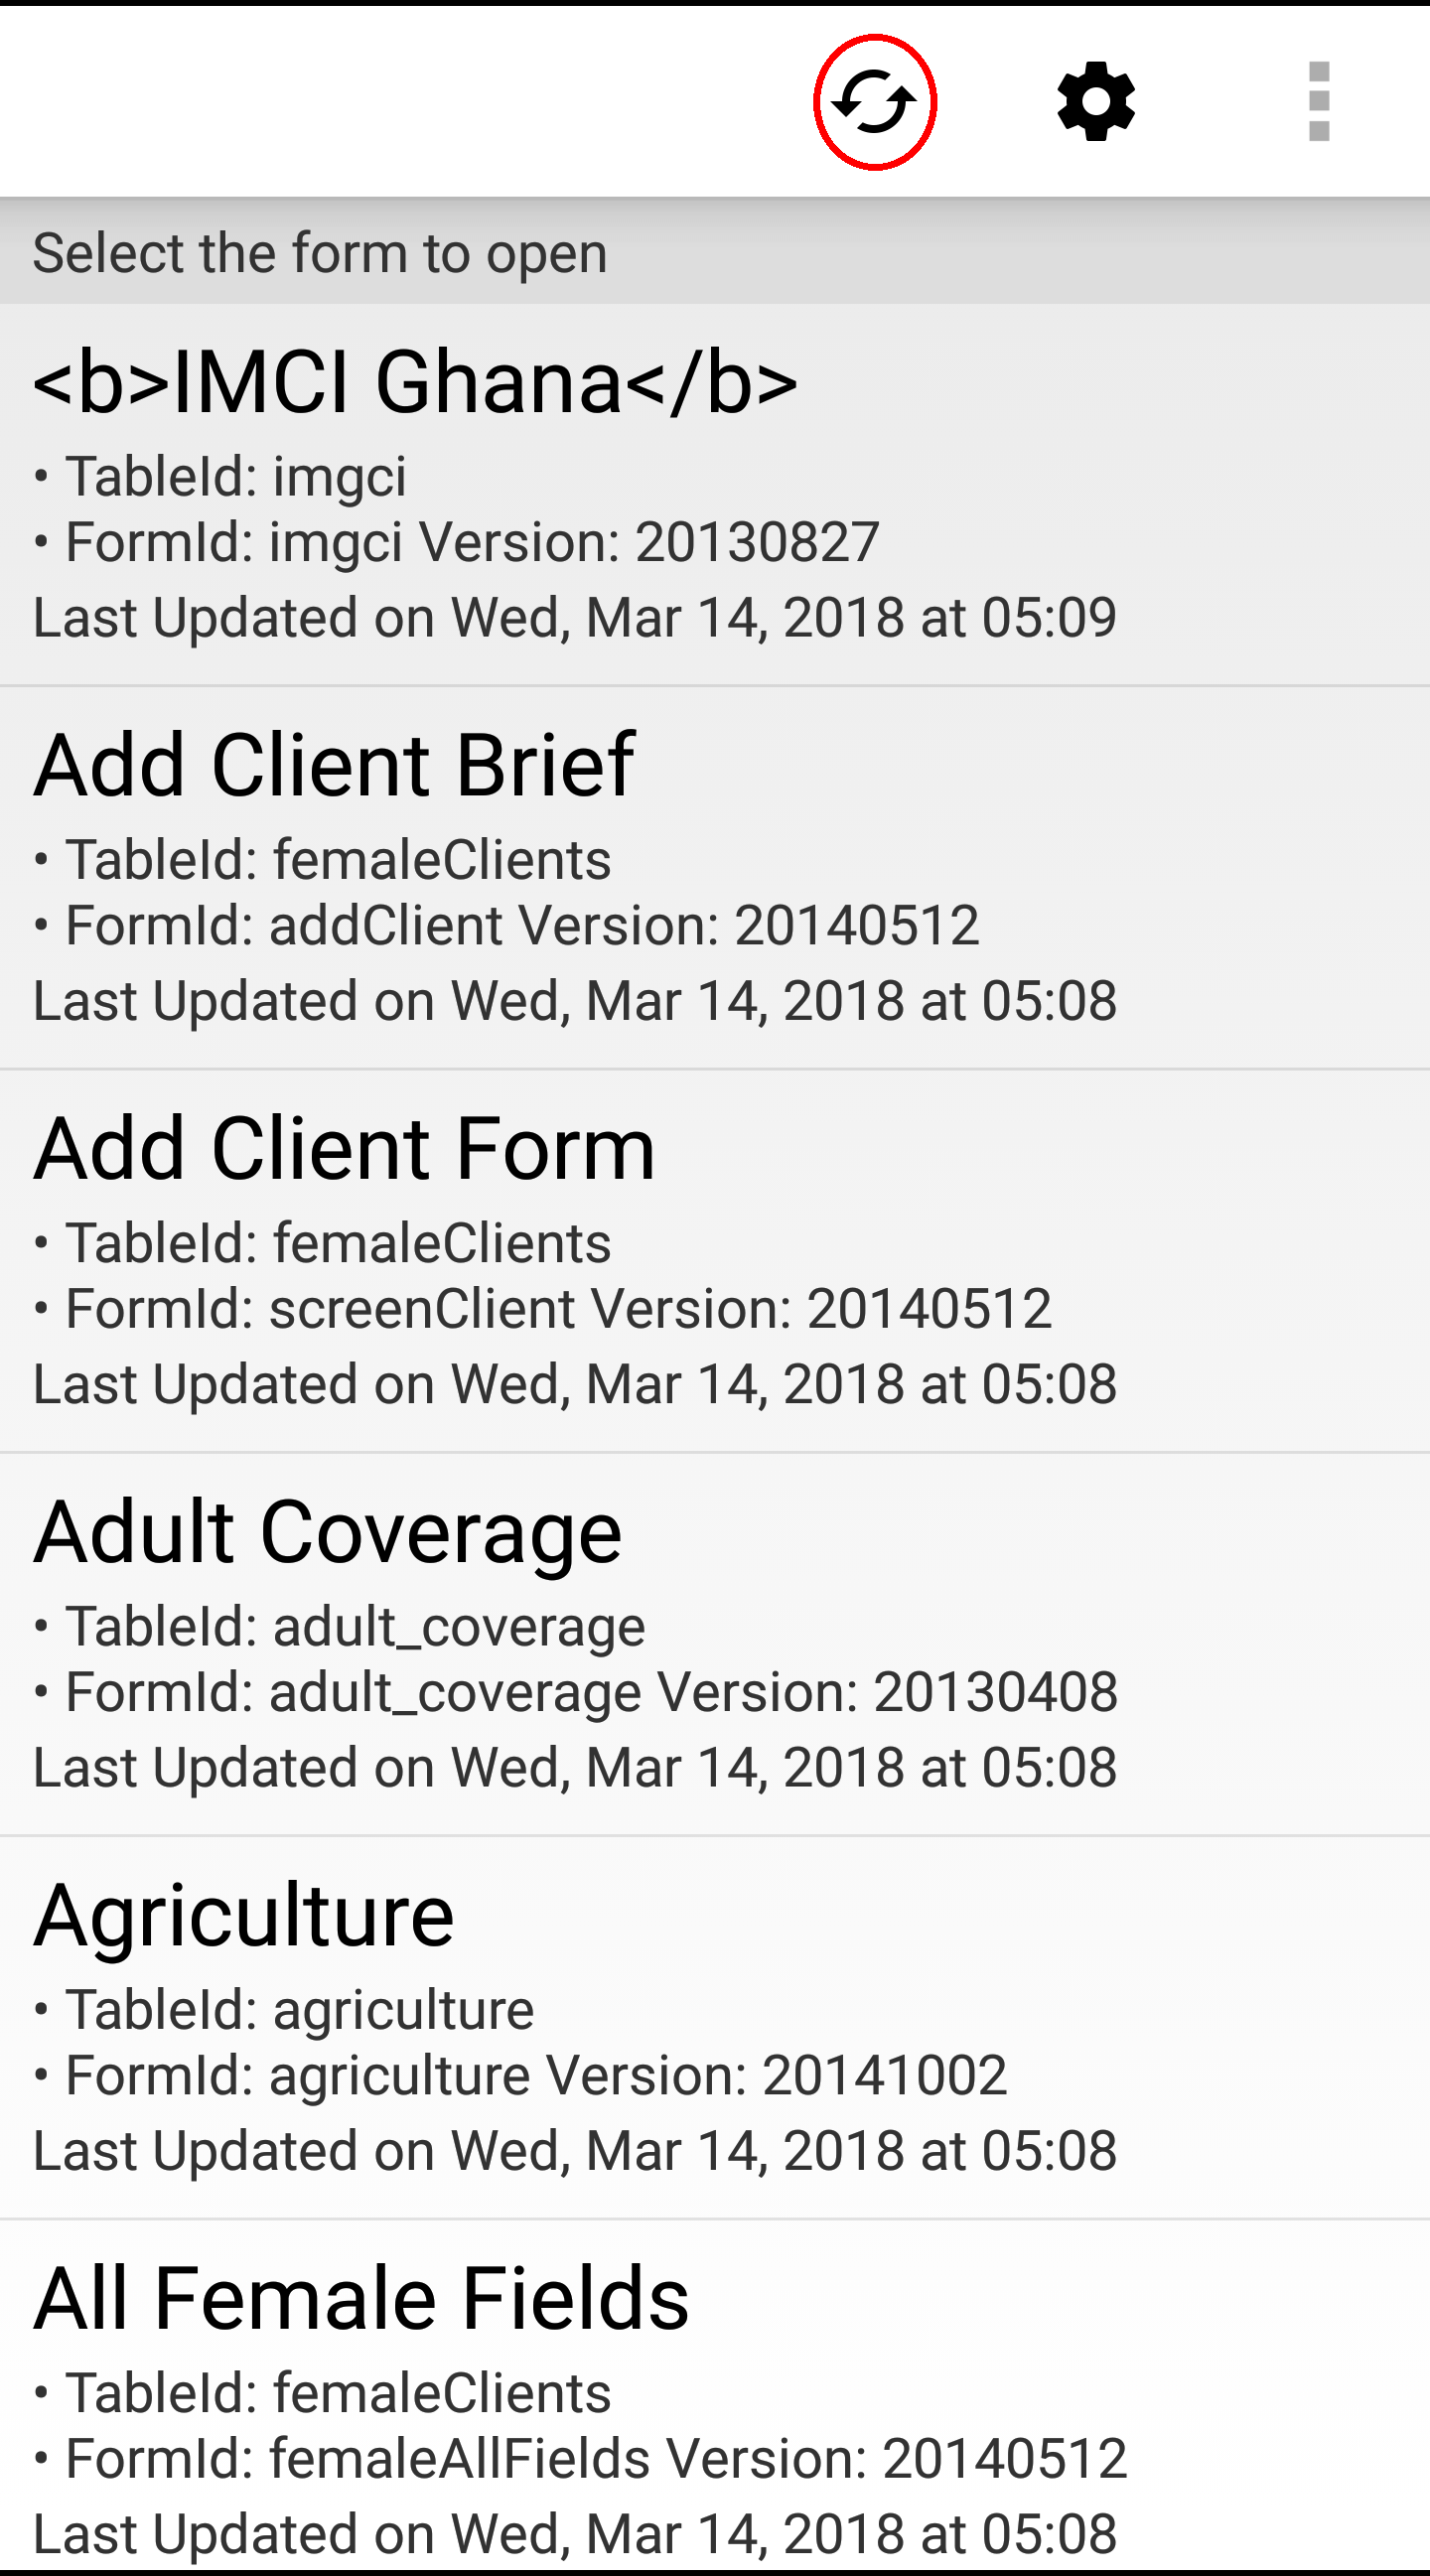
Launching From Another Tool: From within Survey or Tables click the Sync icon (same as above). This will launch Services to the Sync screen. Below this is shown in ODK-X Survey.
You will then see the Sync screen.
Before syncing, you should verify all options are set correctly.
The username can be be changed by pressing the Change User button. Instructions are provided in the Authenticating Users section.
Warning
If you authenticate as a different user after modifying data in the database, you could lose changes. Each user can have their own set of permissions to read, write, and delete different portions of the database. If you switch from one set of permissions to another, changes to areas that the new user is not allowed to modify may be lost.
To prevent this be sure to synchronize all changes before authenticating new users.
The sync interaction has four options for managing file attachments. These are offered if bandwidth or storage is a concern:
- Default - Synchronize all file attachments with the server.
- Only upload attachments from the device to the server.
- Only download attachments from the server to the device.
- Do not sync any attachments.
Note
All four of the attachment options will fully synchronize your database. This includes all completed forms and collected data.
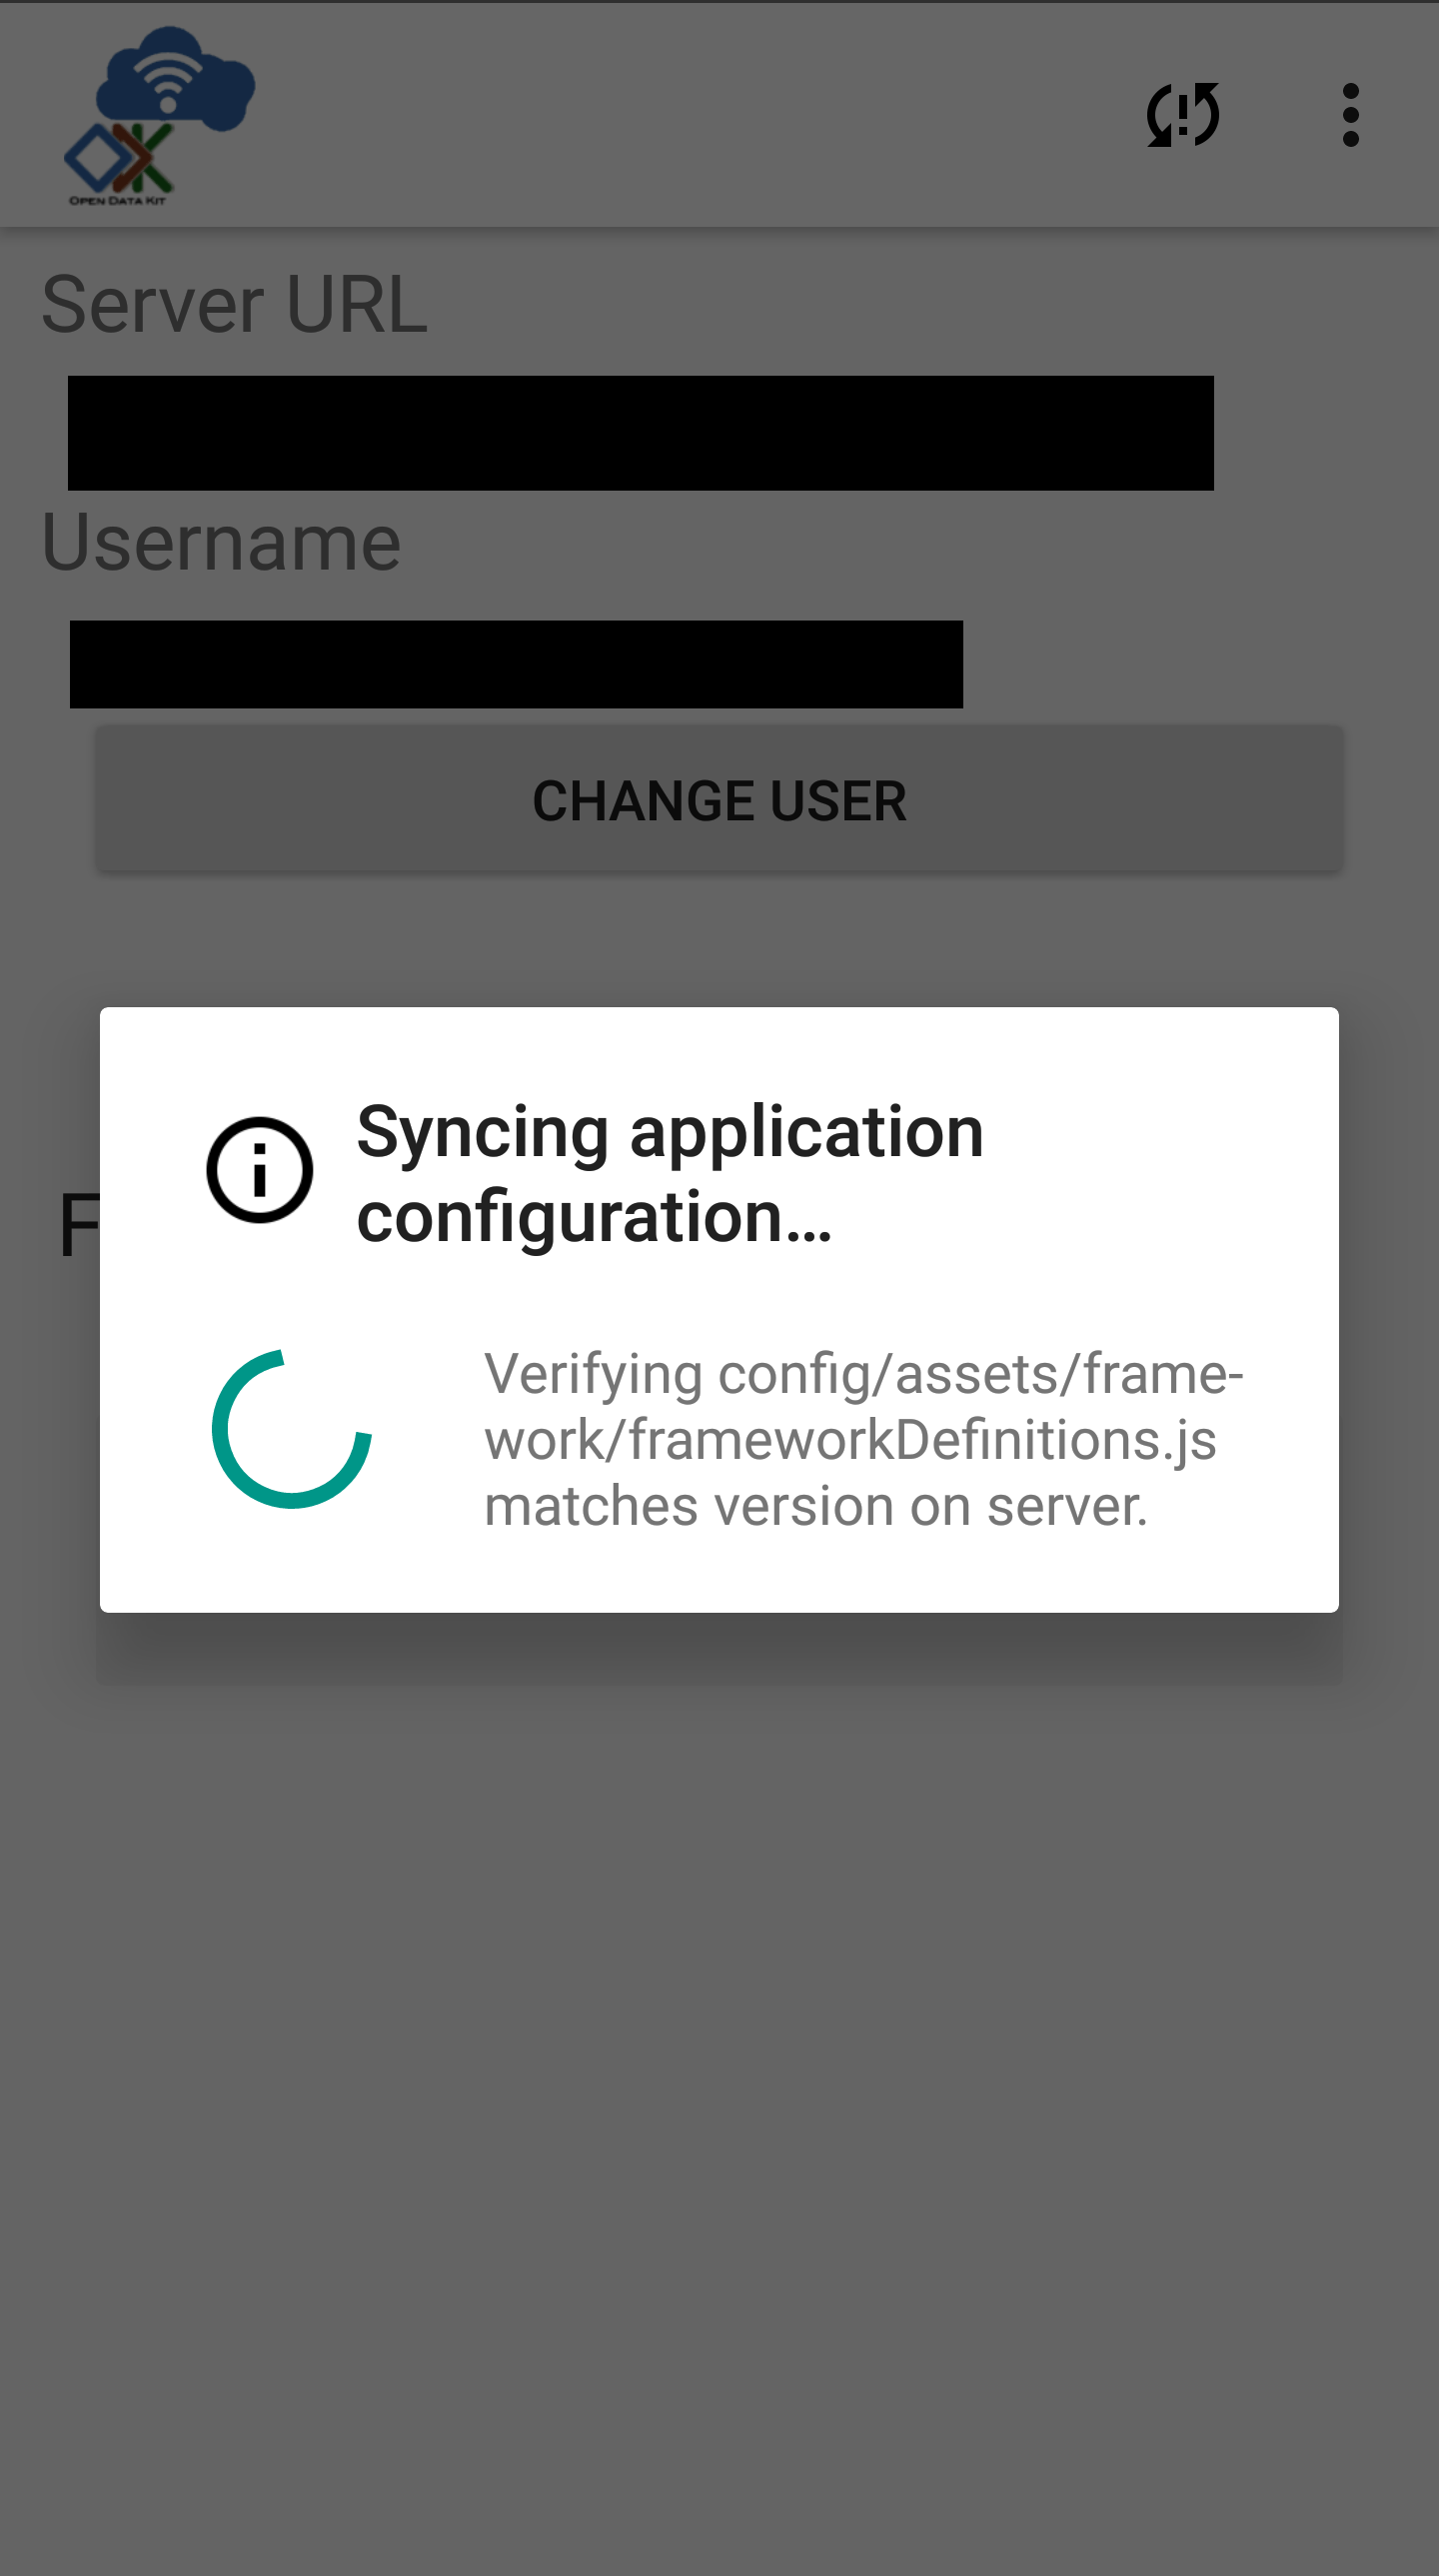
When you are ready to sync your data, click on Sync Now.
Services will contact the Cloud Endpoint and synchronize your data. A progress dialog will be displayed and, alternatively, the status of sync can be obtained by looking at the notifications generated by Services in the notification area.
Note
The sync will proceed whether or not you remain on this page and you can use the back button to back out of it and return to your work.
Warning
Should you begin modifying data rows while syncing, the changes to those rows will not be synced until you save them as incomplete or finalize the row, and the act of editing will generally mark the sync as having ended with conflicts. This means that you must complete your edits and re-issue the sync to ensure that your changes are propagated up to the server.
Resolving Checkpoint Issues
The checkpoint resolution screen can be triggered a variety of ways. For example, in ODK-X Survey, add a row using the + icon then back out of ODK-X Survey:
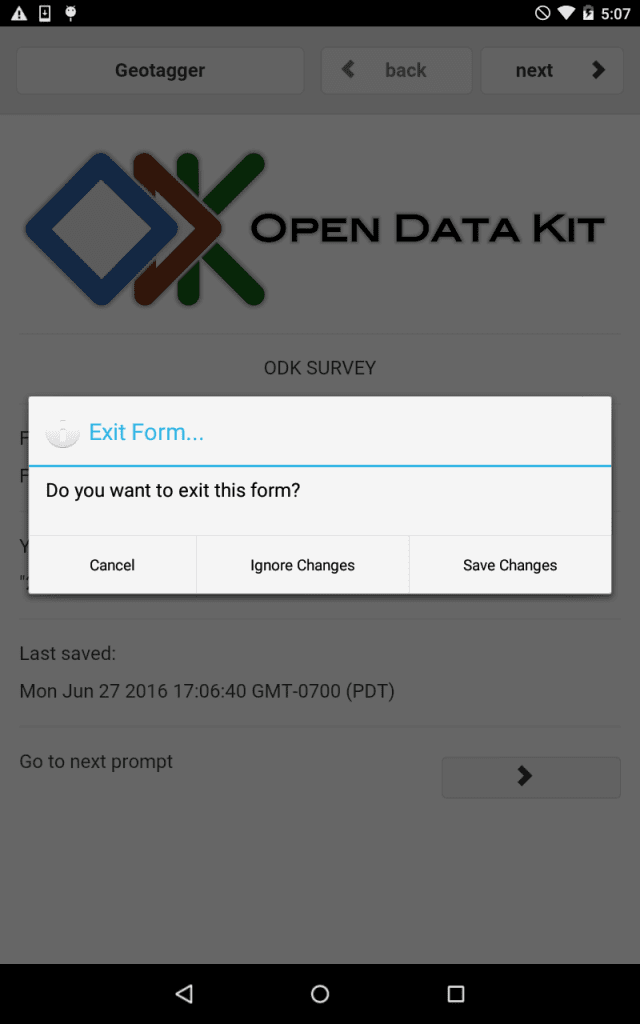
When presented with this screen, there are three choices:
Cancel and continue editing the form.
Ignore changes and discard the entire partially filled-out form.
Save it even though it is incomplete. In this case, since there is no entered data for this record, we can ignore changes.
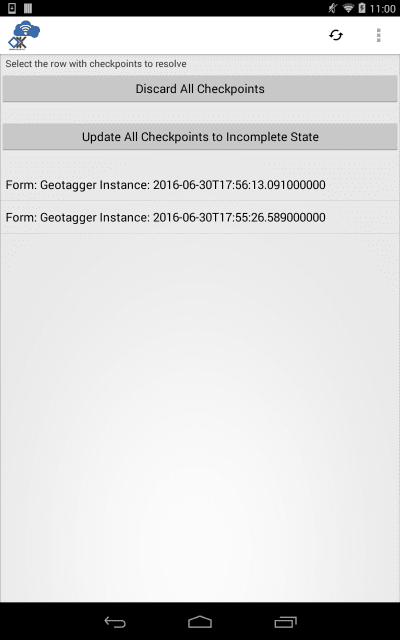
In rare cases, a second form of checkpoint resolution screen can be triggered. This most often happens if ODK-X Survey experiences a failure and closes. In this case, you may have several data records with unsaved checkpoint changes (changes that the user has not explicitly saved as incomplete or finalized). This will lead to a screen like:
Clicking a row will display details about that individual checkpoint:
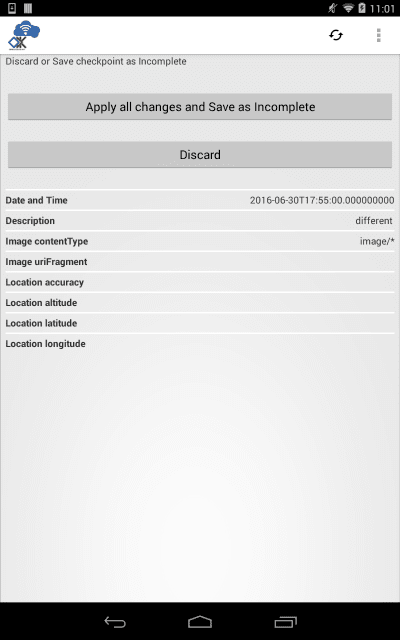
In all of these screens, you can choose whether to save the changes as incomplete or to discard them.
Resolving Sync Conflicts
When you return from ODK-X Services and next access data, the ODK-X tools will scan all tables looking for conflicts arising from the synchronization process. The conflict resolution screen is triggered when another device has edited one or more rows and synchronized its changes to the server before your edits to those same rows have been synchronized. If a conflict is found, you are required to resolve it before proceeding to your activity.
In this case, your synchronization attempt will end with an error, and a Conflicts Detected error will appear:

Once you click OK, the conflict resolution screen will be presented. If there are multiple rows in conflict, this screen will display the rows that are in conflict:
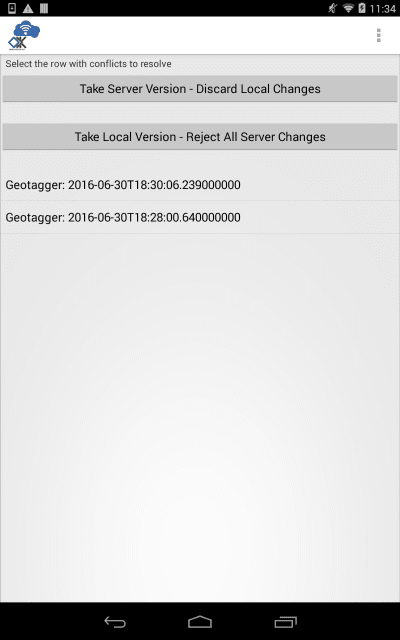
Clicking a row will display details about the conflict:
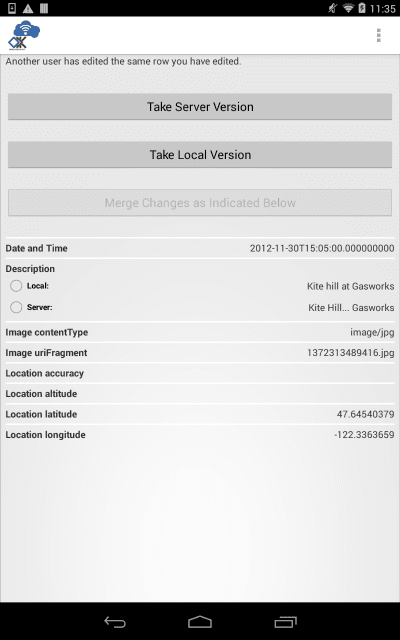
And if only a single row is in conflict, the list-of-rows screen will be bypassed. The options for resolving conflicts are as follows.
Take Local Version - Use the version on the device, deleting the server version.
Take Server Version - Use the server version, deleting the version that is on the device.
Merge Changes - Will be enabled once all conflicts in the row's data fields have been decided.
Choose the desired option. Once the changes are reconciled, you can then proceed to the activity you were accessing and, when you next sync, the resolved conflicts and any new changes will be pushed up to the server. Then, other users will receive those changes when they sync to the server.
Warning
When you resolve a conflict, your decision does not only affect you. The value you choose becomes the new true value and the next time you sync it will be written to the server.
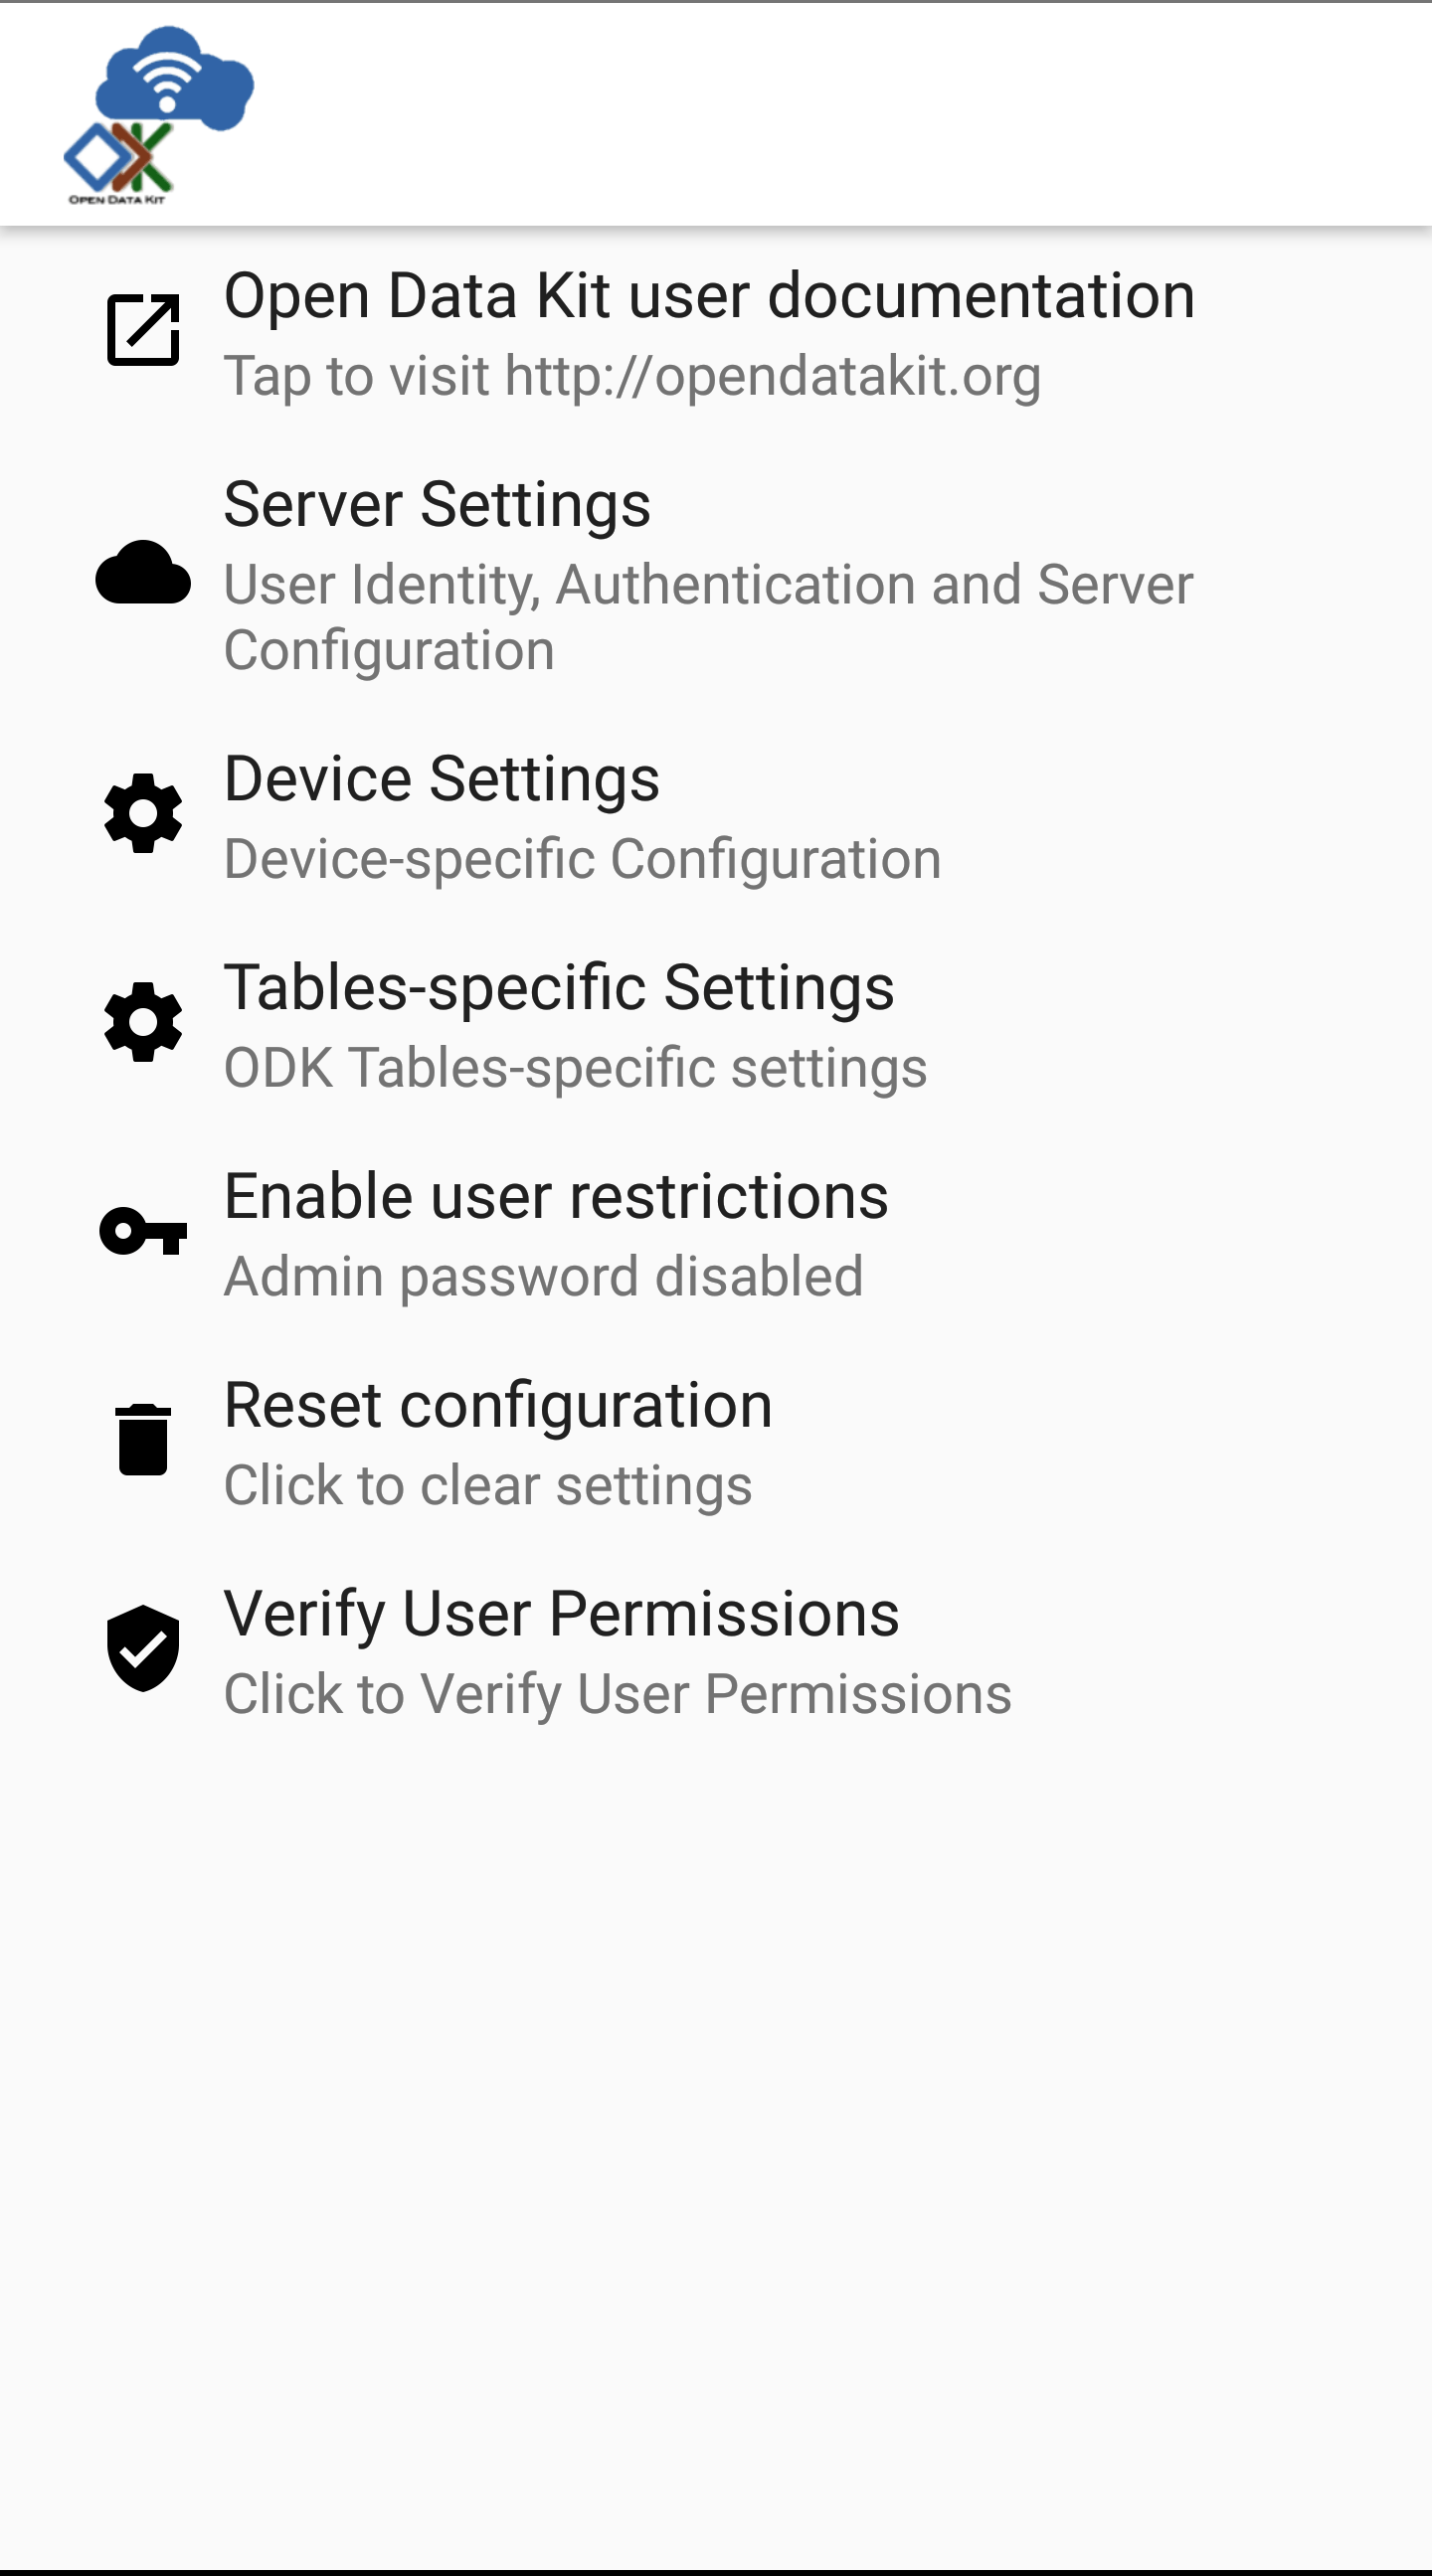
Device Settings
The device settings allow you to change configuration on your individual device. These settings will not be synchronized with the server.
Open Services. Press the Action Button (⋮)
Select
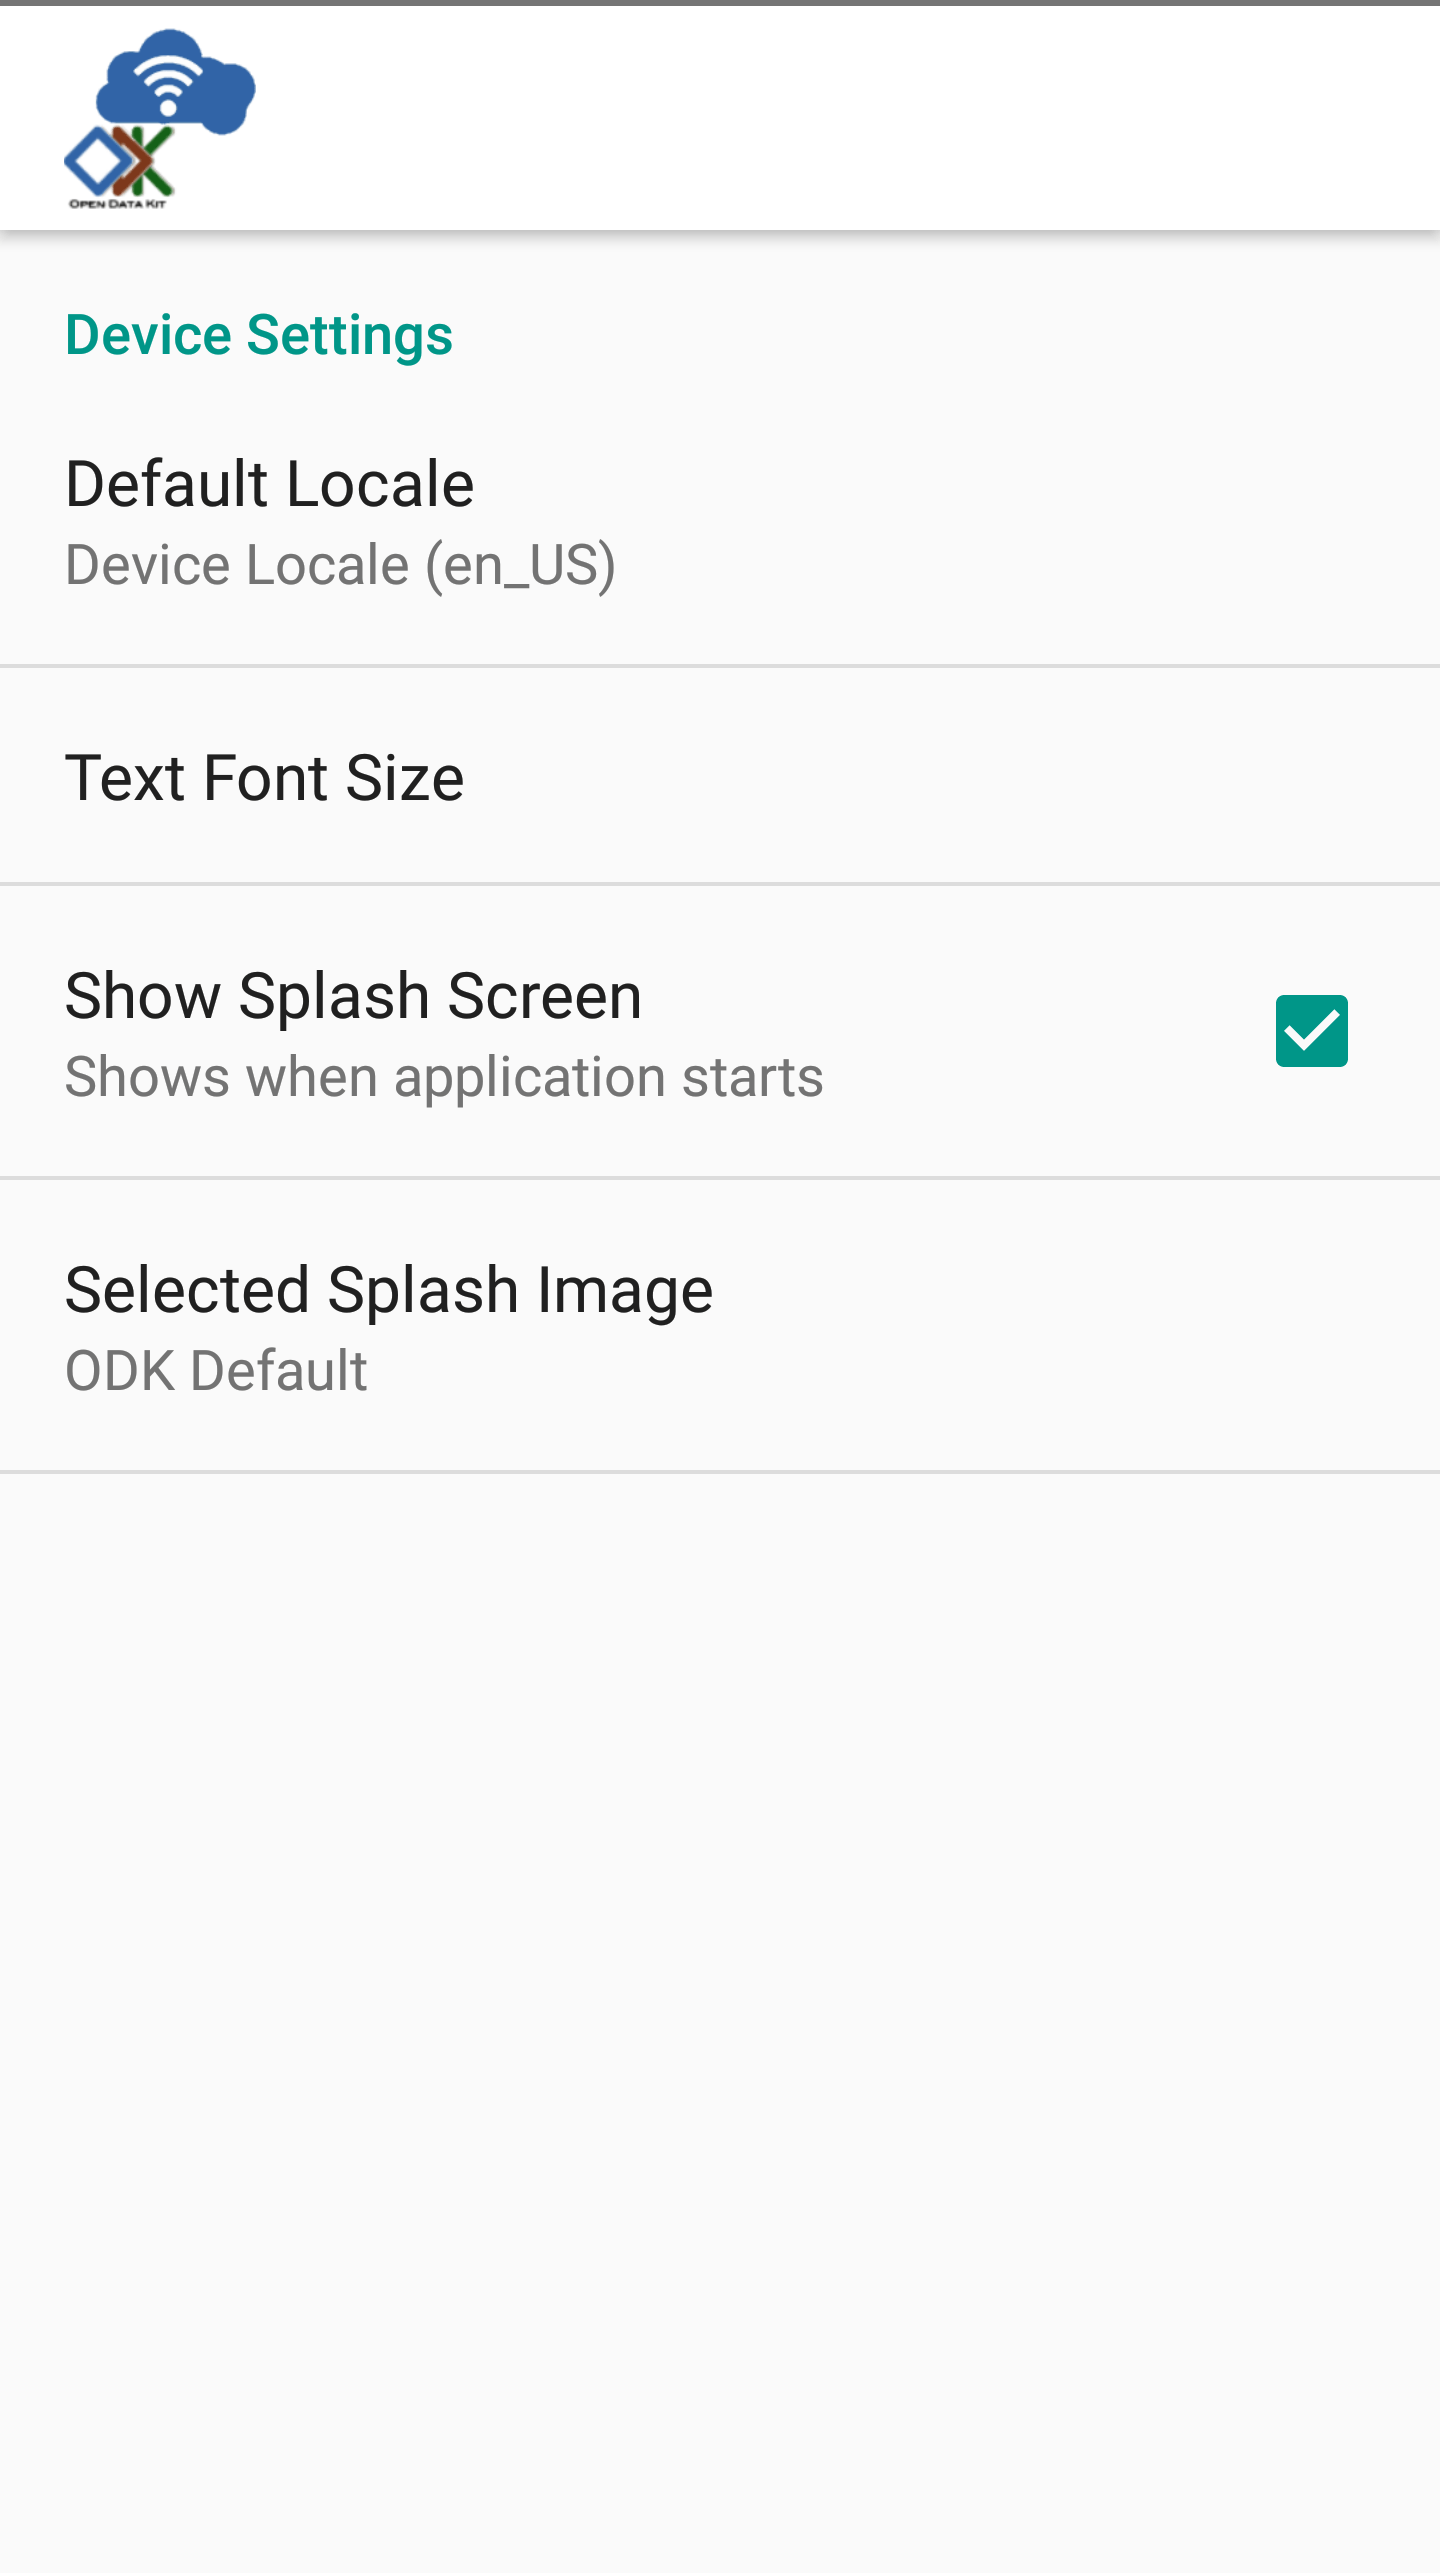
specifies your preferred localization. By default this is set to US English. If you provide translations for your Data Management Application, this is where to enable them.
customizes the text size across the ODK-X tools
chooses whether to show a splash screen while each app launches.
holds the image that will be displayed in the splash screen. By default this is an ODK logo, but can be set to your organization's own logo or another image.
Tables Settings
The tables specific settings modify the behavior of the ODK-X Tables tool. These settings will not be synchronized with the server.
Open Services. Press the Action Button (⋮)
Select
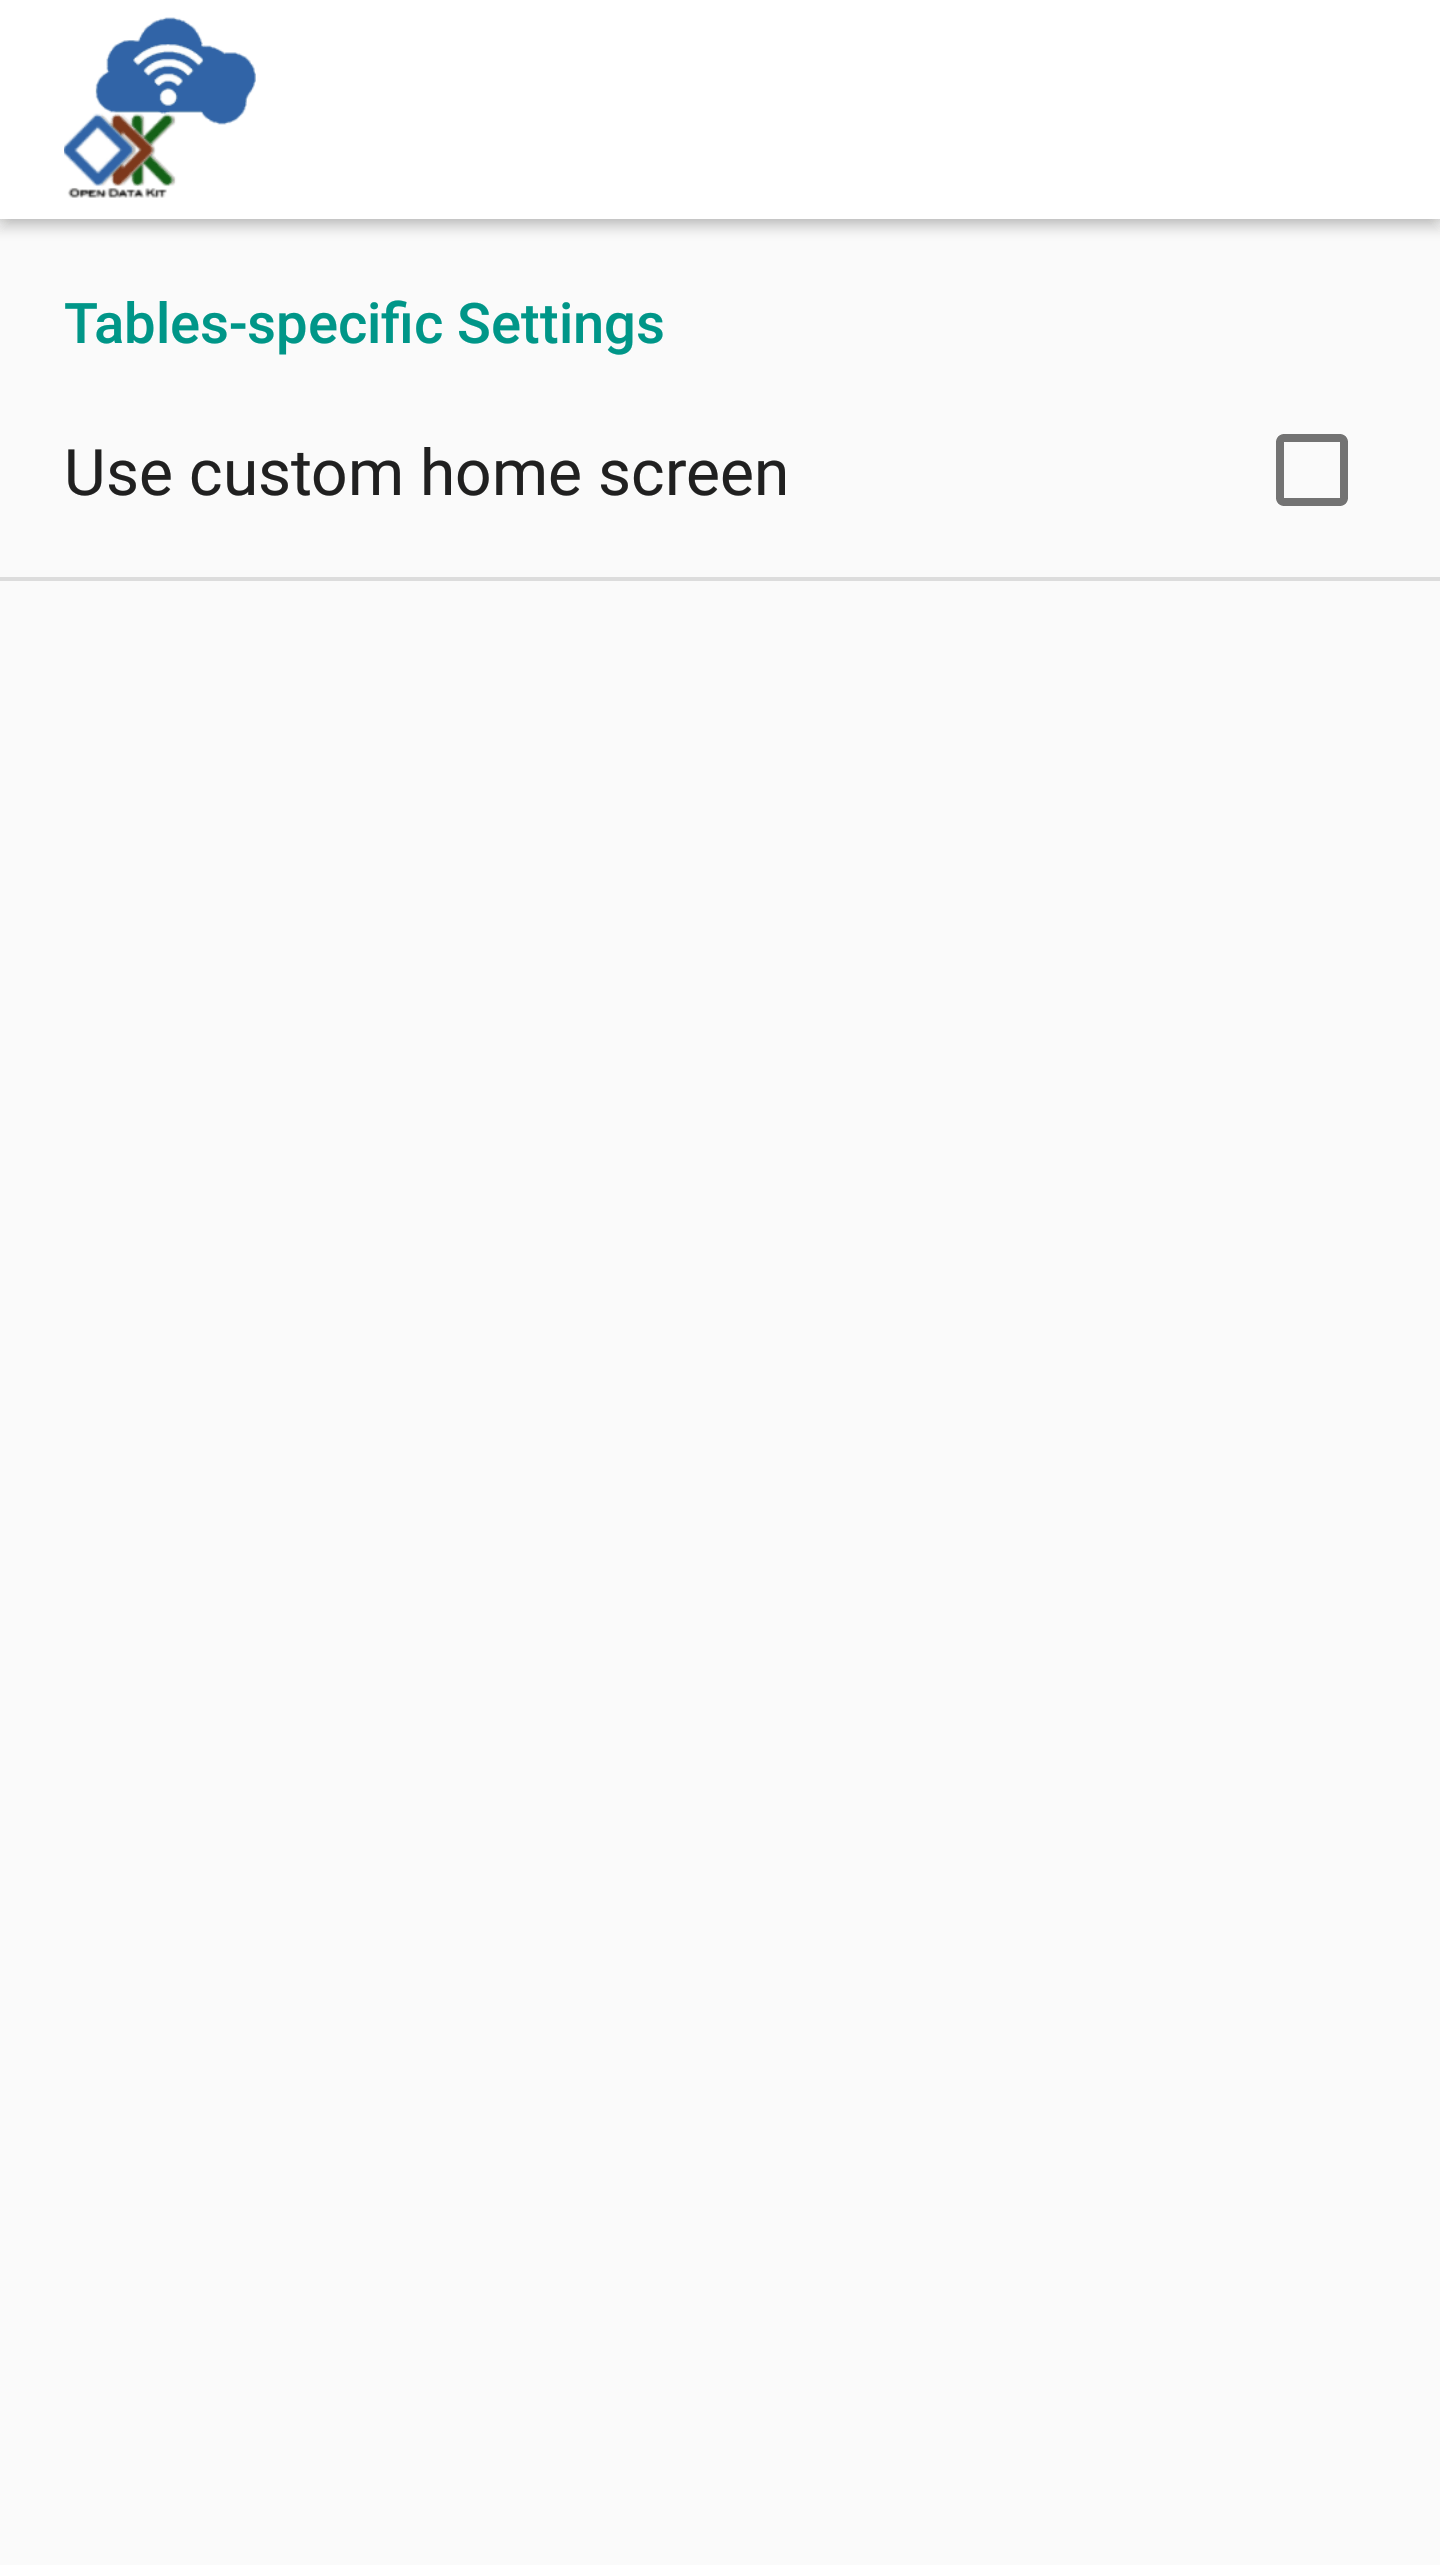
selects whether to display the
index.htmlfile of your Data Management Application or the list of tables when ODK-X Tables is launched.
Troubleshooting
If you are not seeing your forms in ODK-X Survey or your data tables in ODK-X Tables, try Resetting Configuration
If you are seeing a list of data tables instead of your Data Management Application home screen when you launch ODK-X Tables, enable the Use custom home screen option in Tables Settings.
If you are having trouble syncing, check your Server Configuration.