Managing ODK-X Services
Prerequisites
ODK-X Services is a prerequisite to all Data Management Application. You will also need the ODK-X tools:
You will also need at least one of the following ODK-X tools:
Survey and Tables can work independently and do not require you to use both.
If you have not installed Services already, follow our guide for Installing ODK-X Basic Tools
Compatible Servers
It is important to match your version of ODK-X Services with an appropriate version of a ODK-X Cloud Endpoints. To do this, find the release from the Services Releases page and match it to a release from the Sync Endpoint Releases page.
Server Configuration
Before you are able to synchronize data or application files to a device, you will need to configure your server settings within Services. This tells the device which server to contact and what user to authenticate. After these settings are configured, you can optionally lock them with an administrator password. See Administrator Settings.
Open Services. Press the Action Button (⋮)
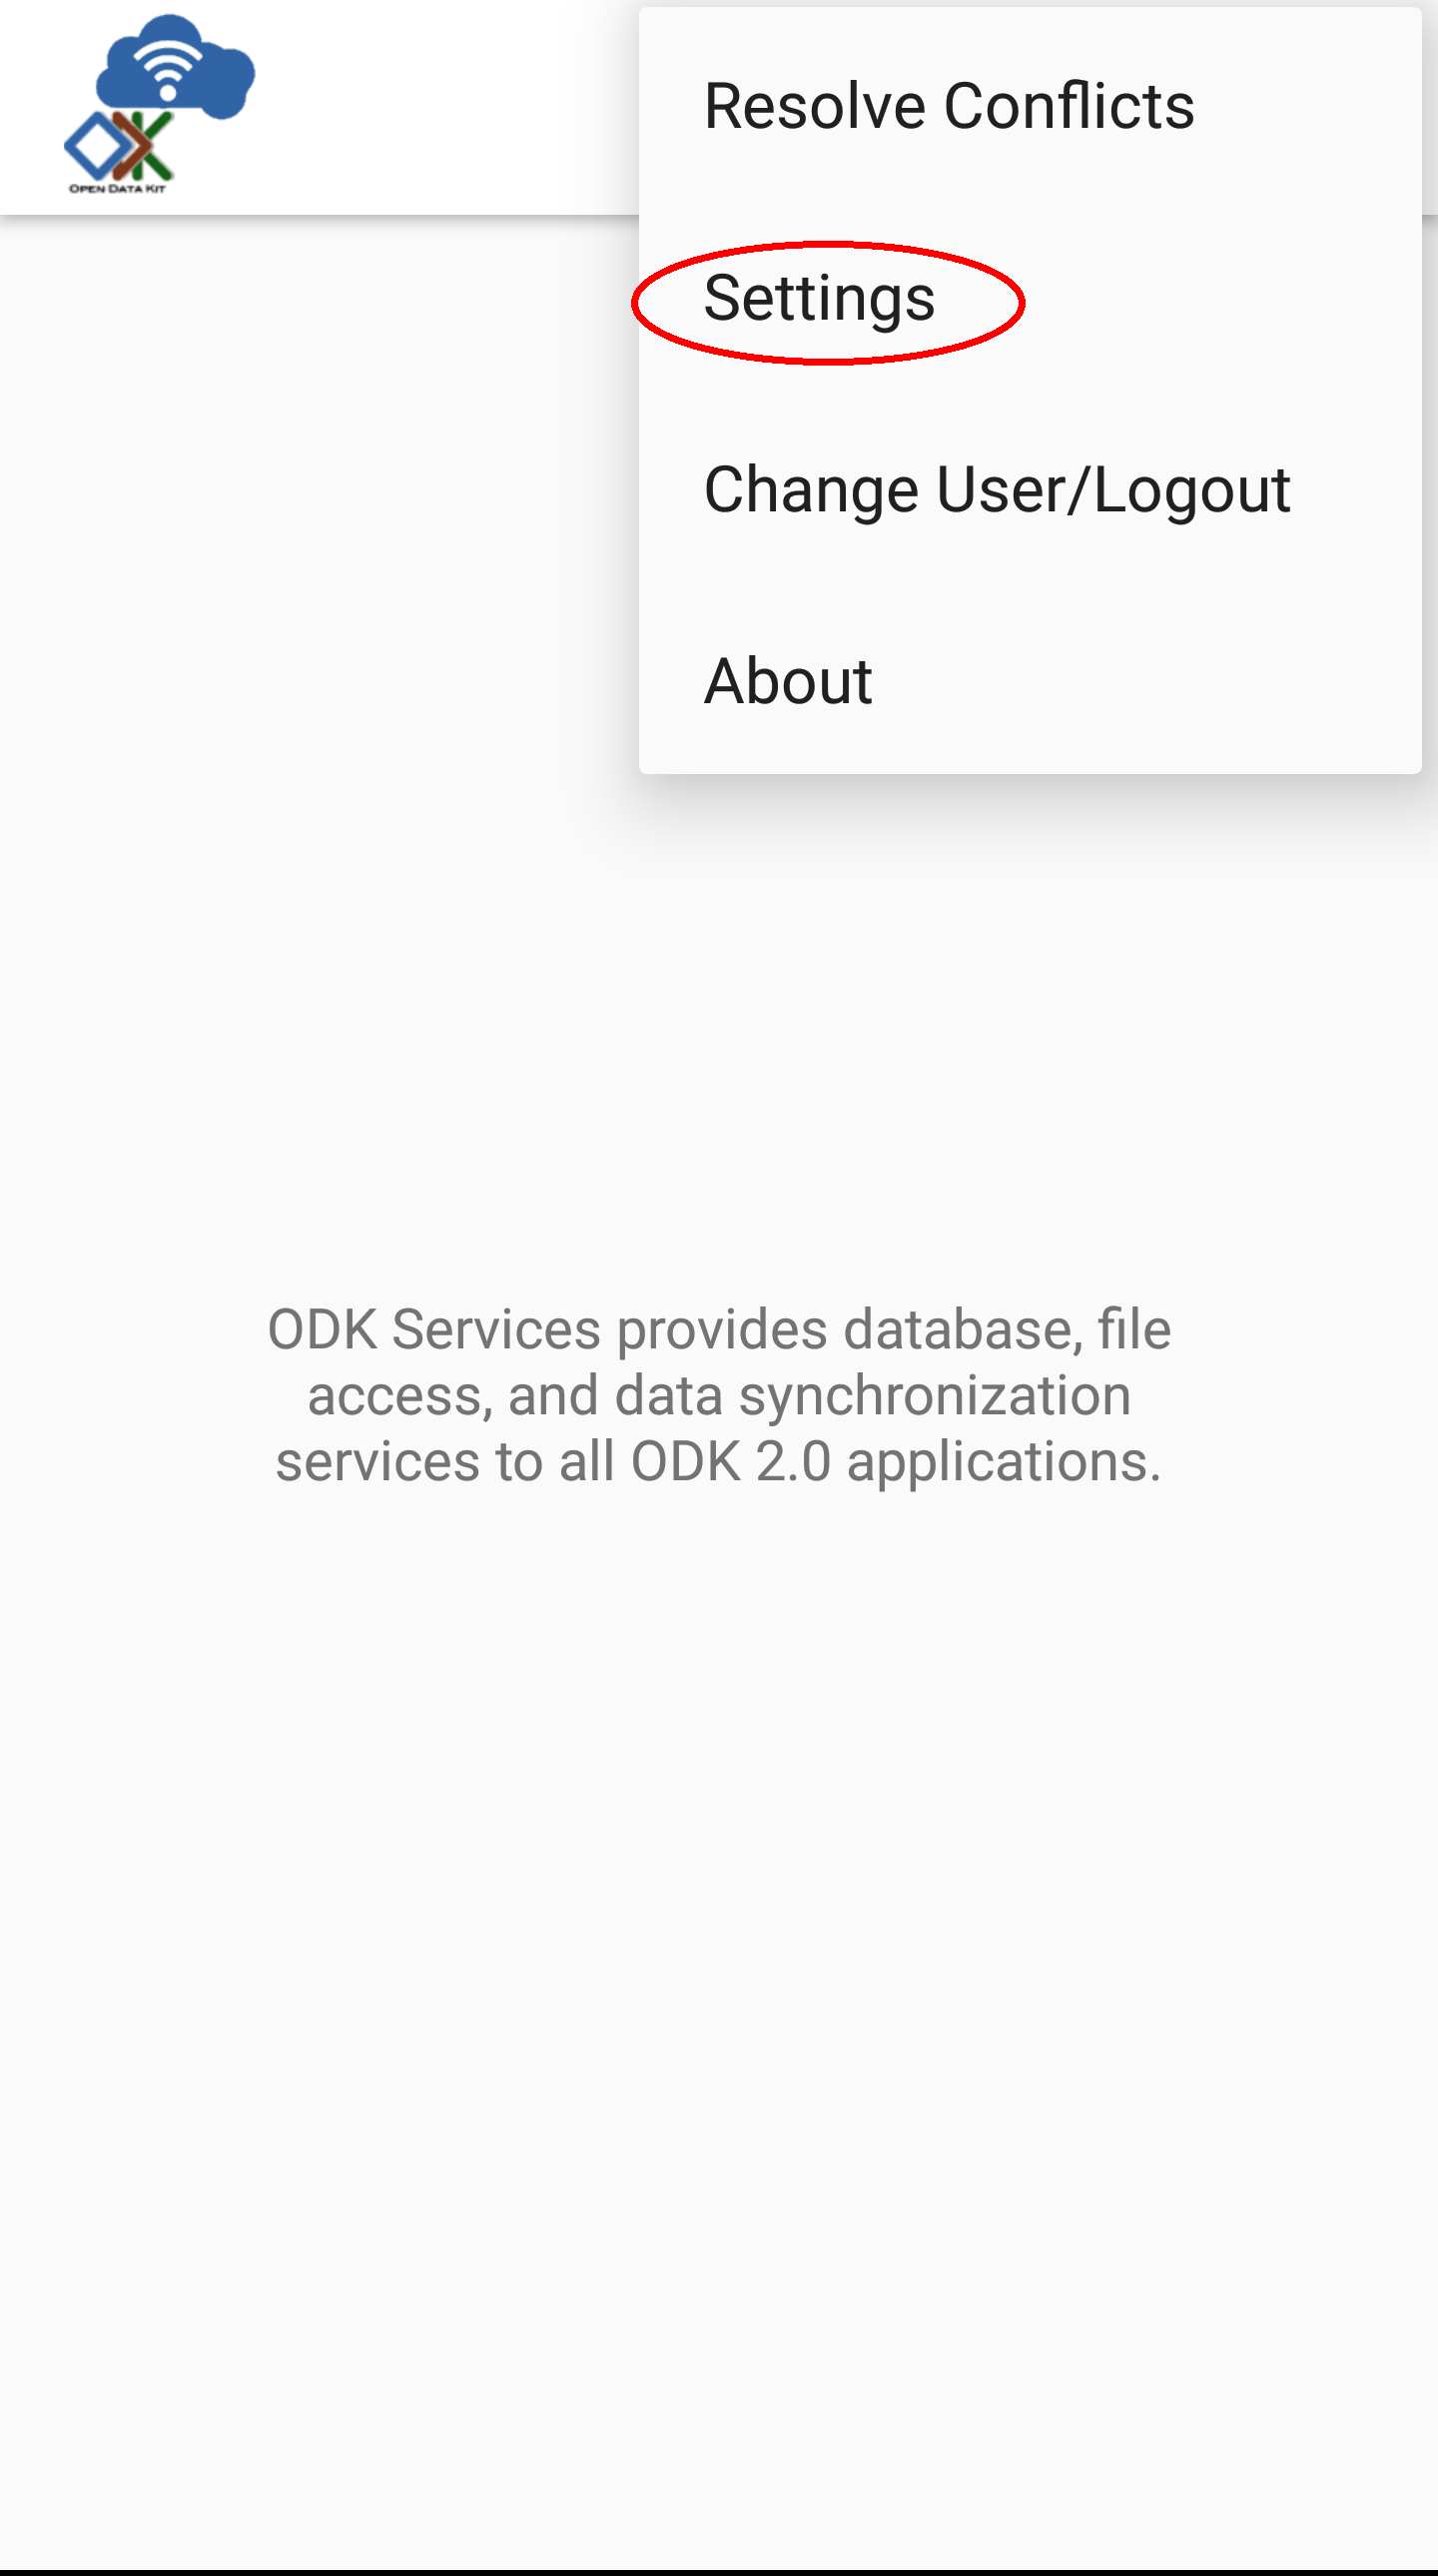
Select
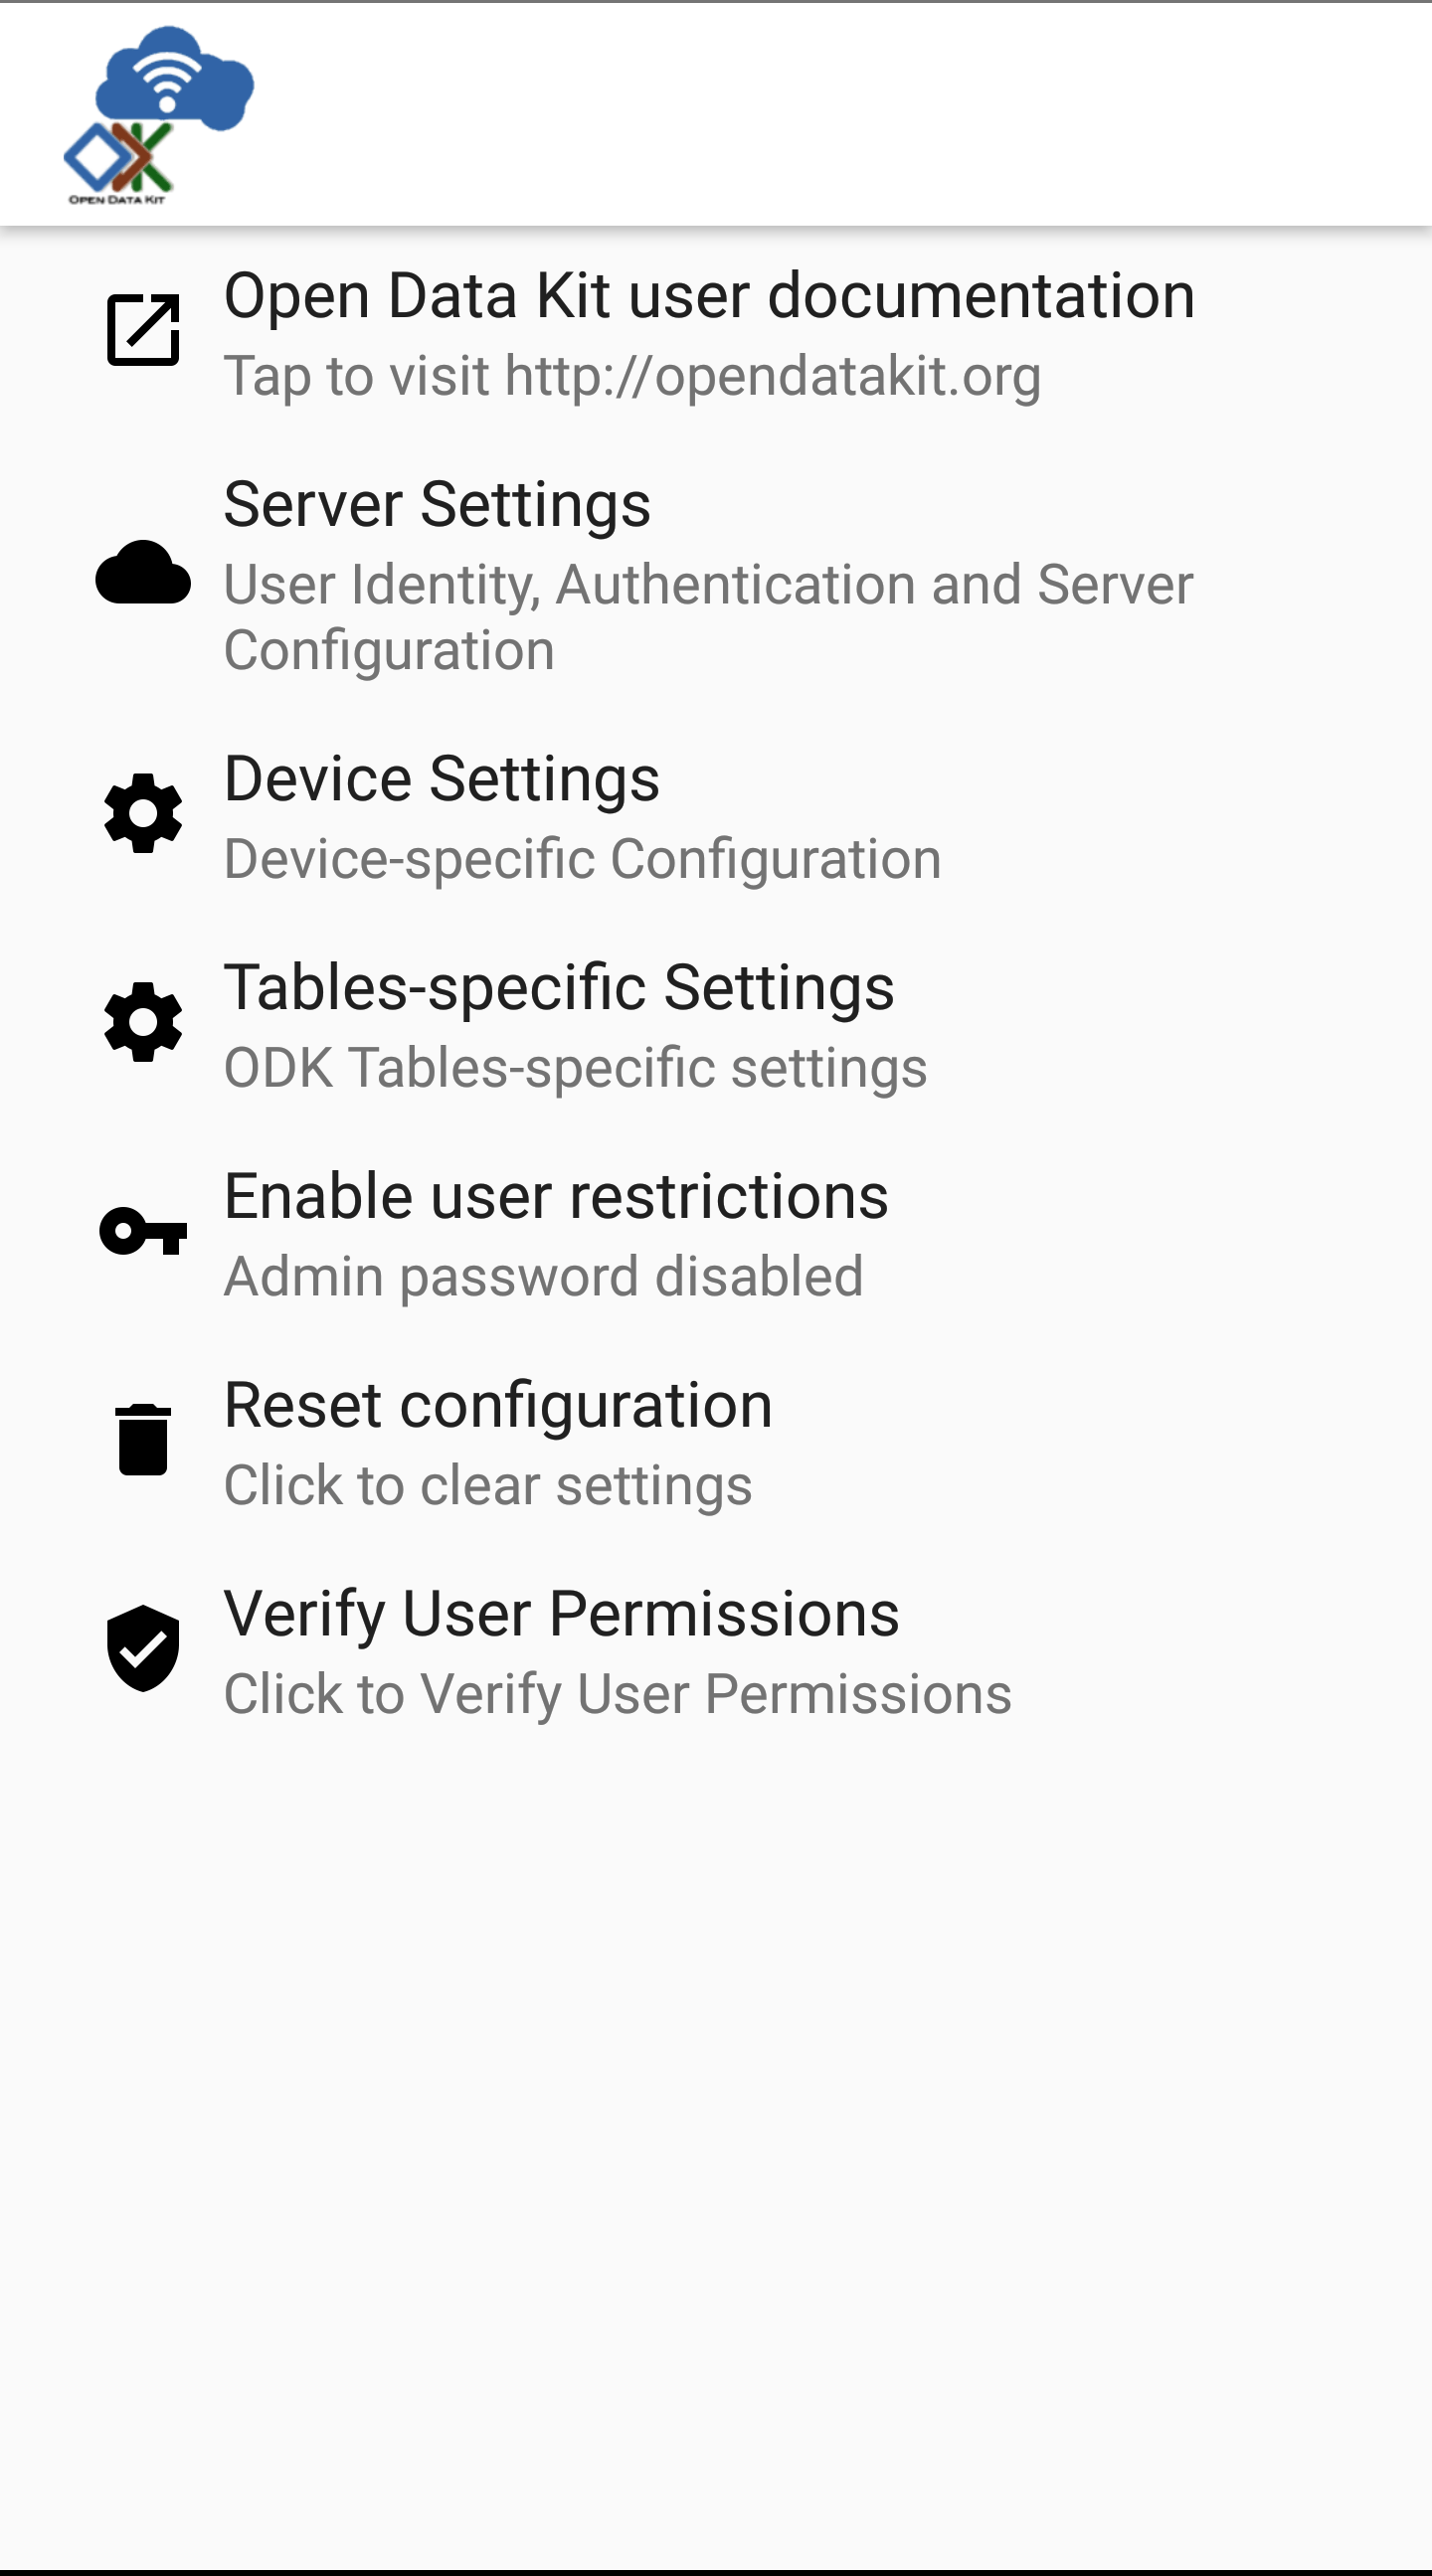
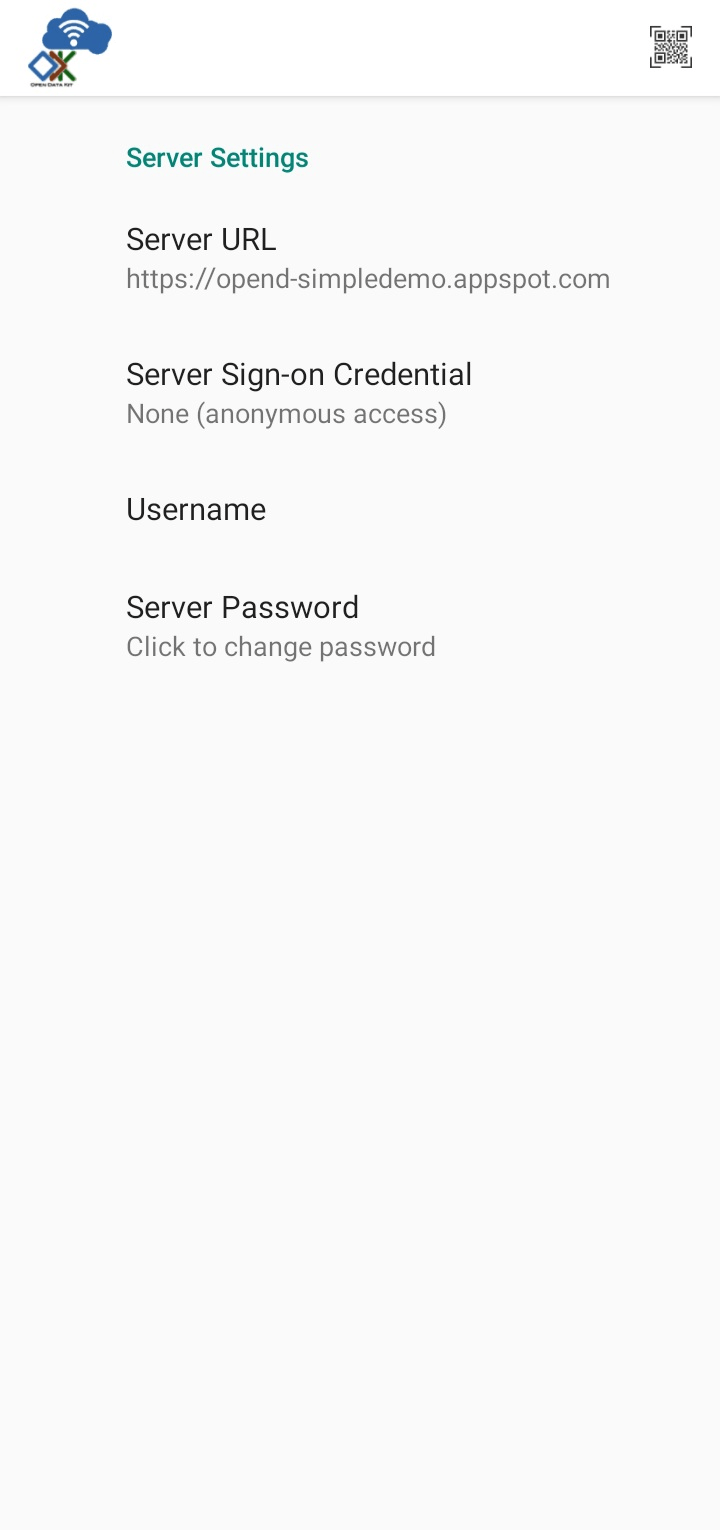
Choose Server URL and specify your server URL
Note
If you are using SSL, be sure to specify
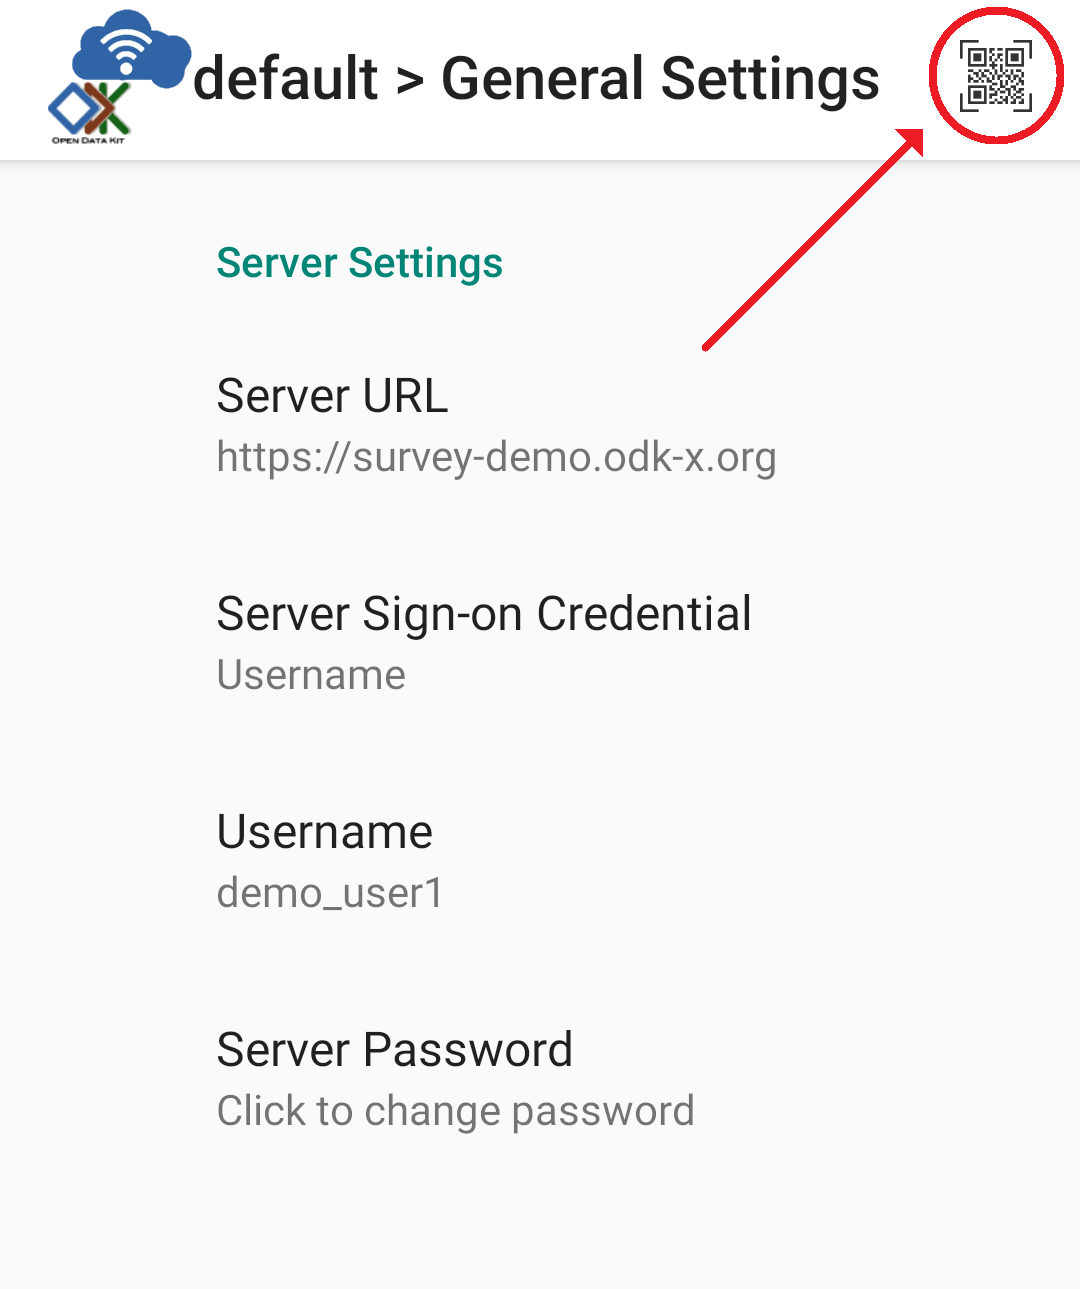
https://...ODK-X Services also provides a quick and easy option to login with a QR code.
Click on the QR icon in the top right corner.
The app will ask for camera permissions. Click Allow.
QR code scanner screen will appear. Scan a valid QR code.
Note
Use the web tab in the ODK-X Application Designer to generate QR codes.
Authenticate user credentials
Note
If your server is configured to allow anonymous access this step is optional.
Change the Server Sign-on Credential to and enter the appropriate credentials in the Username and Server Password fields.
Exit out of the page, and then the page, by using the back button.
You will then be asked to Authenticate Credentials. Select the Authenticate New User option.
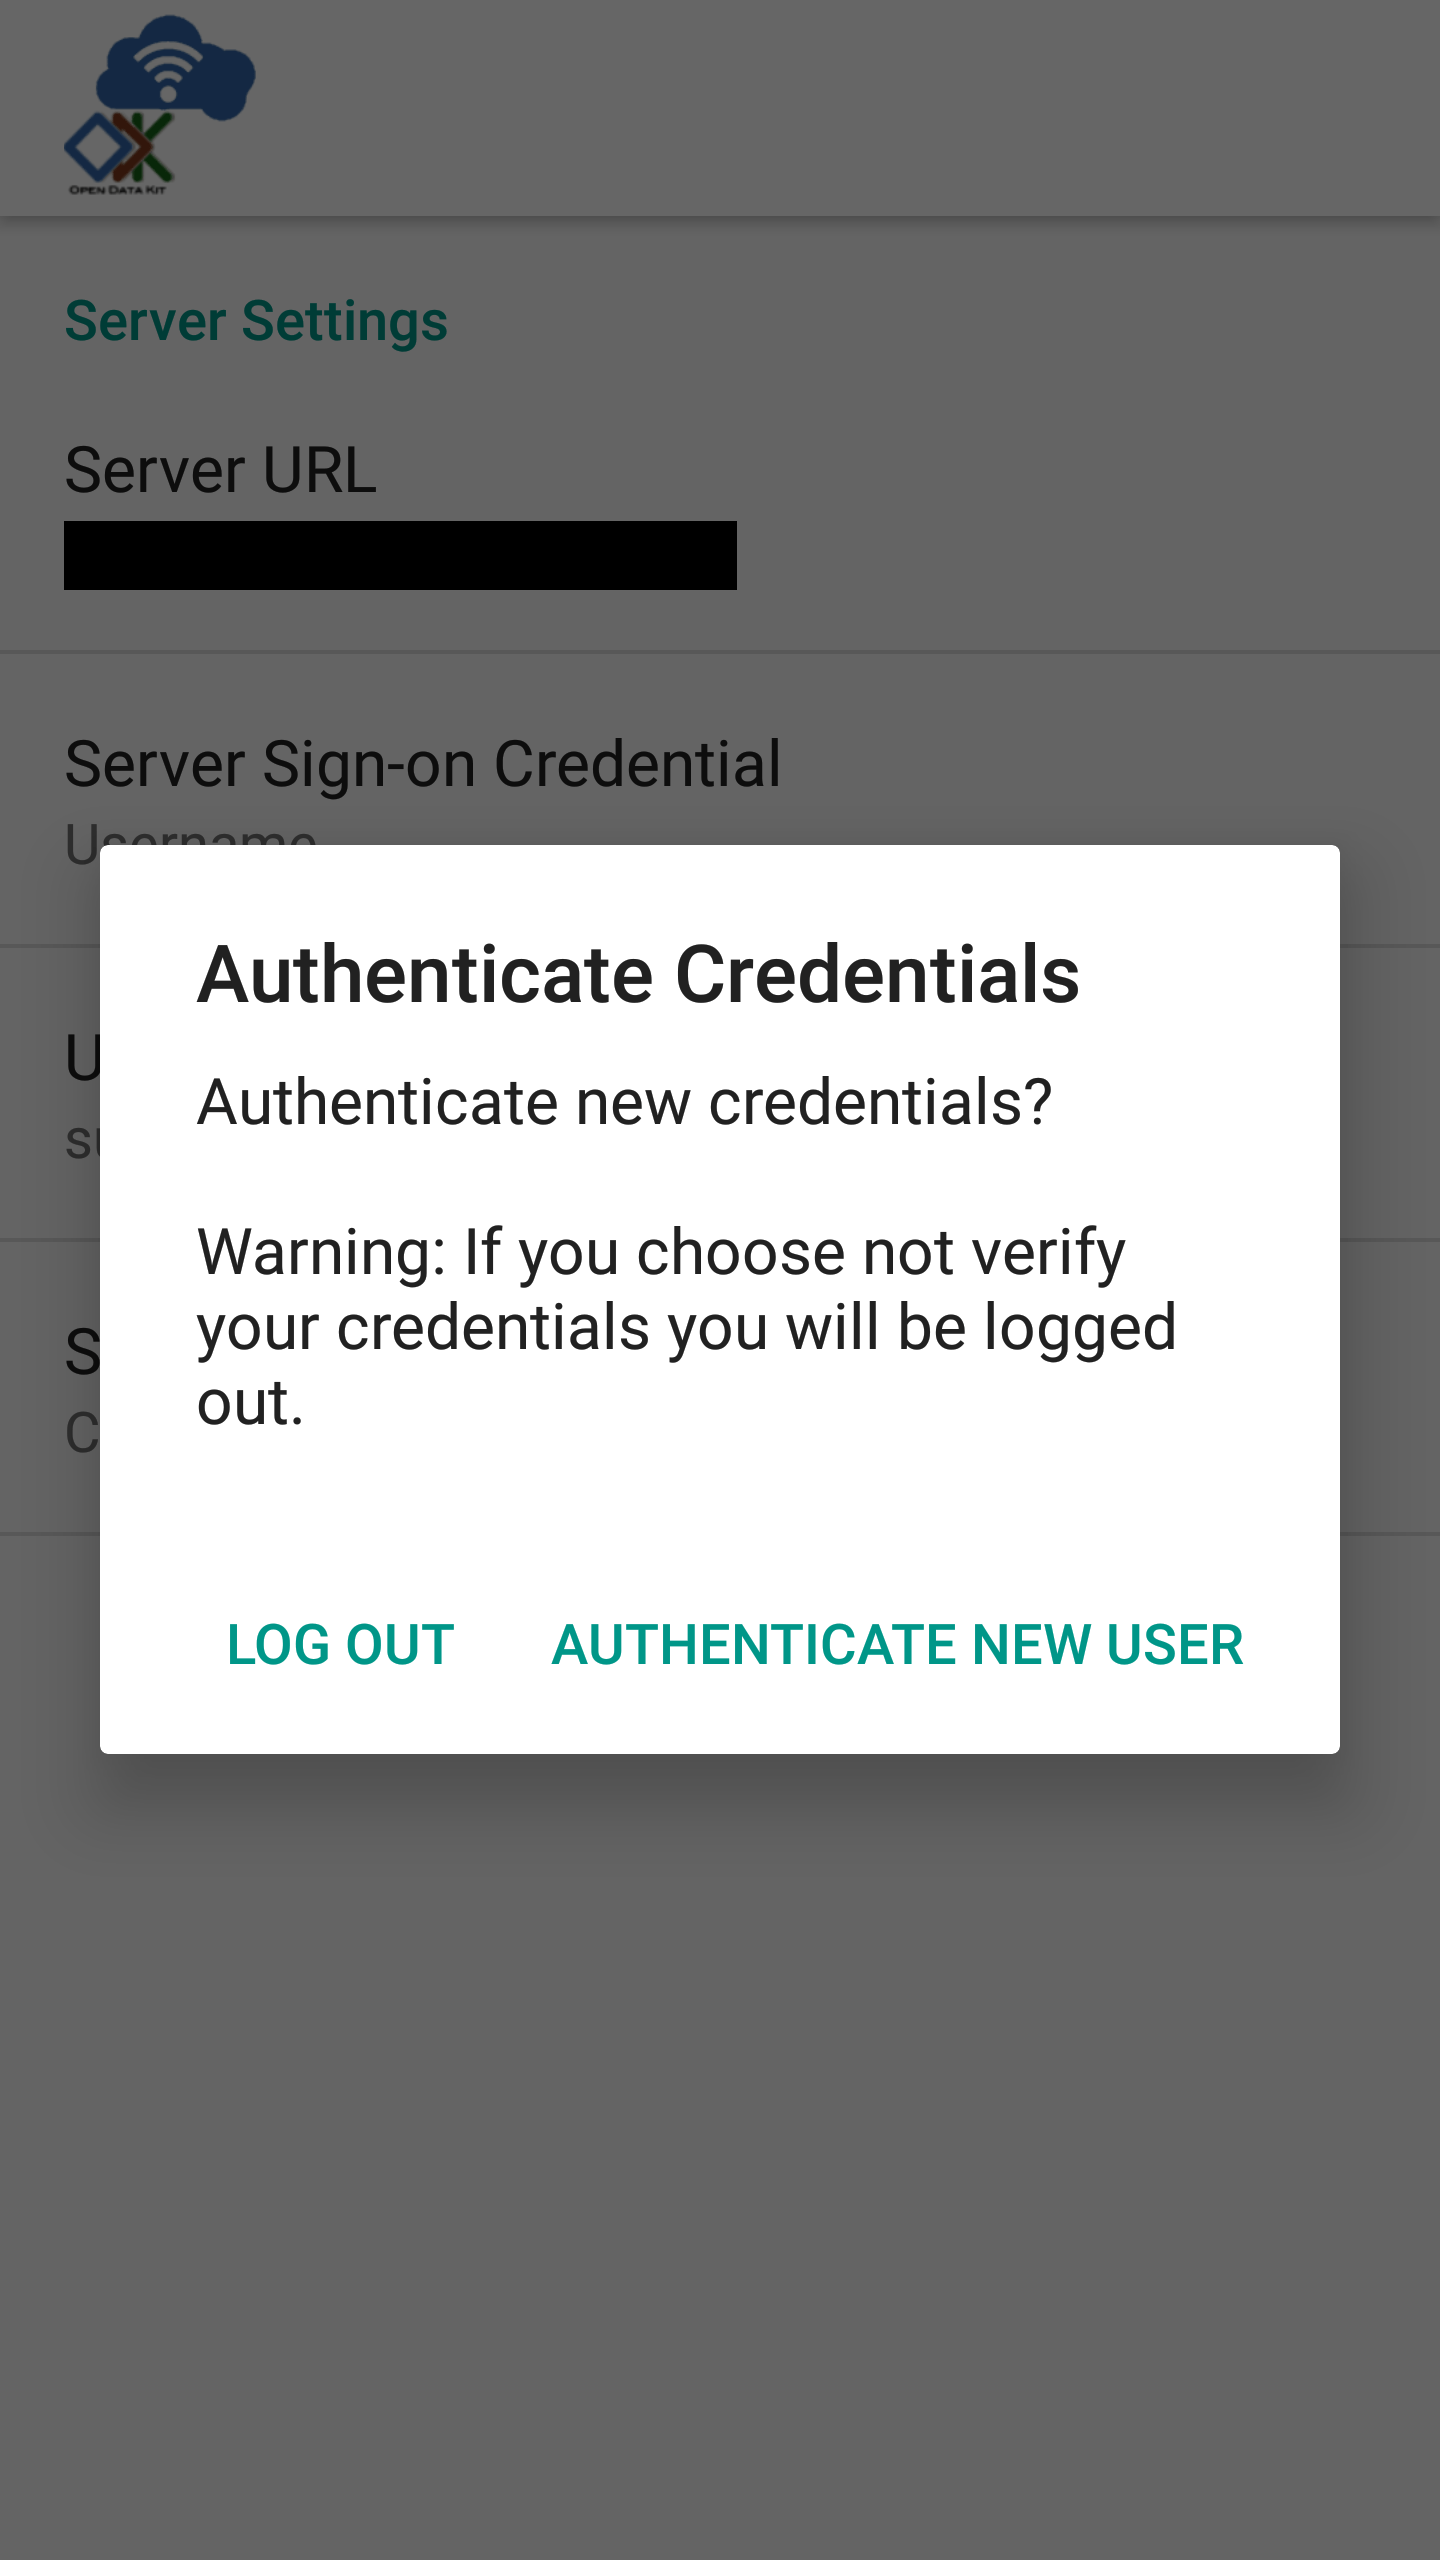
Warning
If you decline (by choosing to Log Out), or if your credential is rejected by the server, then your credential will be reset to the anonymous (unprivileged) user.
On the next screen select Verify User Permissions.
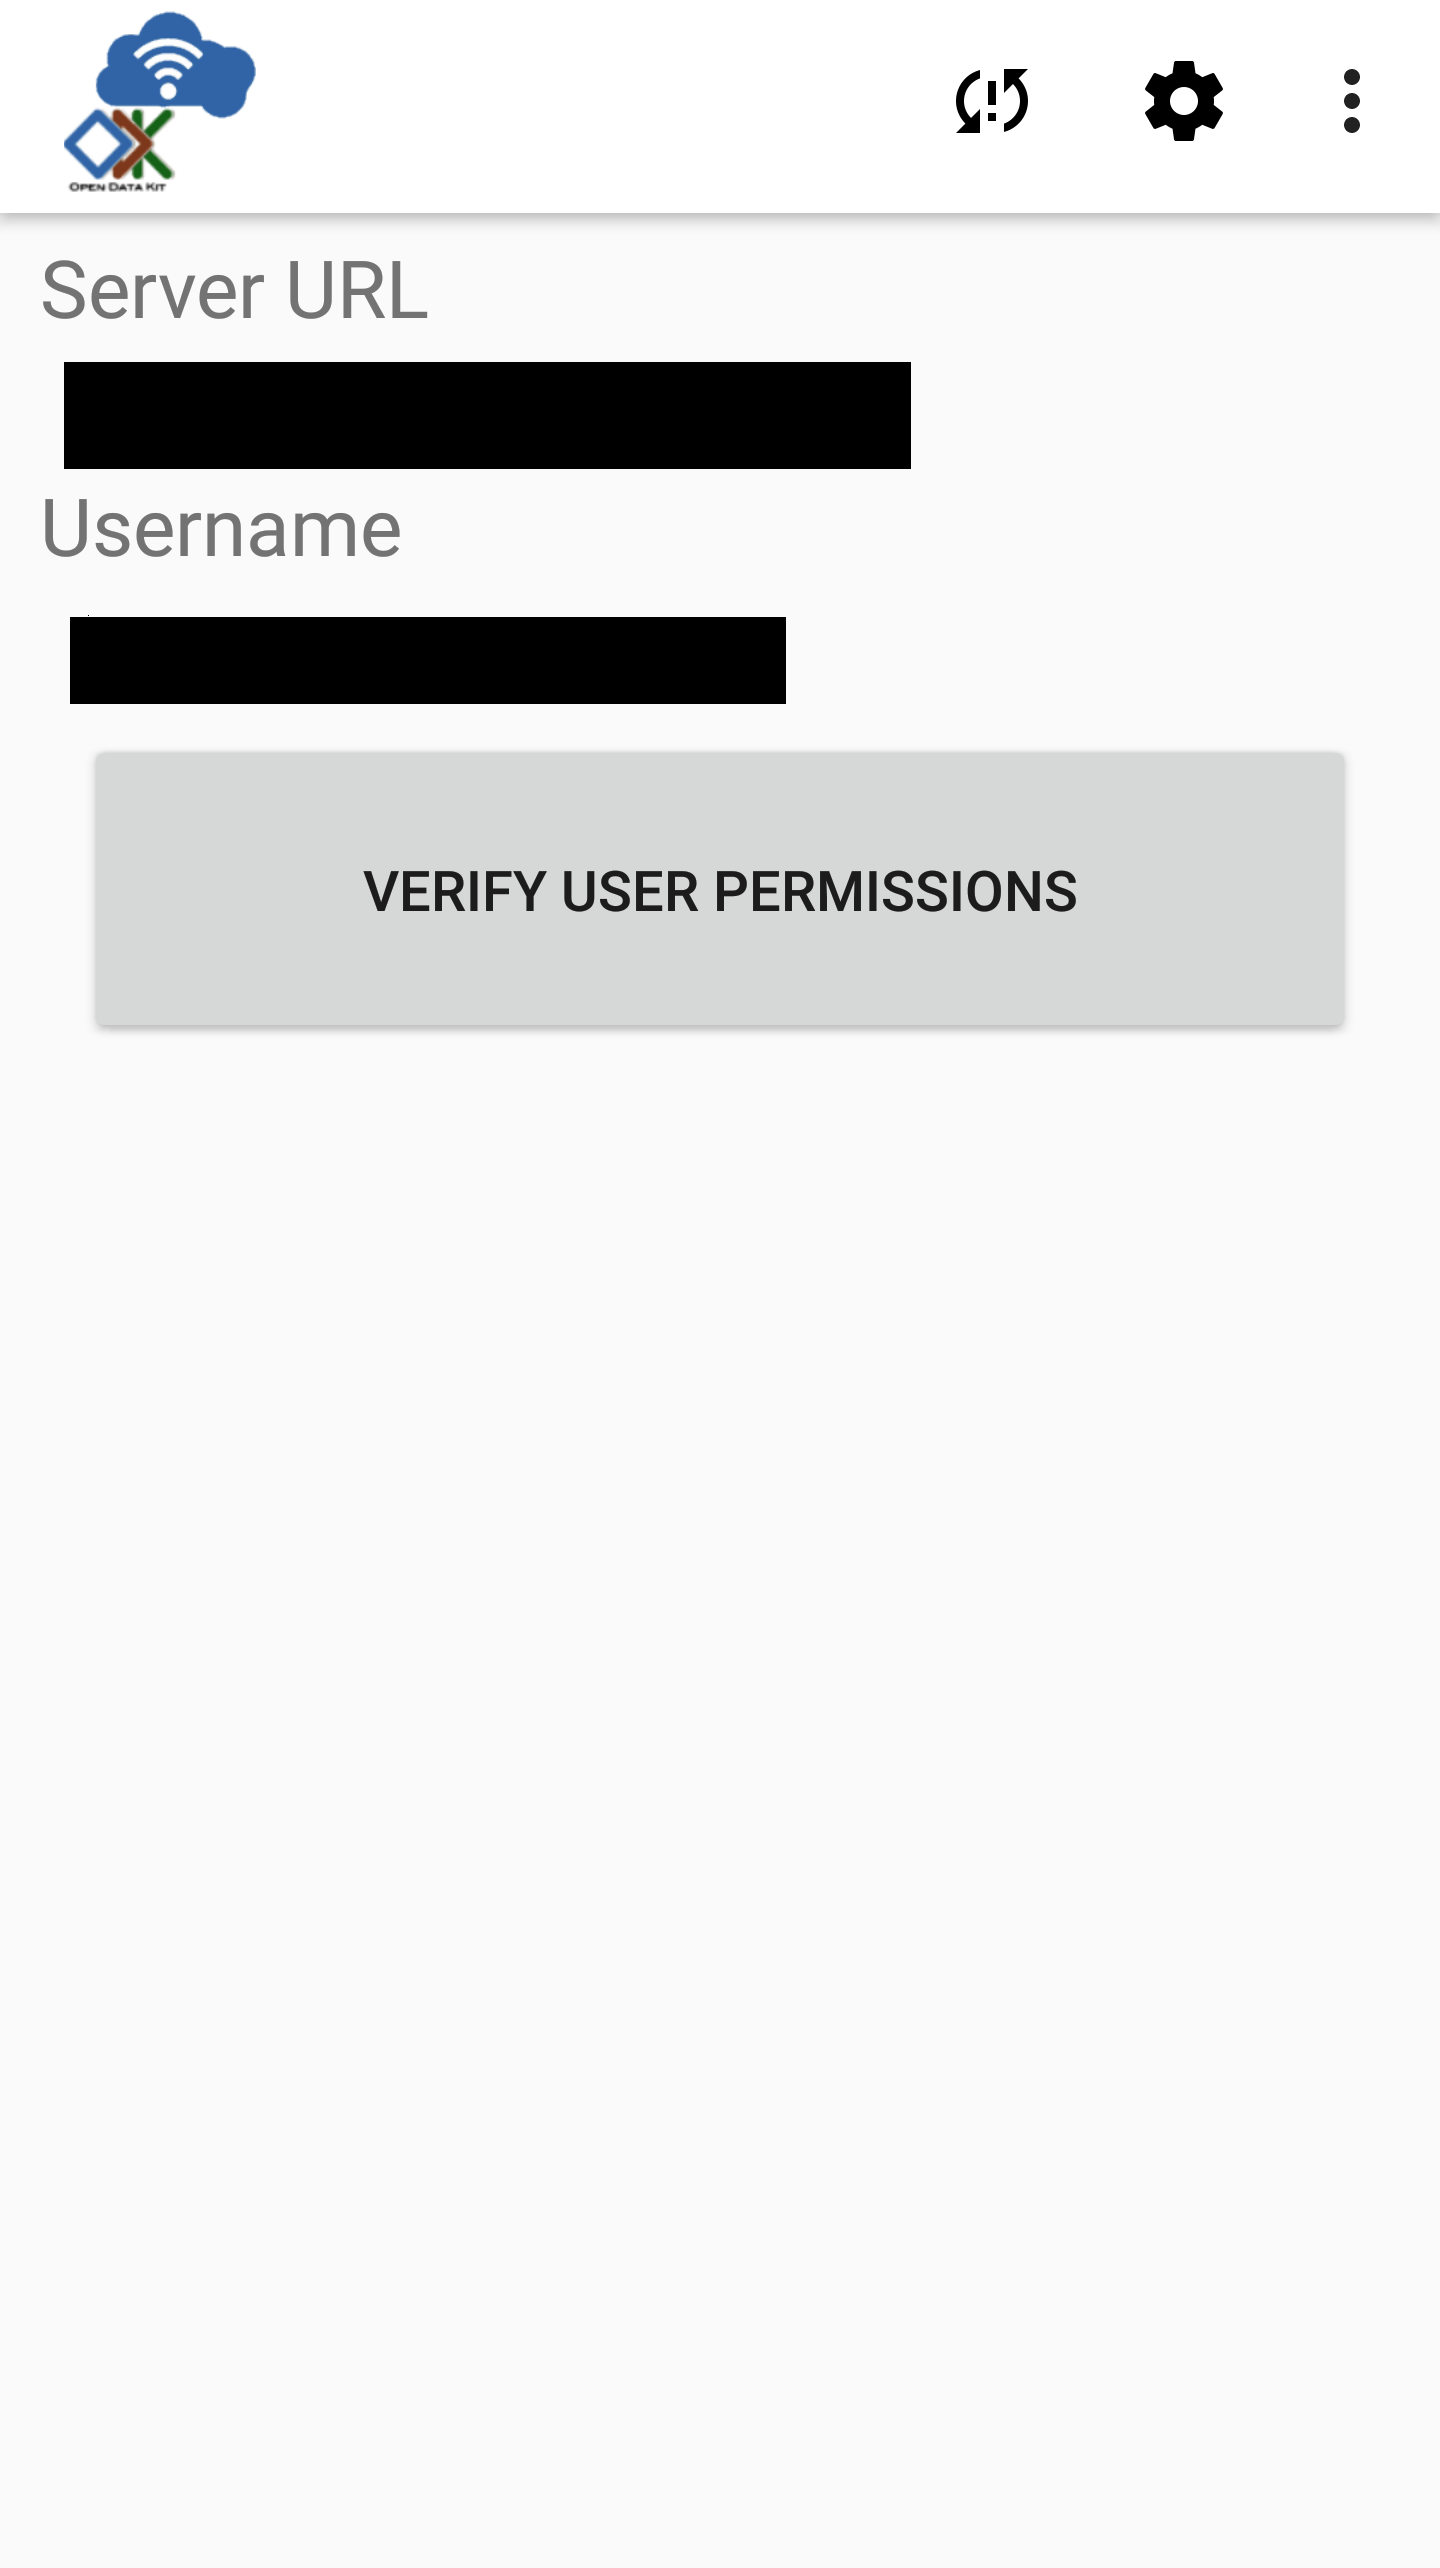
After the verification succeeds, you will see a Verification Successful popup, select OK.
Resetting the App Server
Resetting your app server pushes the configuration and data on your tablet up to the server. After pushing files from ODK-X Application Designer to the device, this is how to push those files to the server to initialize your Data Management Application. All other devices synchronizing with your server will receive these configuration and data files.
Note
This option should only be used to initialize or update your Cloud Endpoint.
Warning
If a data table on the server does not exist on the device, that table, all of its data, and all associated files (such as forms) will be deleted from the server.
If a data table on the server is identical to one on the device, the data in that table will be synced and the files on the server will be updated to be exactly those present on the device (deleting any files associated with this table that existed only on the server).
Before resetting:
It is critical that you first ensure that your device contains all the tables, files, and data you want to preserve in your application. See instructions.
Authenticate as a user who has administrator privileges. See instructions.
To reset the server you must launch the Sync screen. Launch Services. Click the Sync icon.
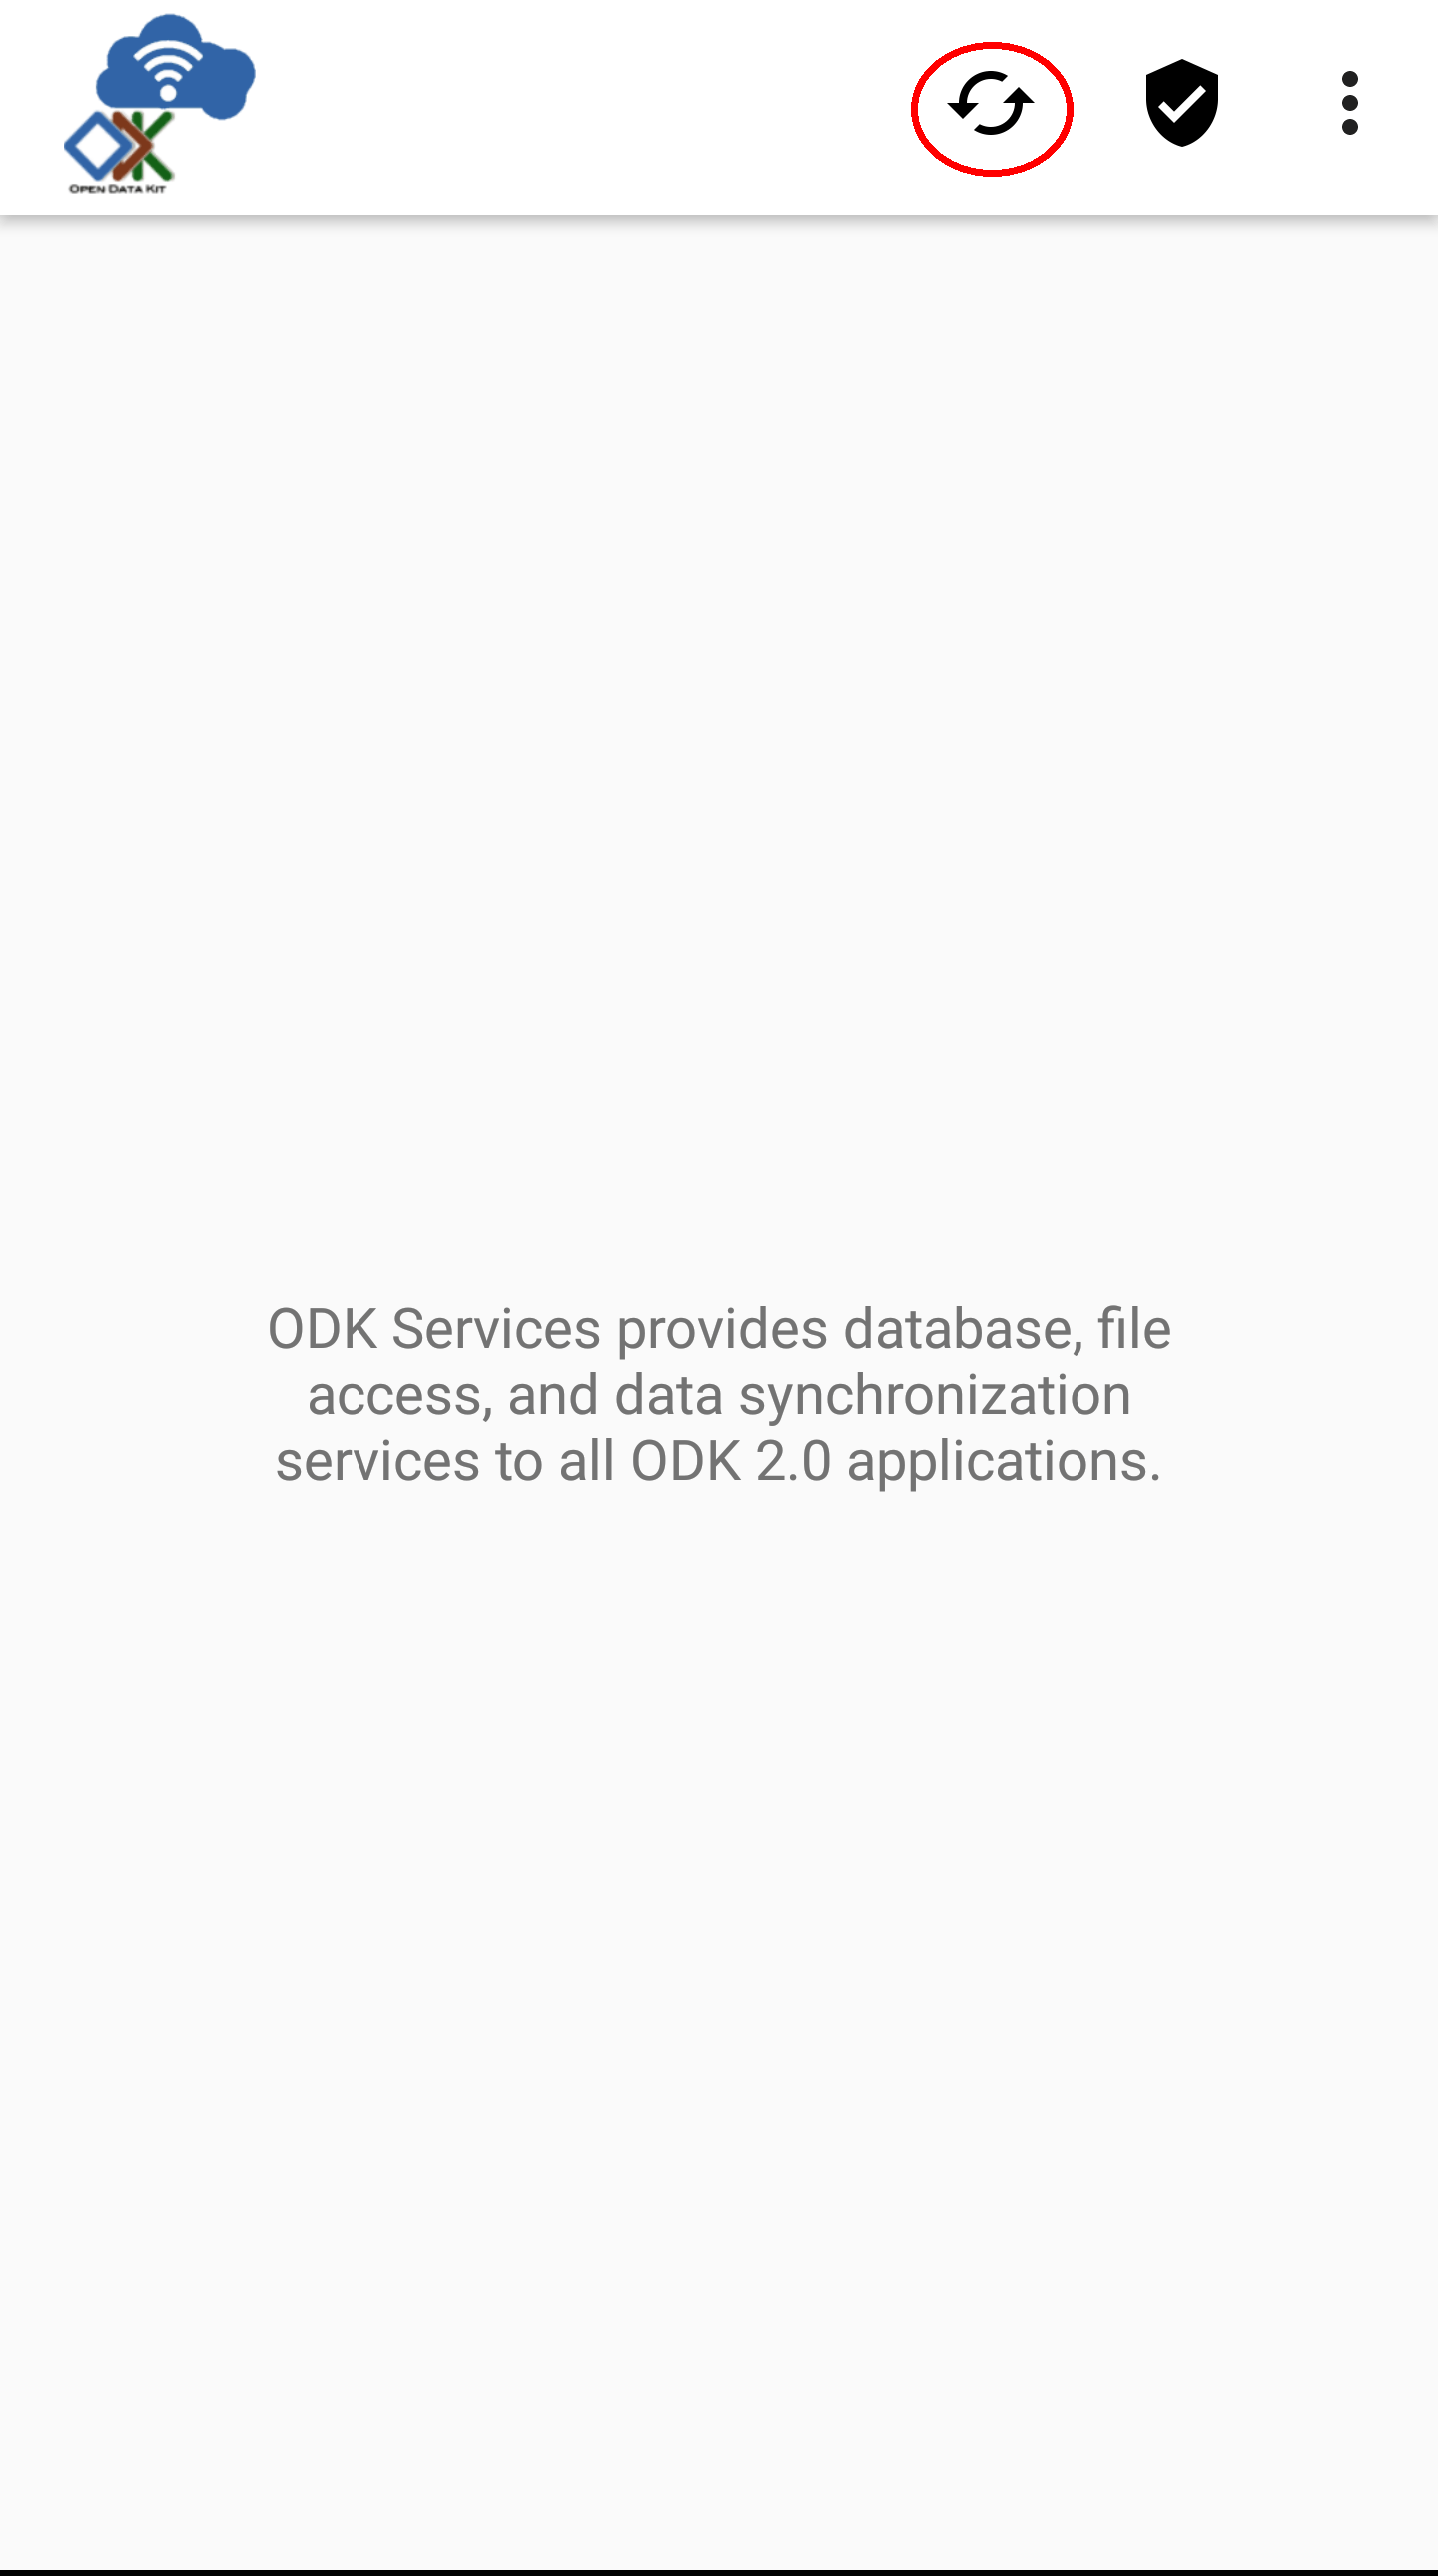
You will then see the Sync screen.
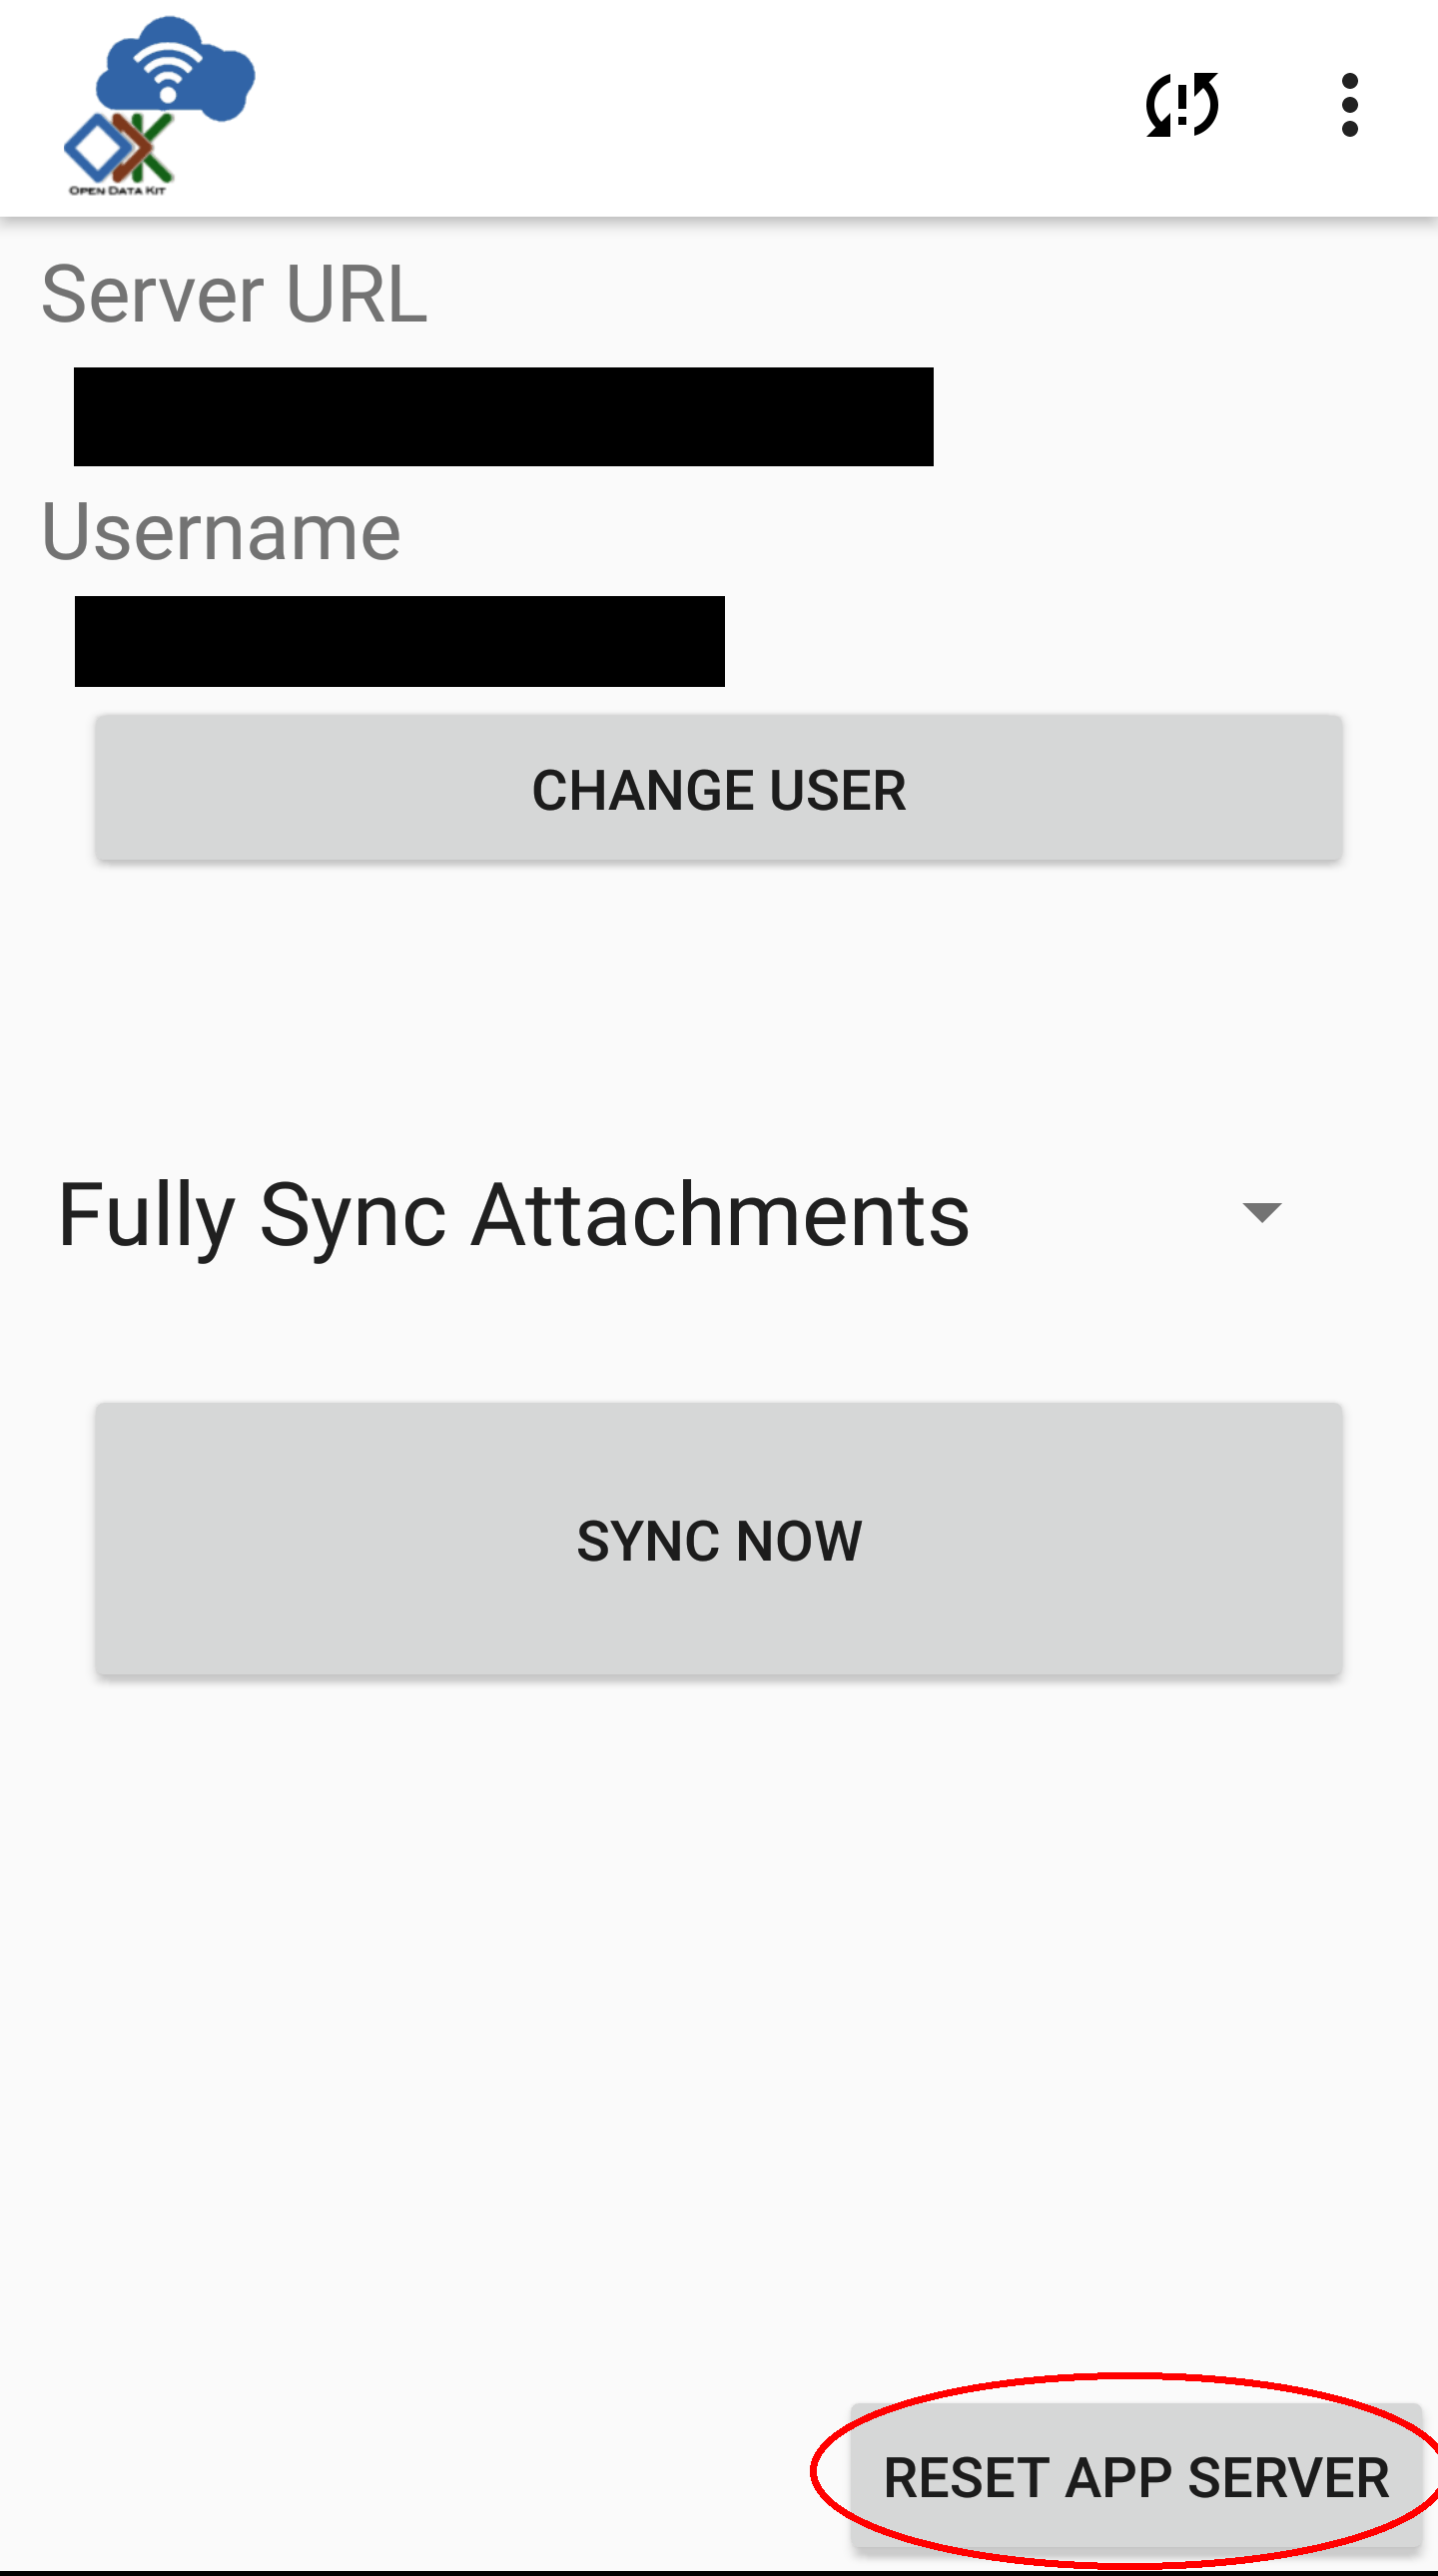
Before resetting, you should verify all options are set correctly.
The username can be changed by pressing the Change User button. If you do not see the Reset App Server button then you need to change users to an administrator. Instructions are provided in the Authenticating Users section.
Warning
If you authenticate as a different user after modifying data in the database, you could lose changes. Each user can have their own set of permissions to read, write, and delete different portions of the database. If you switch from one set of permissions to another, changes to areas that the new user is not allowed to modify may be lost.
To prevent this be sure to synchronize all changes before authenticating new users.
The sync interaction has four options for managing file attachments. These are offered if bandwidth or storage is a concern:
- Default - Synchronize all file attachments with the server.
- Only upload attachments from the device to the server.
- Only download attachments from the server to the device.
- Do not sync any attachments.
Note
All four of the attachment options will fully synchronize your database. This includes all completed forms and collected data.
Click on Reset App Server. A confirmation dialog will popup asking you to confirm resetting the App Server. Again, this can delete all data on this Cloud Endpoint! If you are sure you want to continue, click Reset.
Services will contact the ODK-X Cloud Endpoint and attempt to push all configuration and data currently on the tablet up to the specified Cloud Endpoint. A progress dialog will be displayed and, alternatively, the status of resetting the app server can be obtained by looking at the notifications generated by Services in the notification area.
Note
The sync will proceed whether or not you remain on this page and you can use the back button to back out of it and return to your work.
Warning
Should you begin modifying data rows while syncing, the changes to those rows will not be synced until you save them as incomplete or finalize the row, and the act of editing will generally mark the sync as having ended with conflicts. This means that you must complete your edits and re-issue the sync to ensure that your changes are propagated up to the server.
Administrator Settings
Administer settings allow you to lock in certain settings so that they cannot be changed without the administrator password.
Tip
To modify a setting locked behind administrator privileges, enter the administrator password and then access that setting.
Setting an Administrator Password
Open Services. Press the Action Button (⋮)
Select
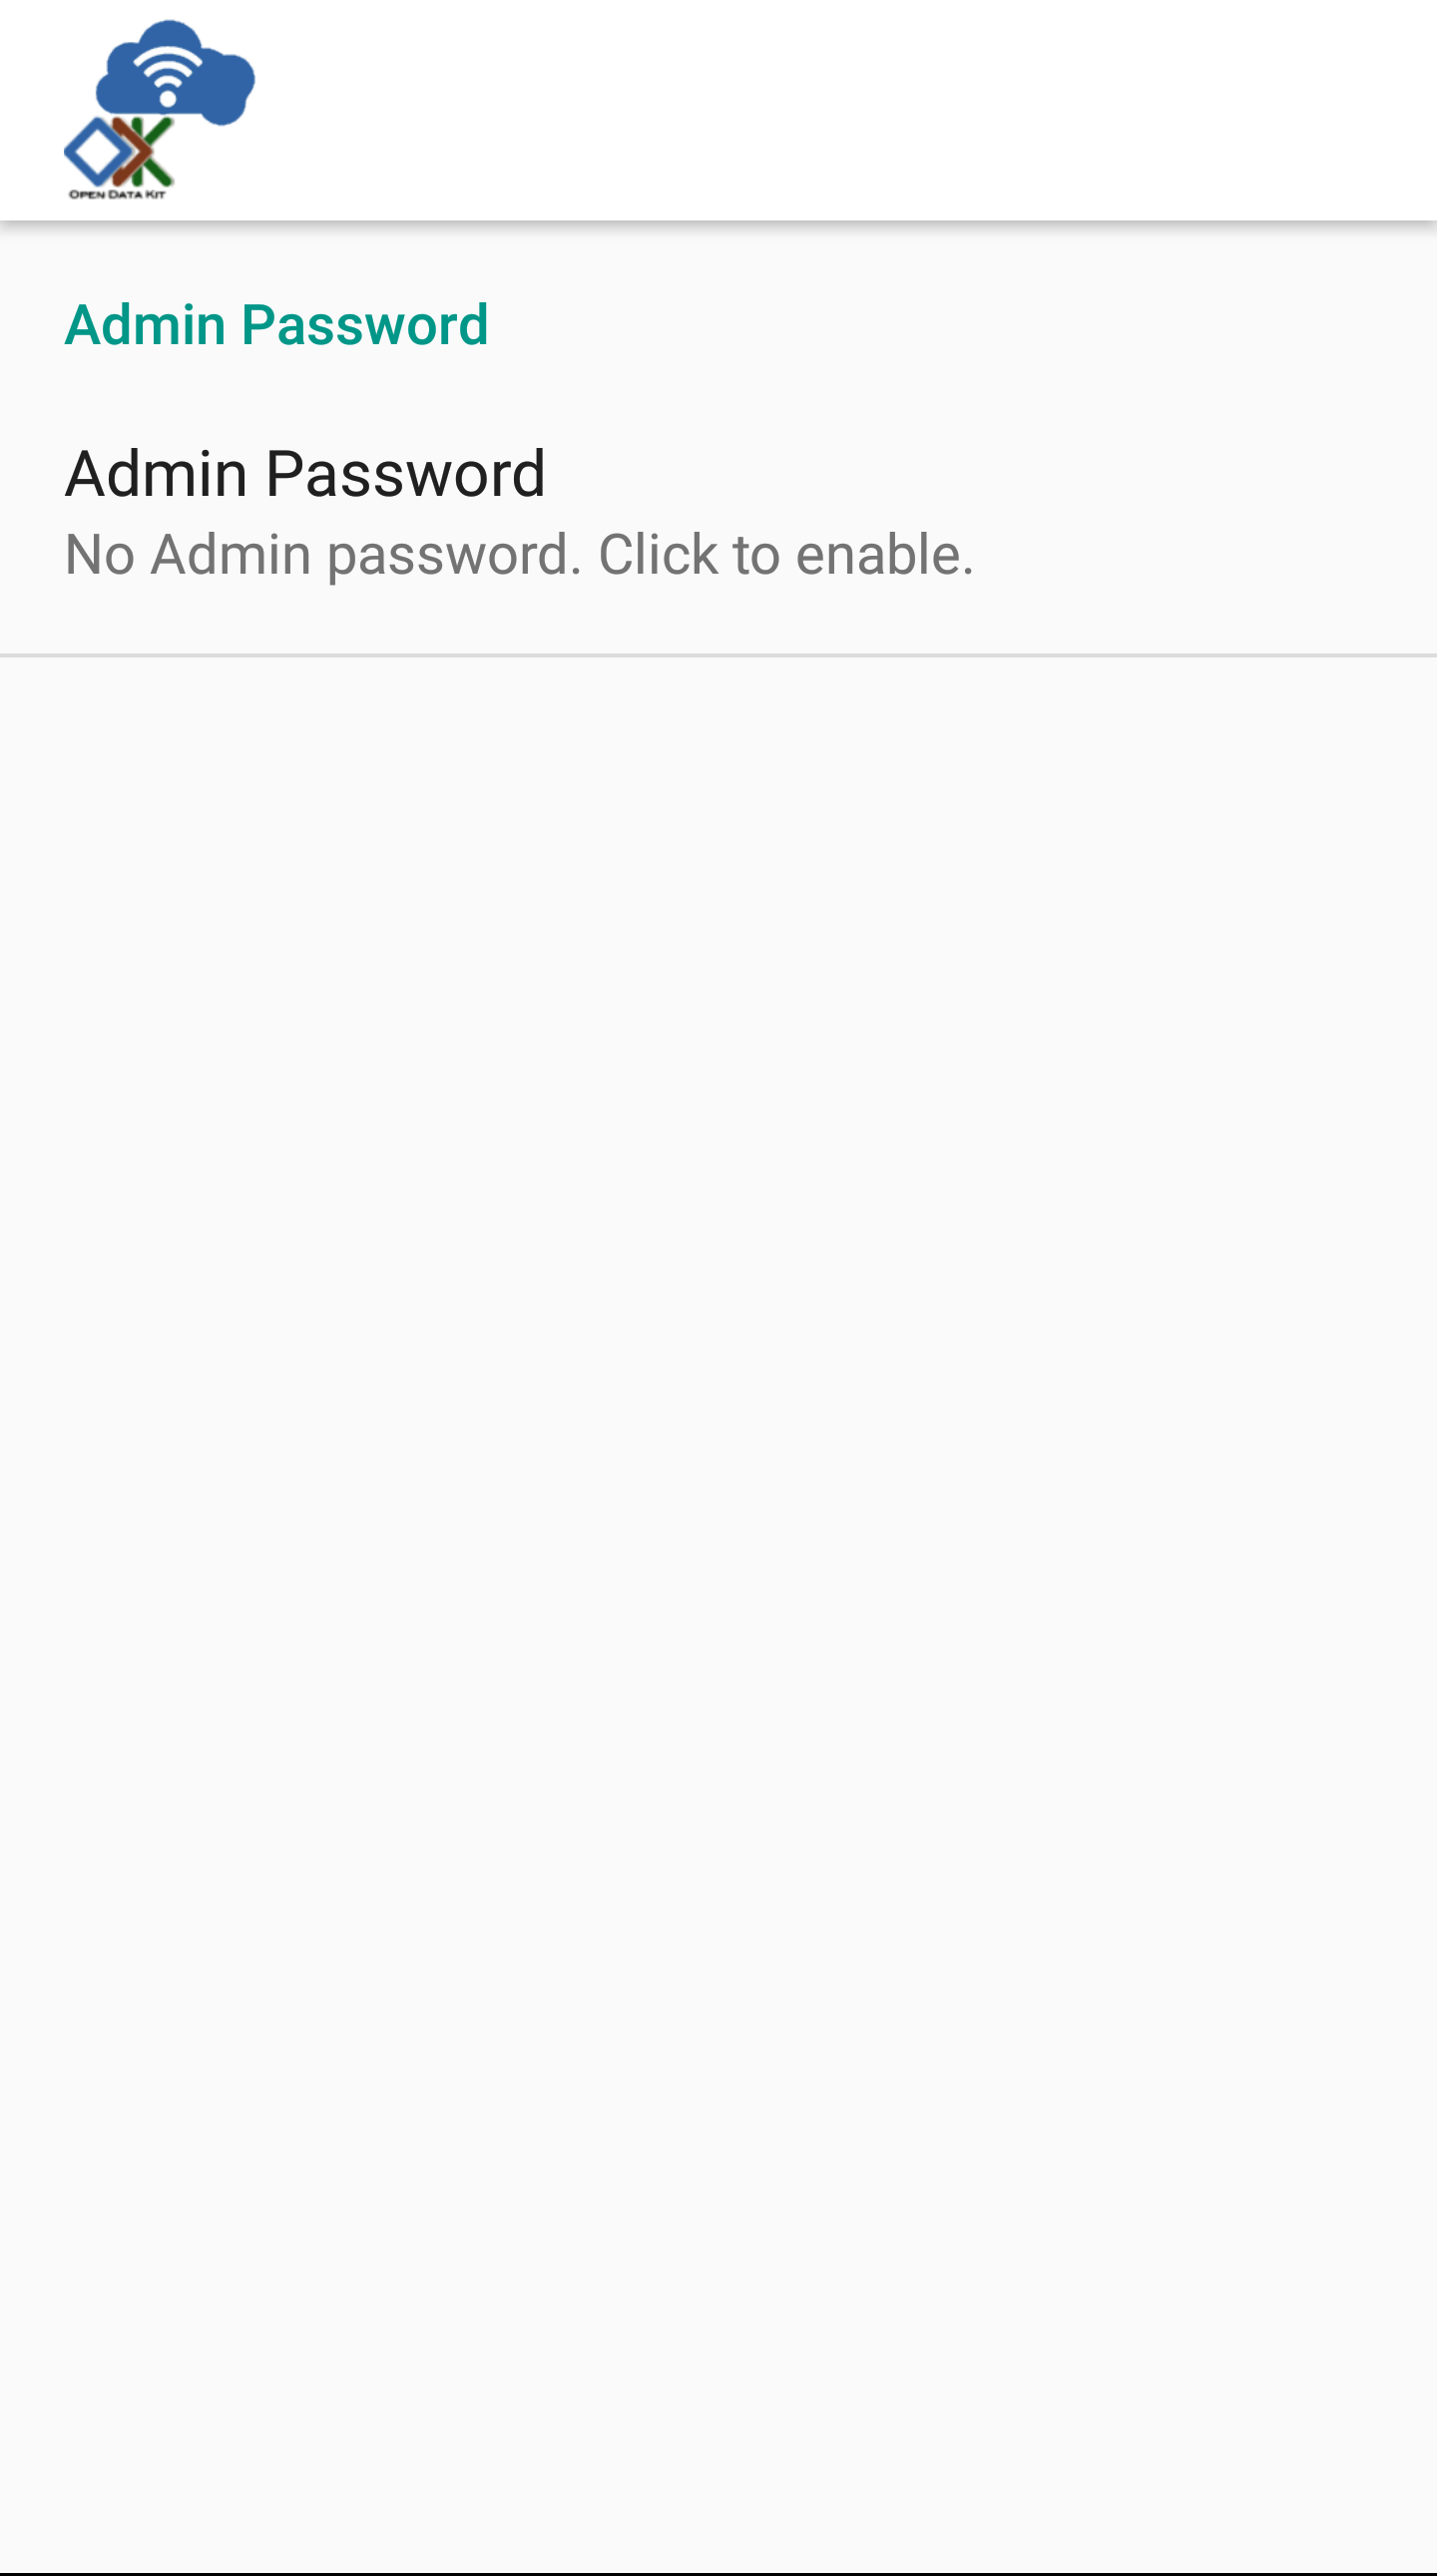
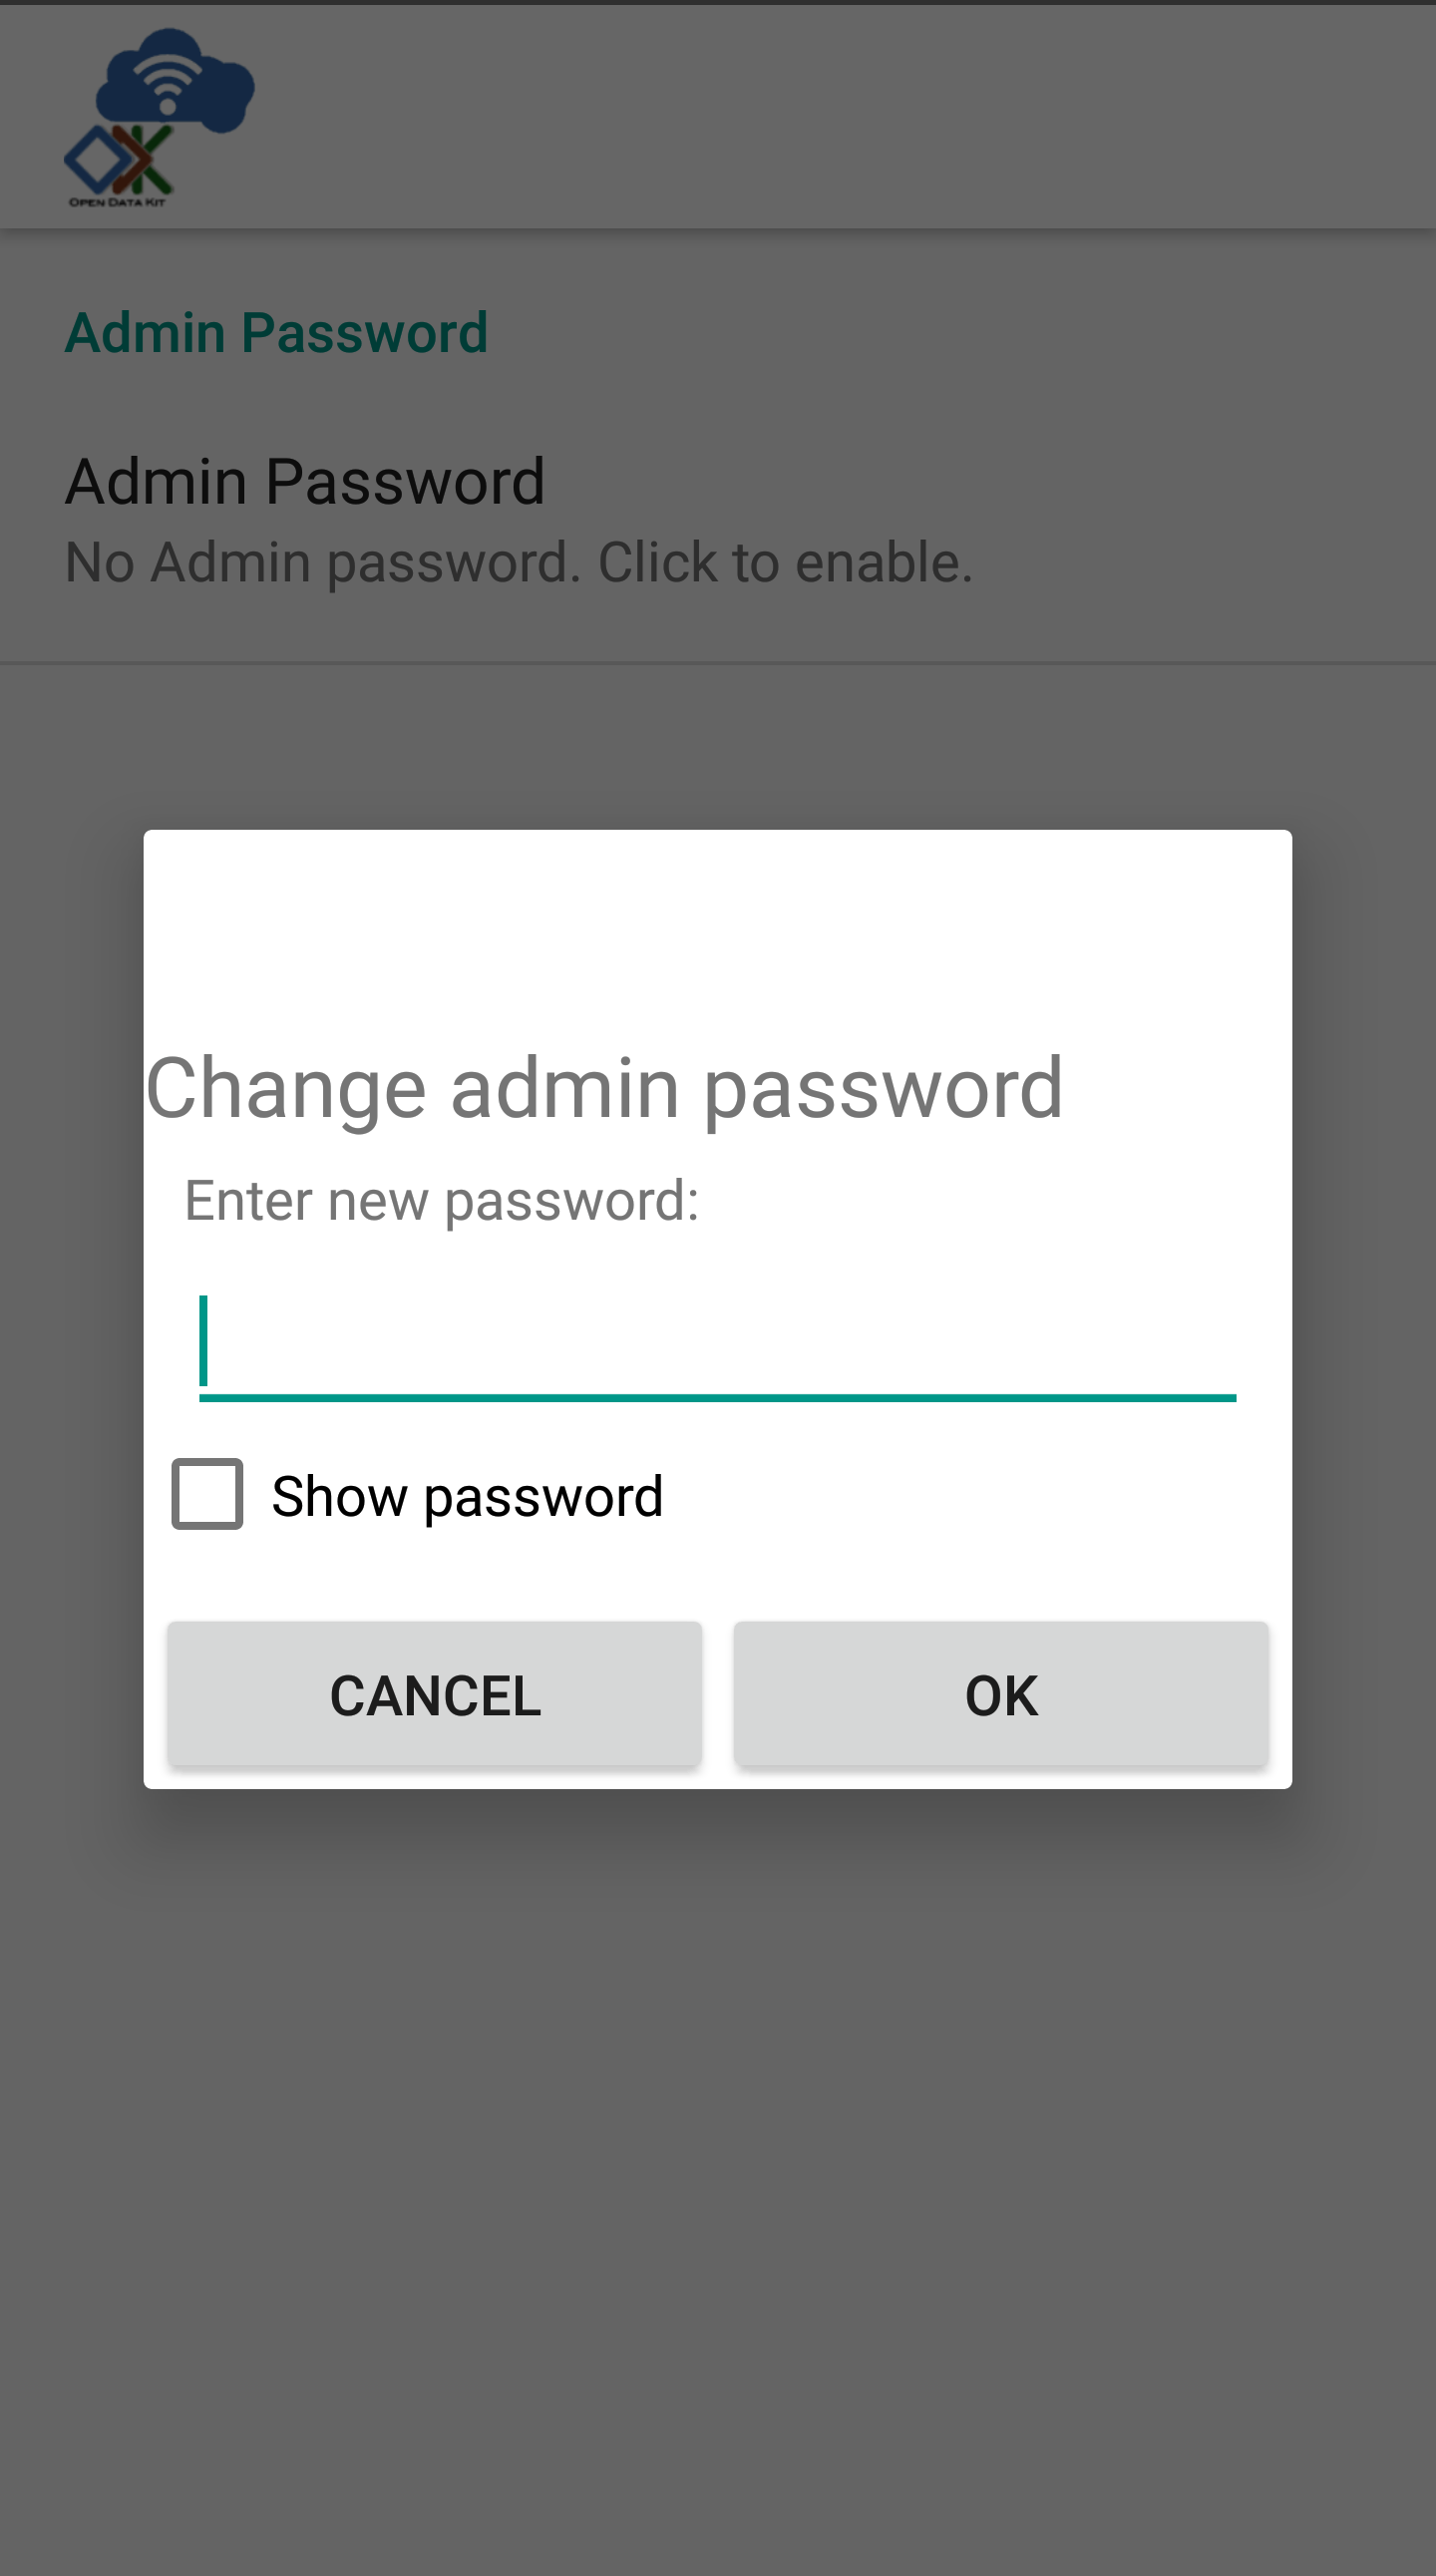
Select . A prompt will appear where you can enter a new admin password.
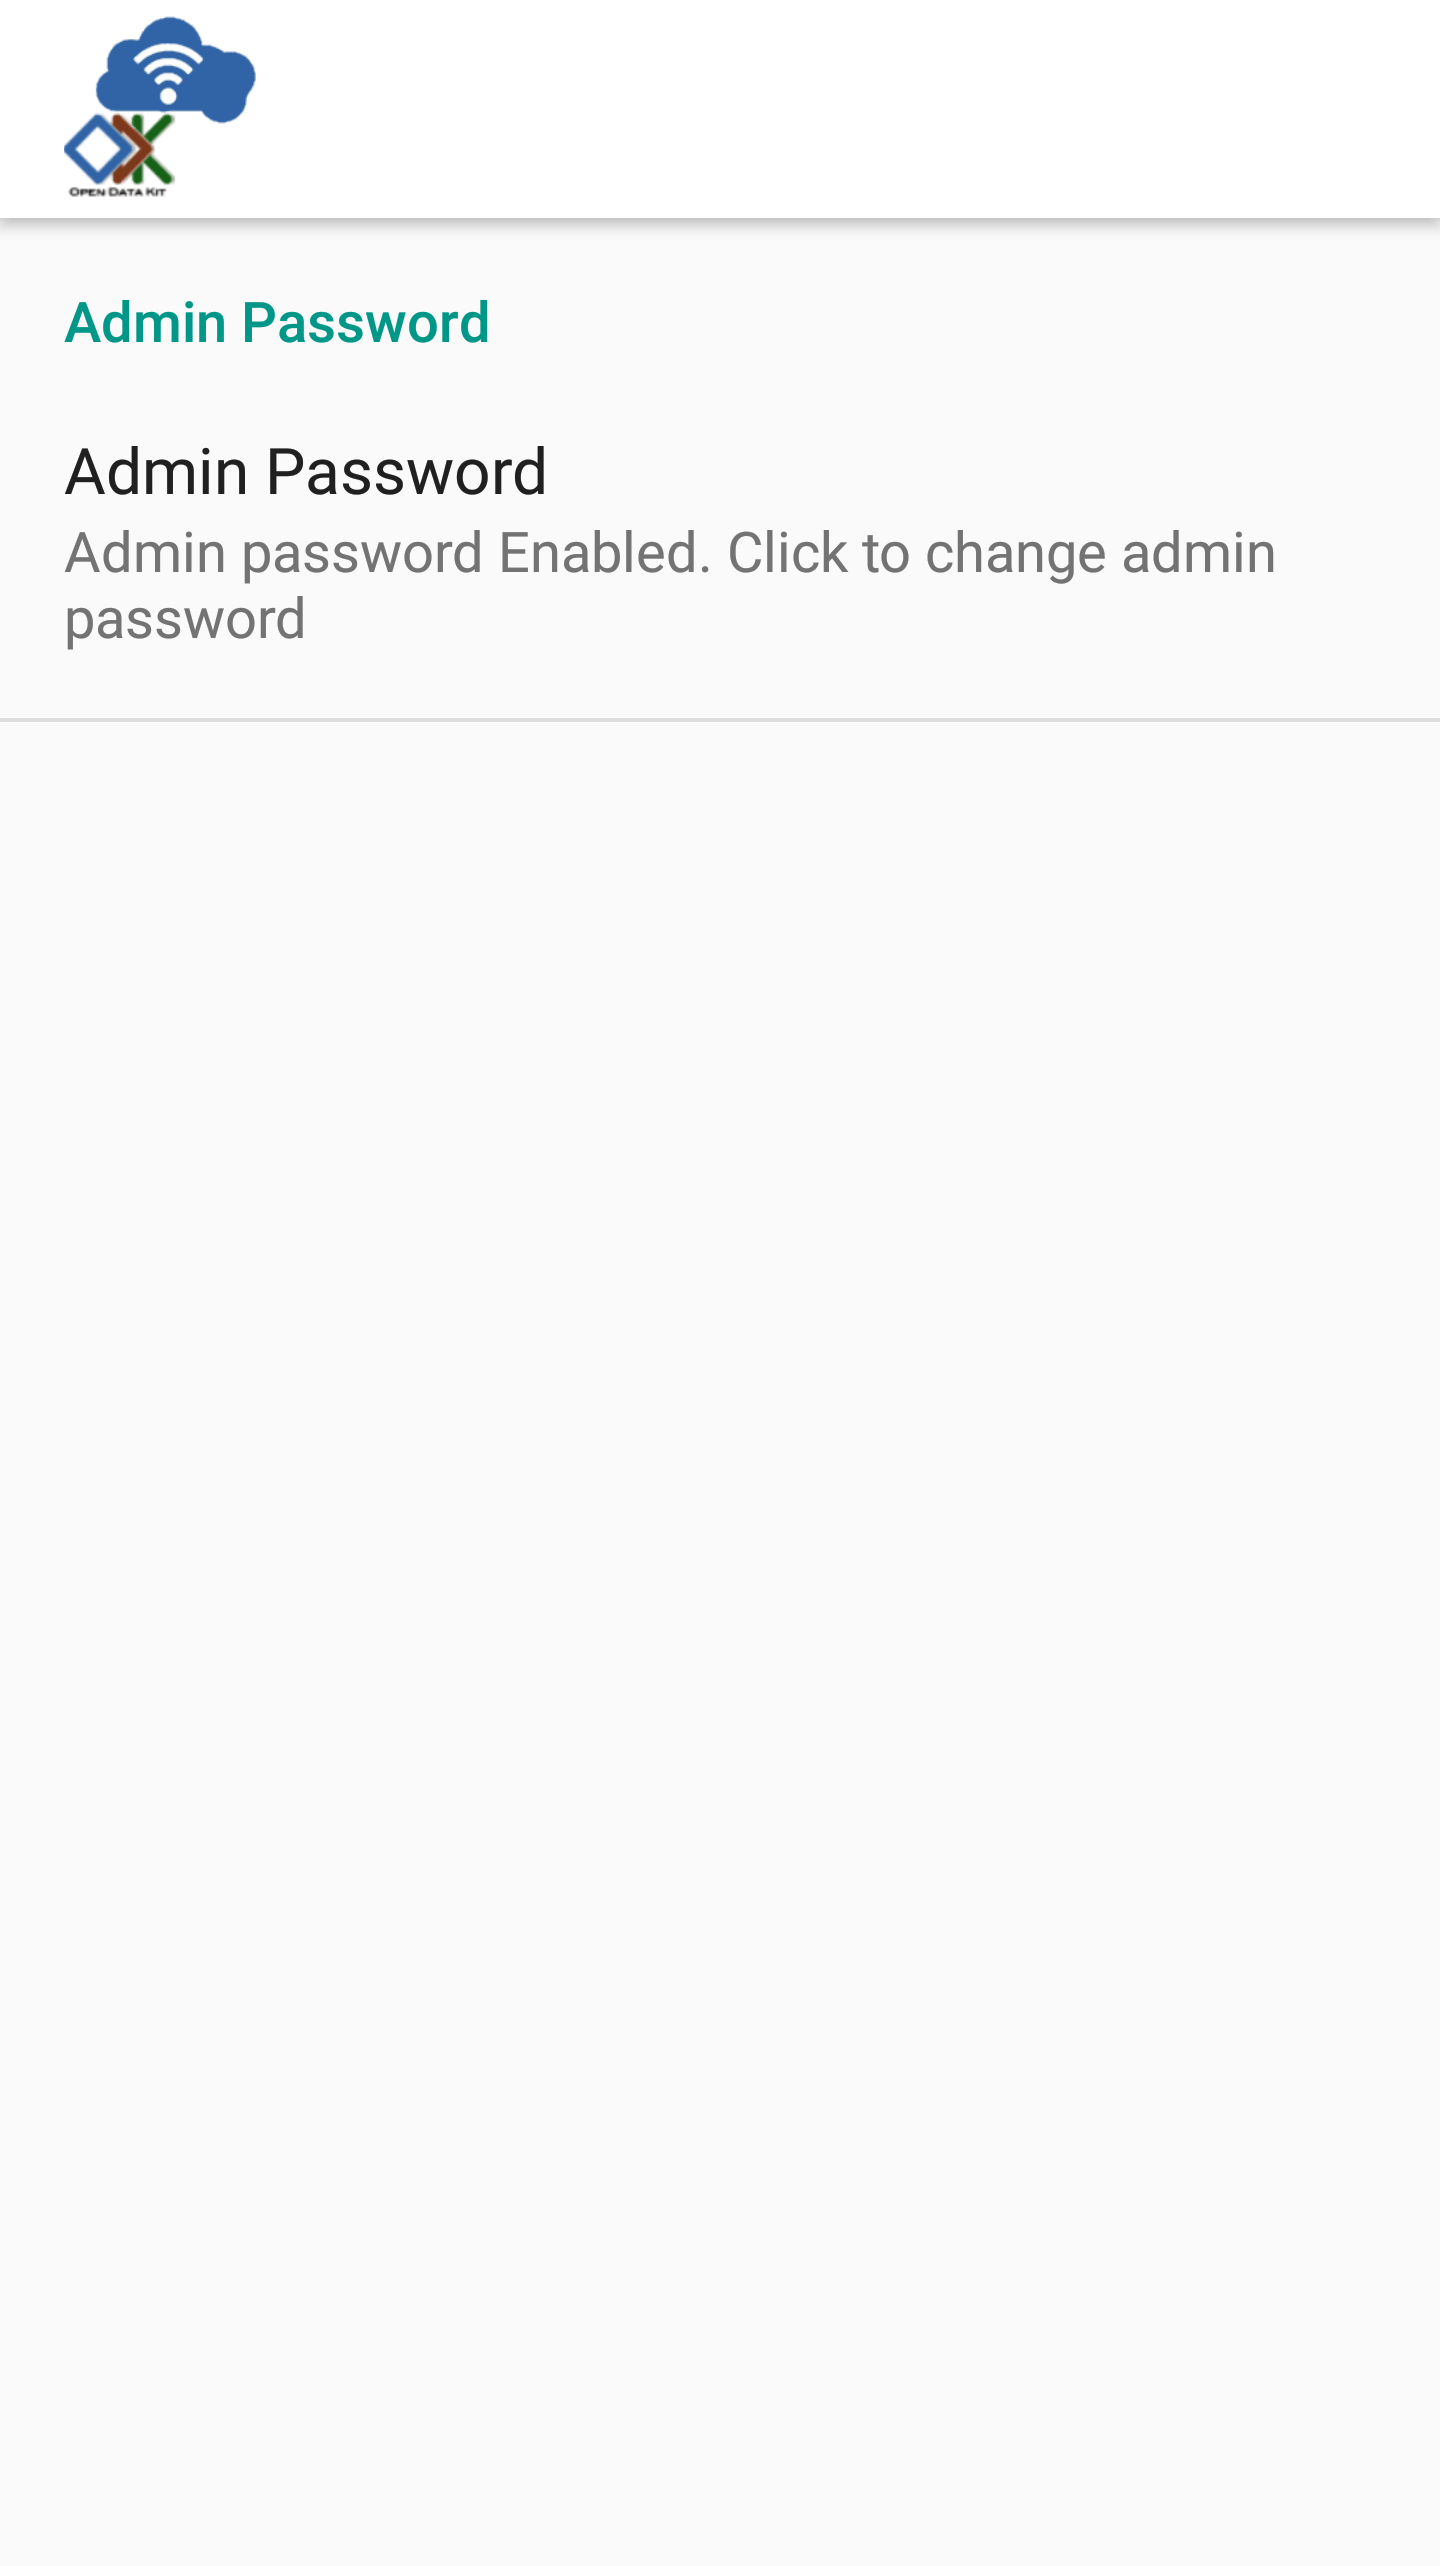
After creating an admin password, the screen shows that it is enabled.
Back out to the Settings screen
Accessing Administrator Settings
After the administrator password is set, you can enter it to access the administrator settings.
From the Settings screen, select
You will be prompted to enter the admin password.
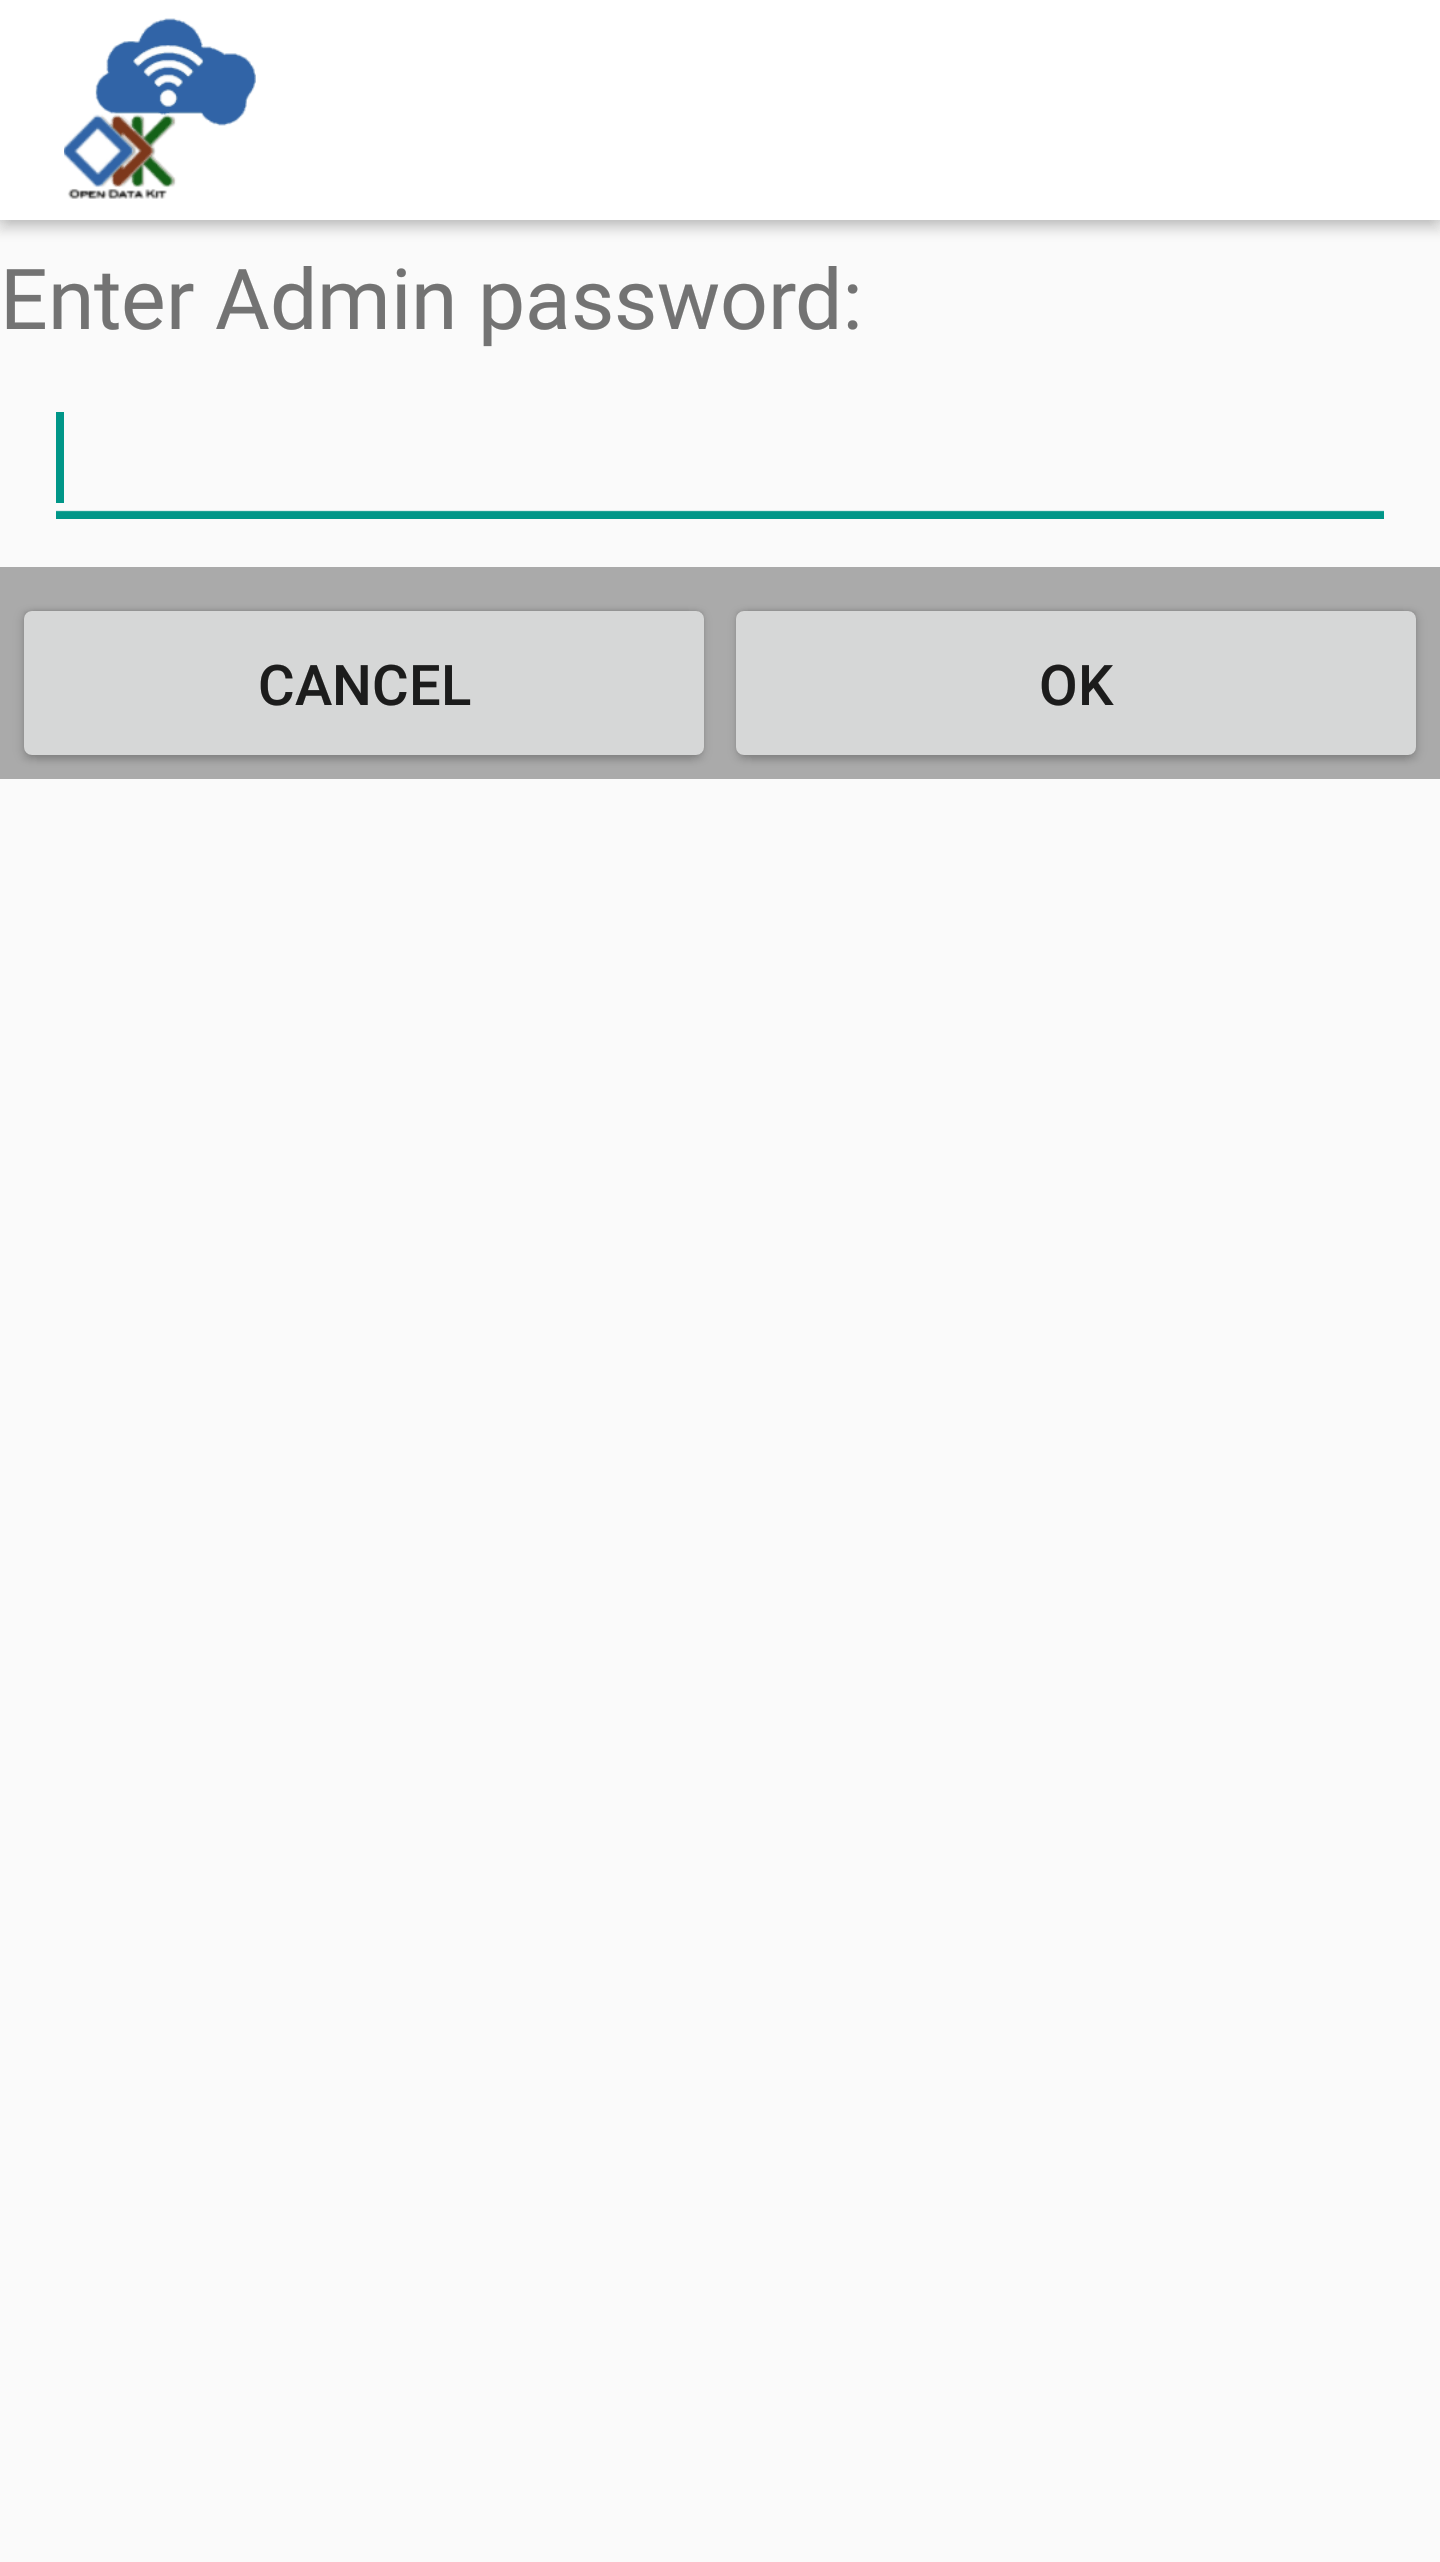
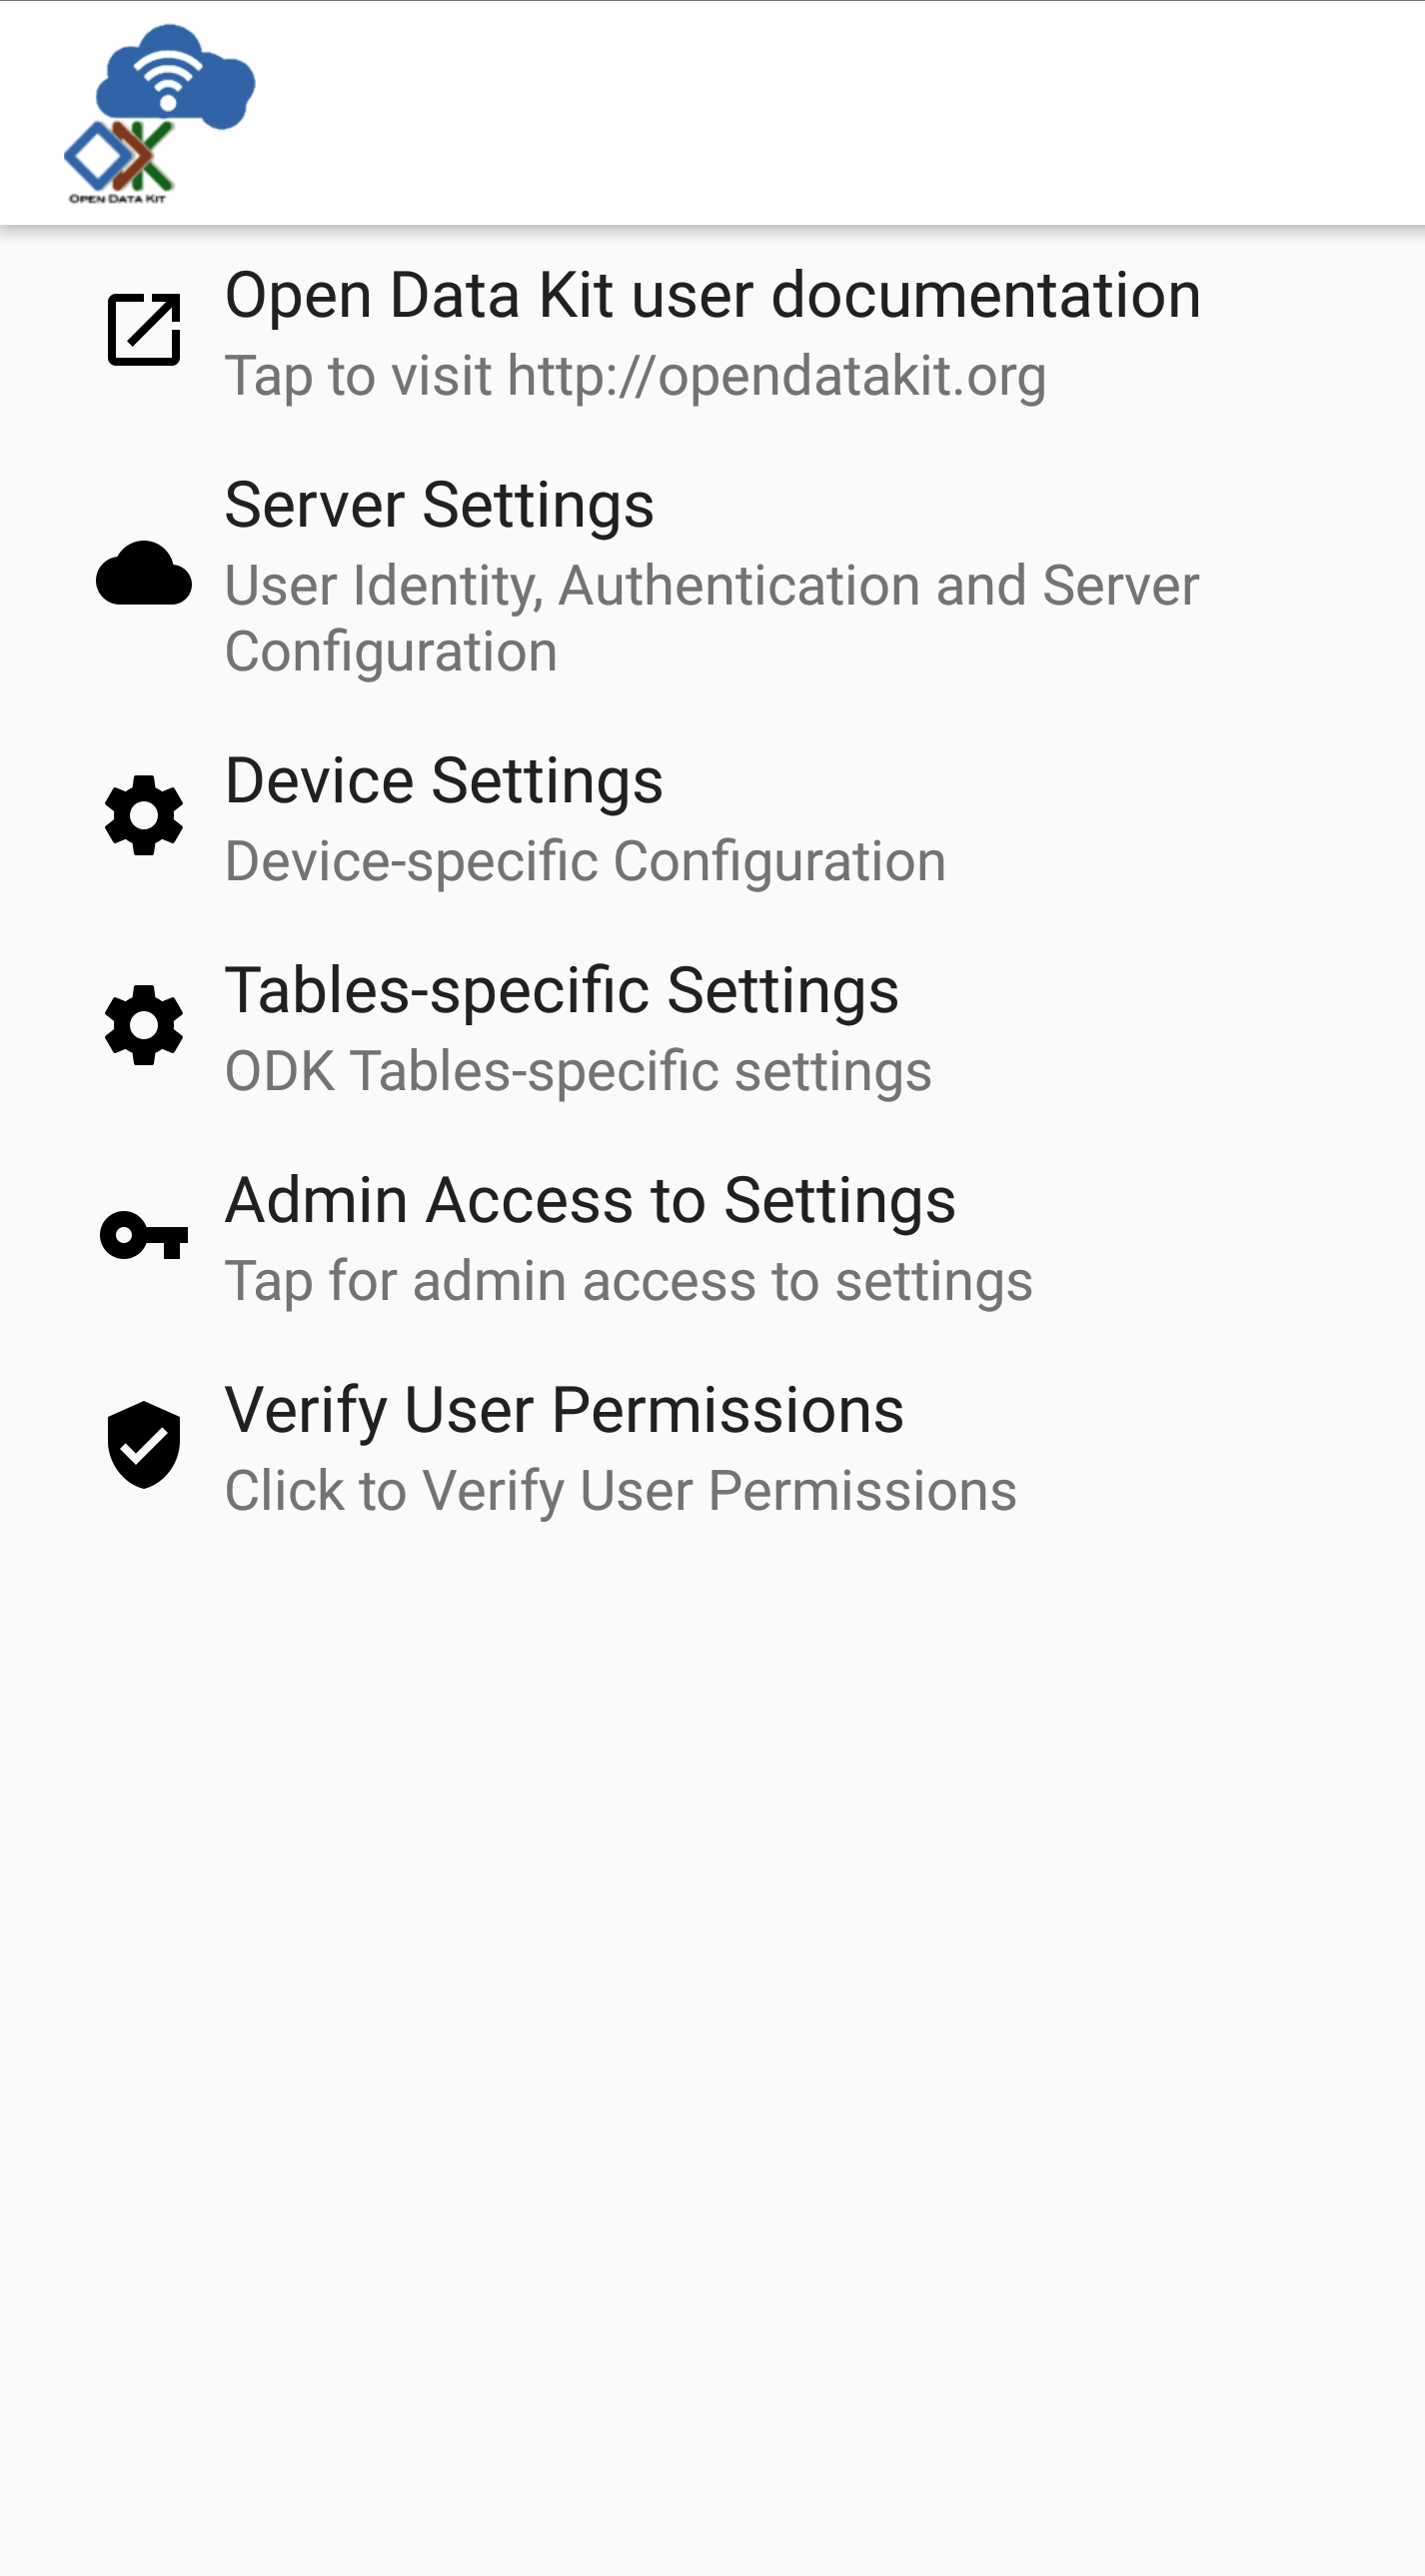
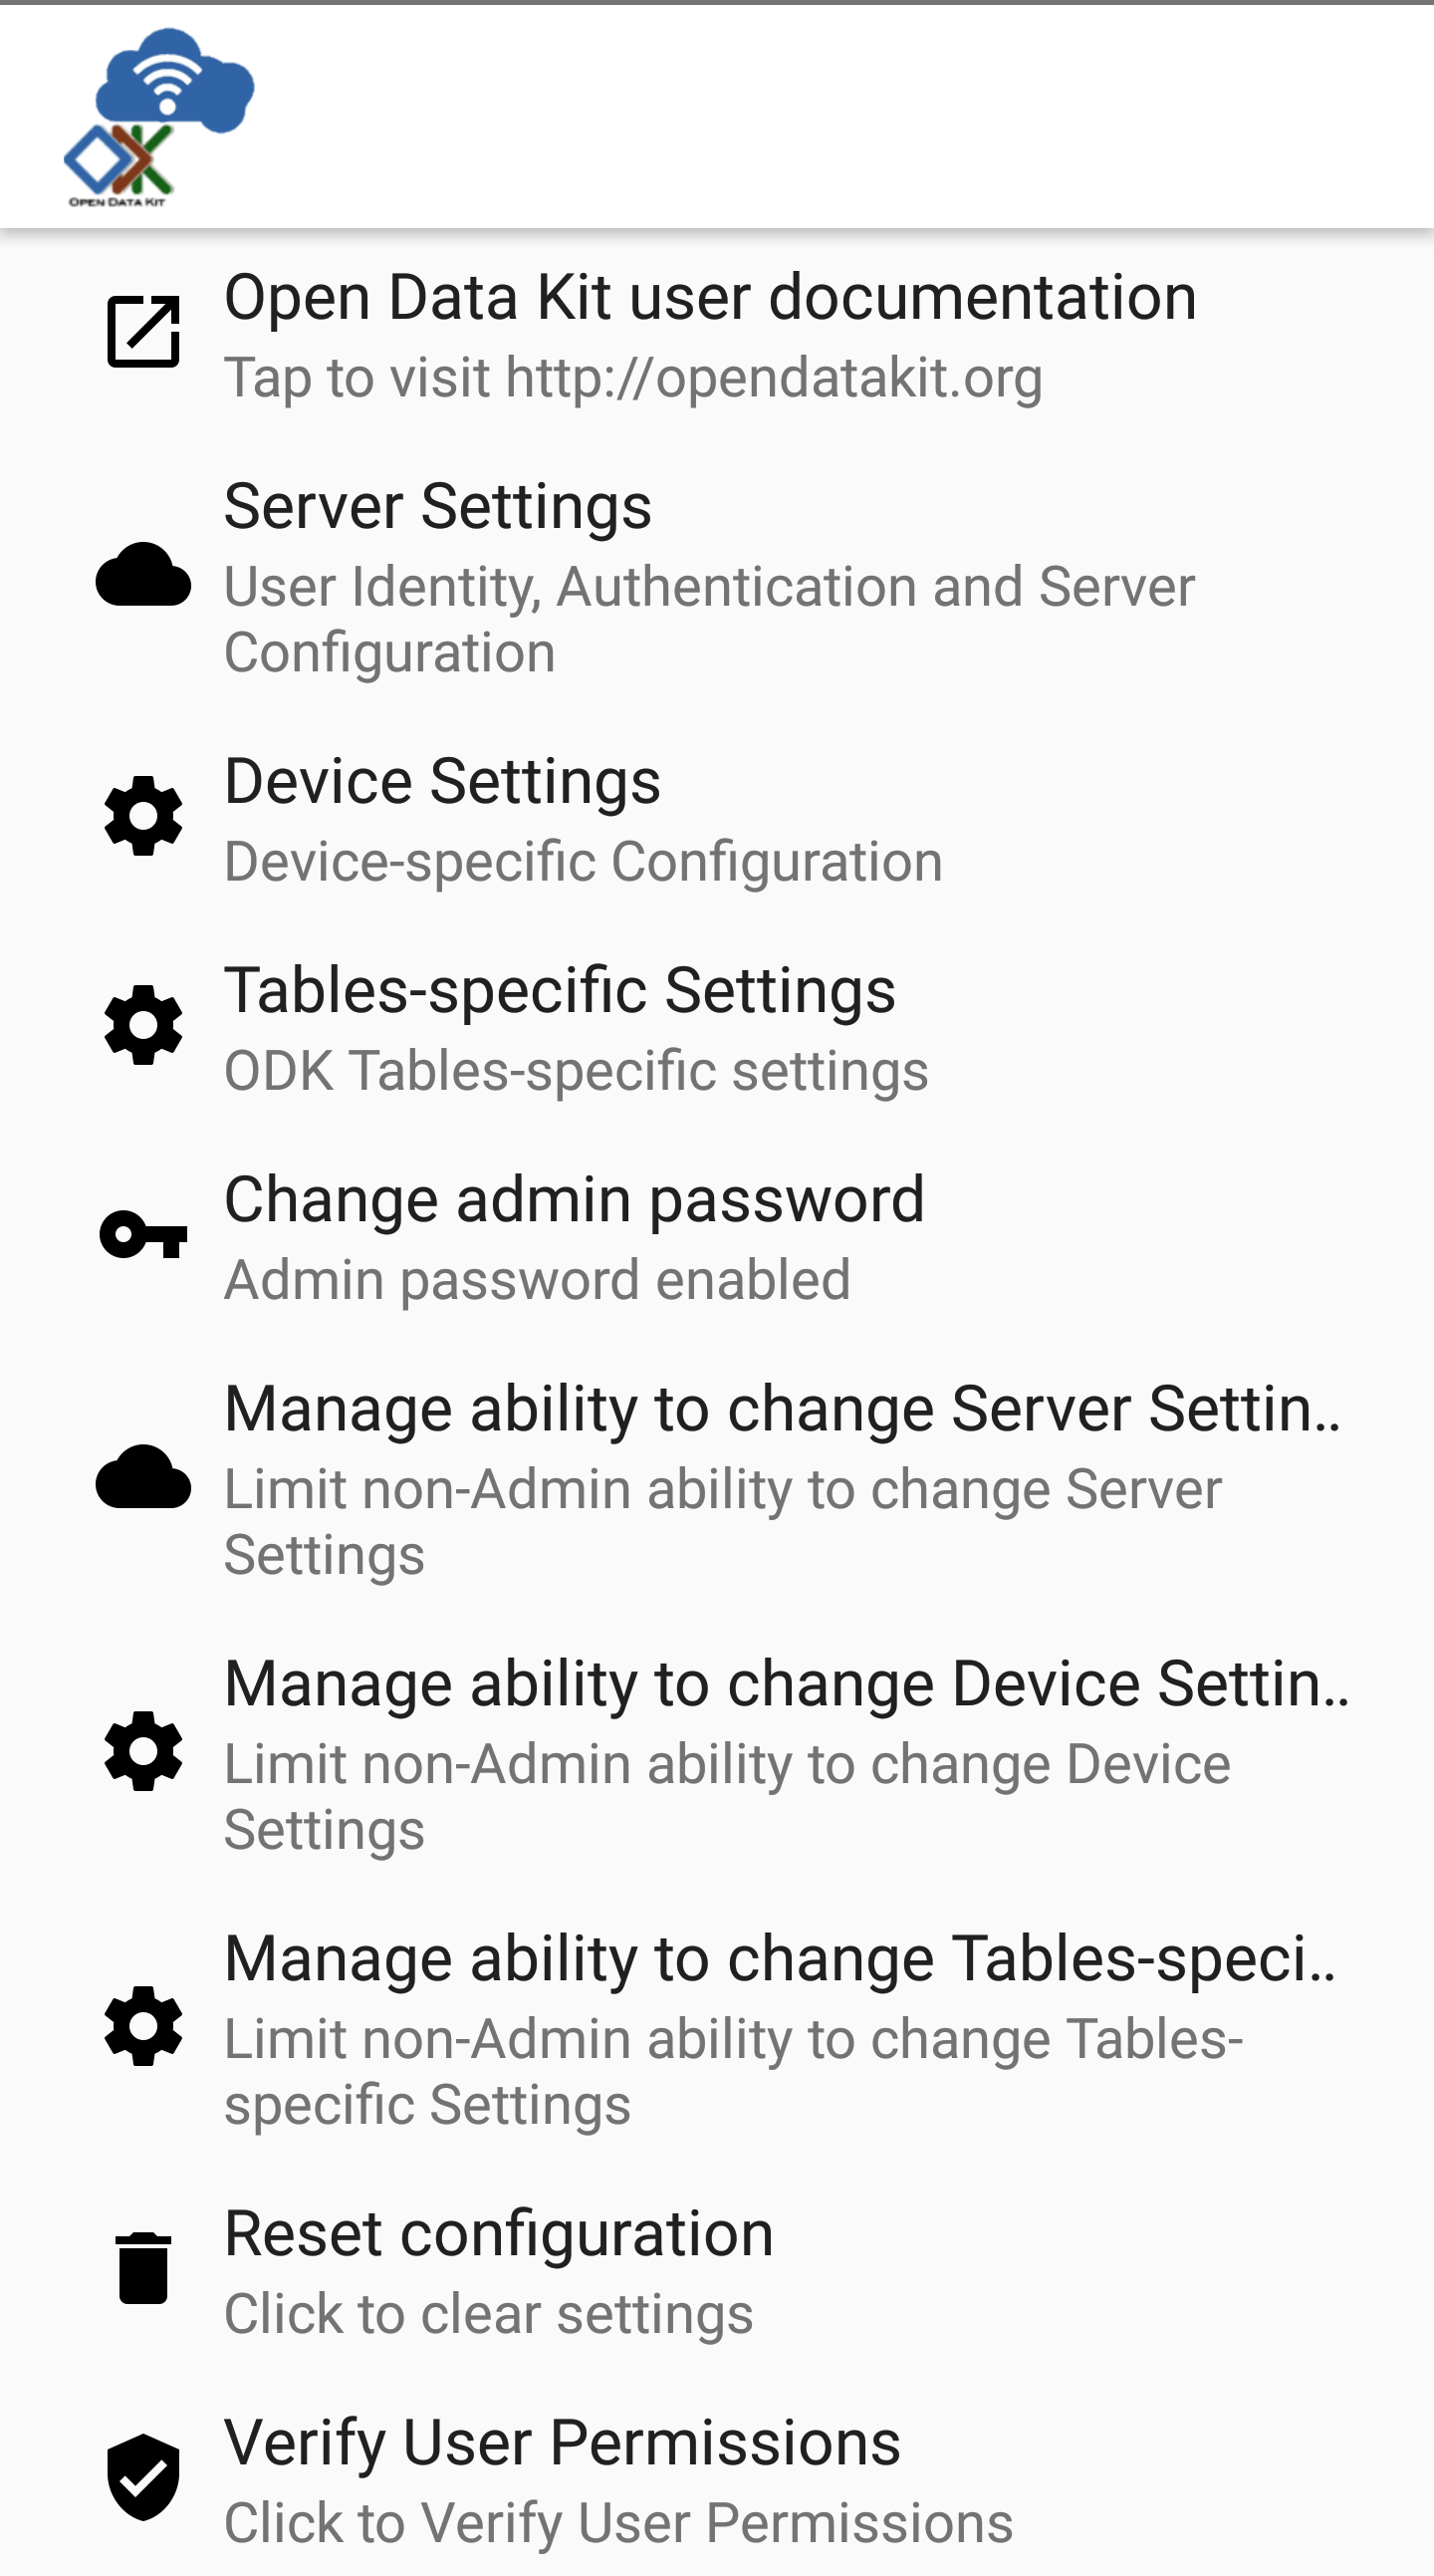
After entering the correct password, you will see the full list of administrator settings available to you.
Managing Server Settings

- if checked the Server URL will be locked.
- if checked the means of authenticating will be locked.
- if checked the username and password fields will be locked.
- if checked Services will allow synchronization with servers not using SSL encryption.
Warning
This option should only be used for testing. When deployed to the field you should always enable SSL encryption.
Managing Tables Settings
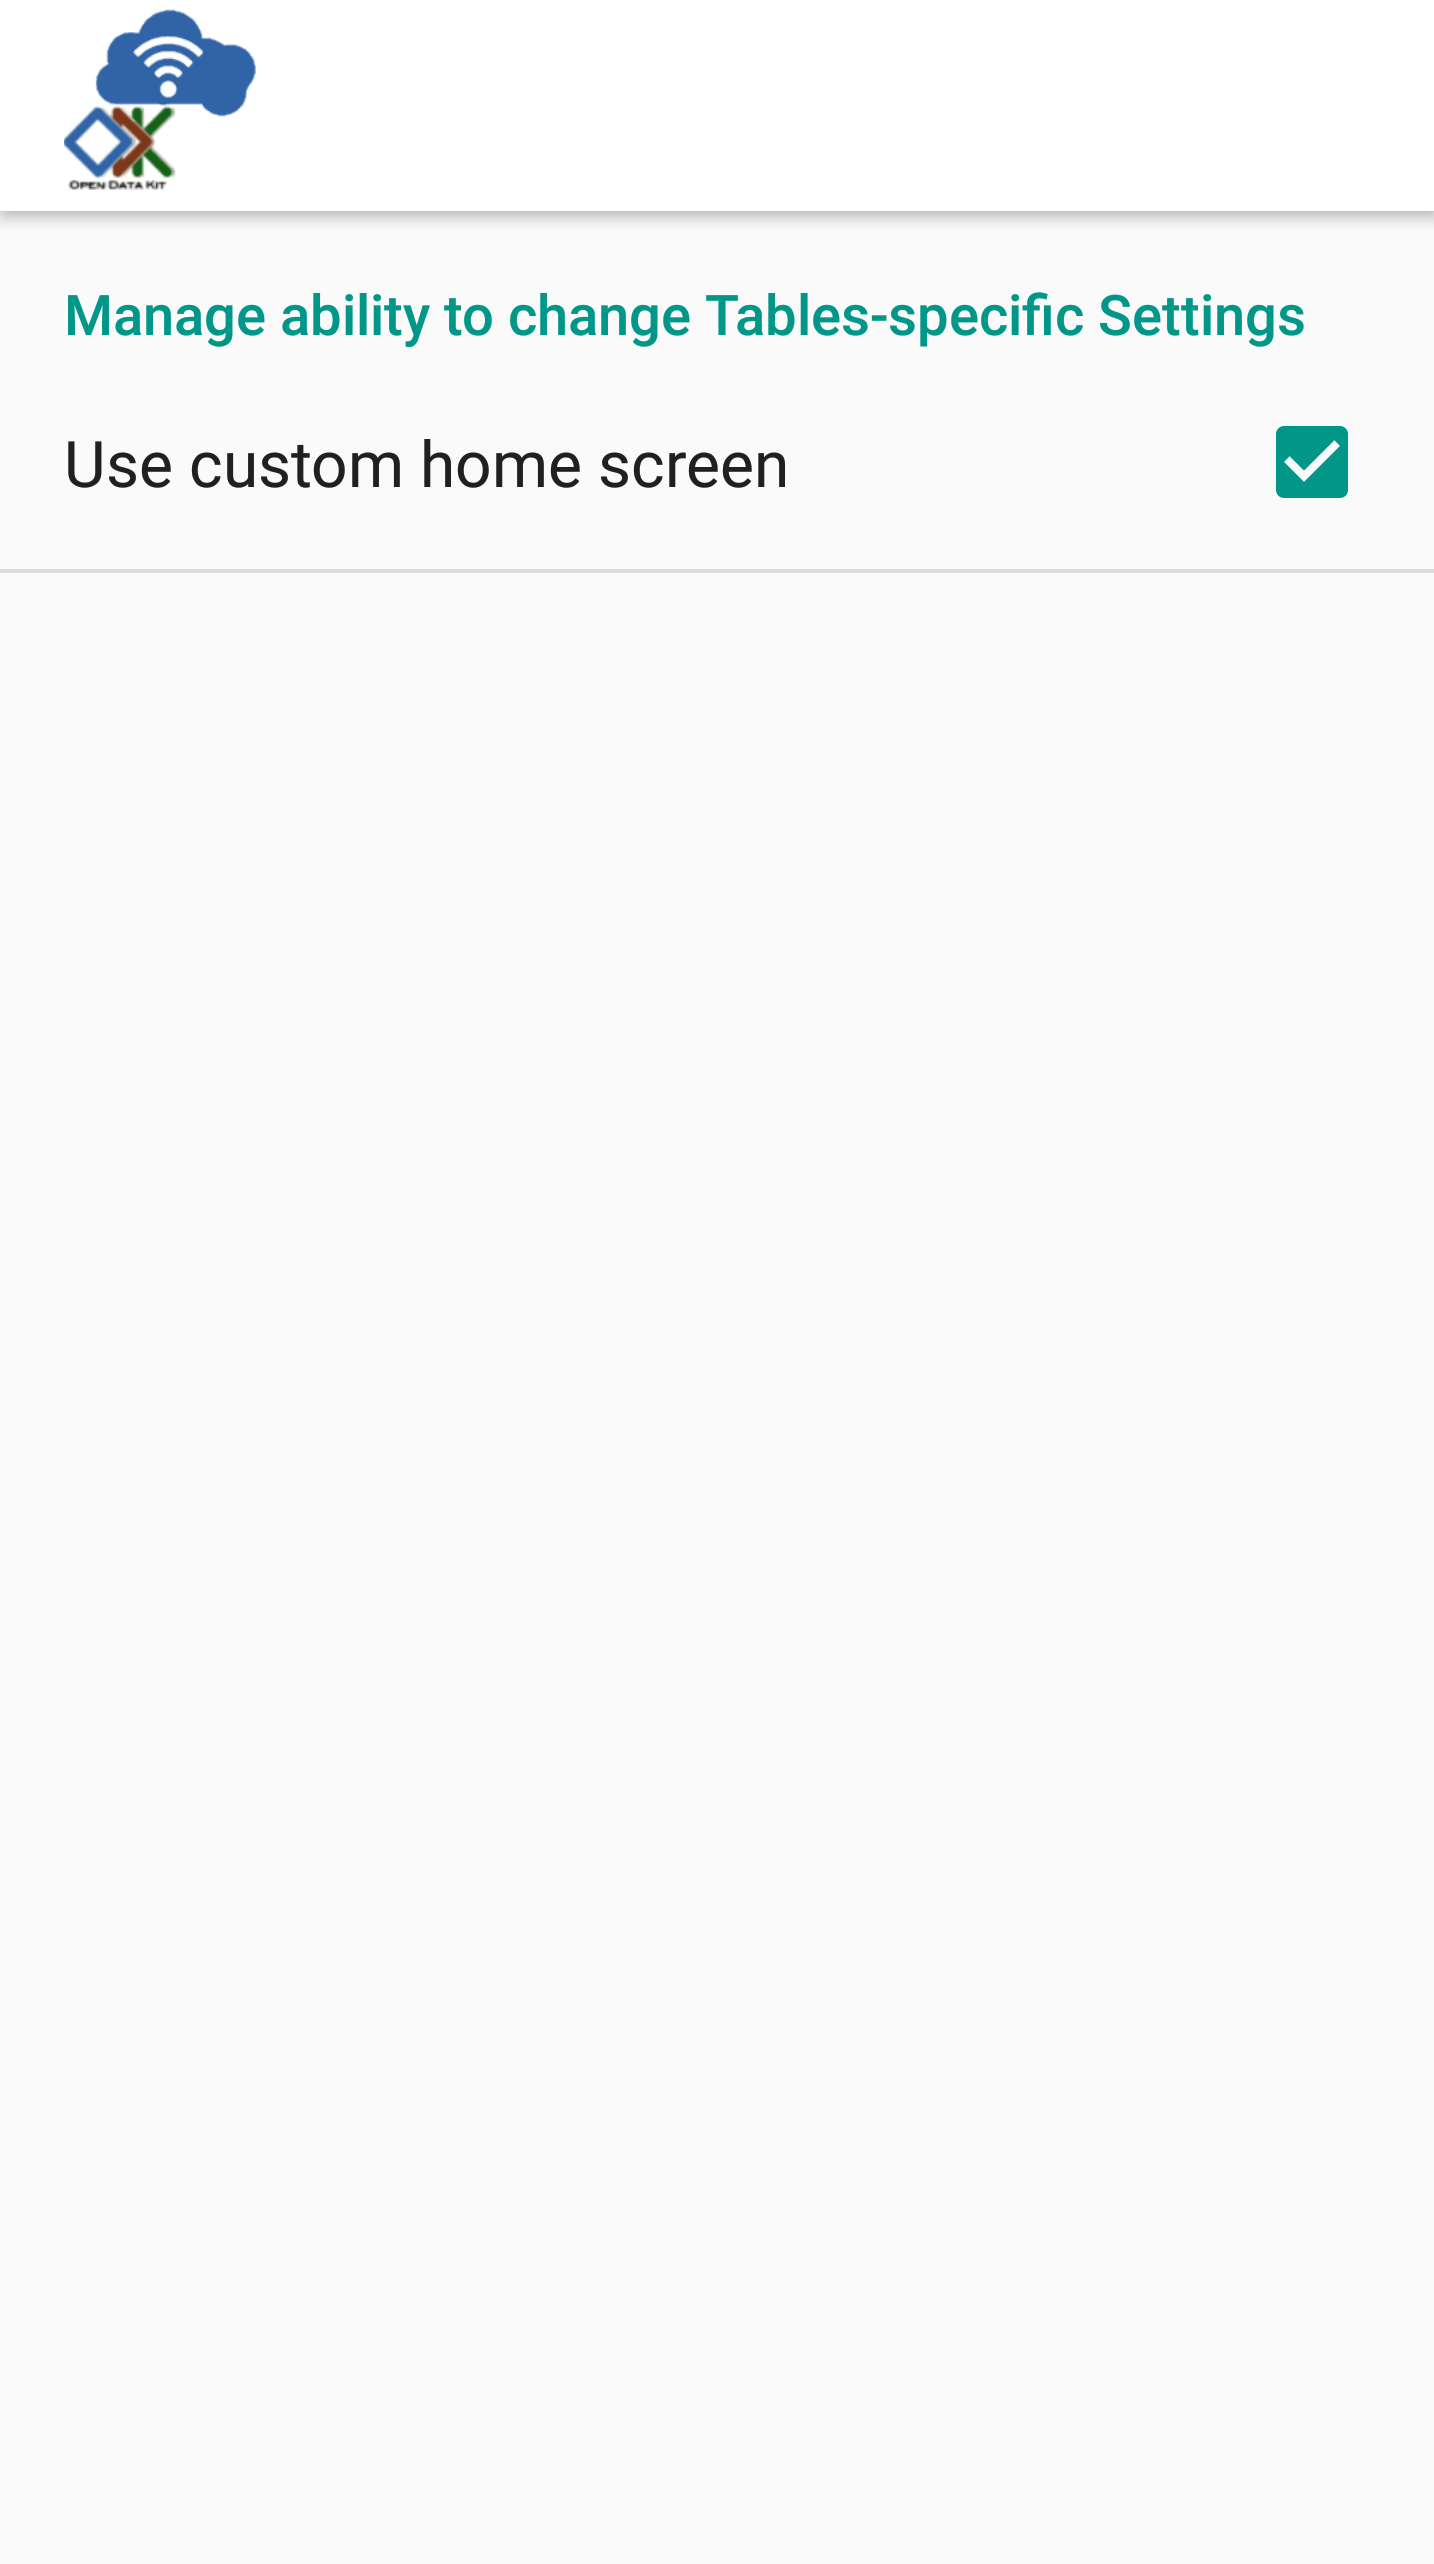
- if checked the custom home screen option will be locked.
Managing Device Settings
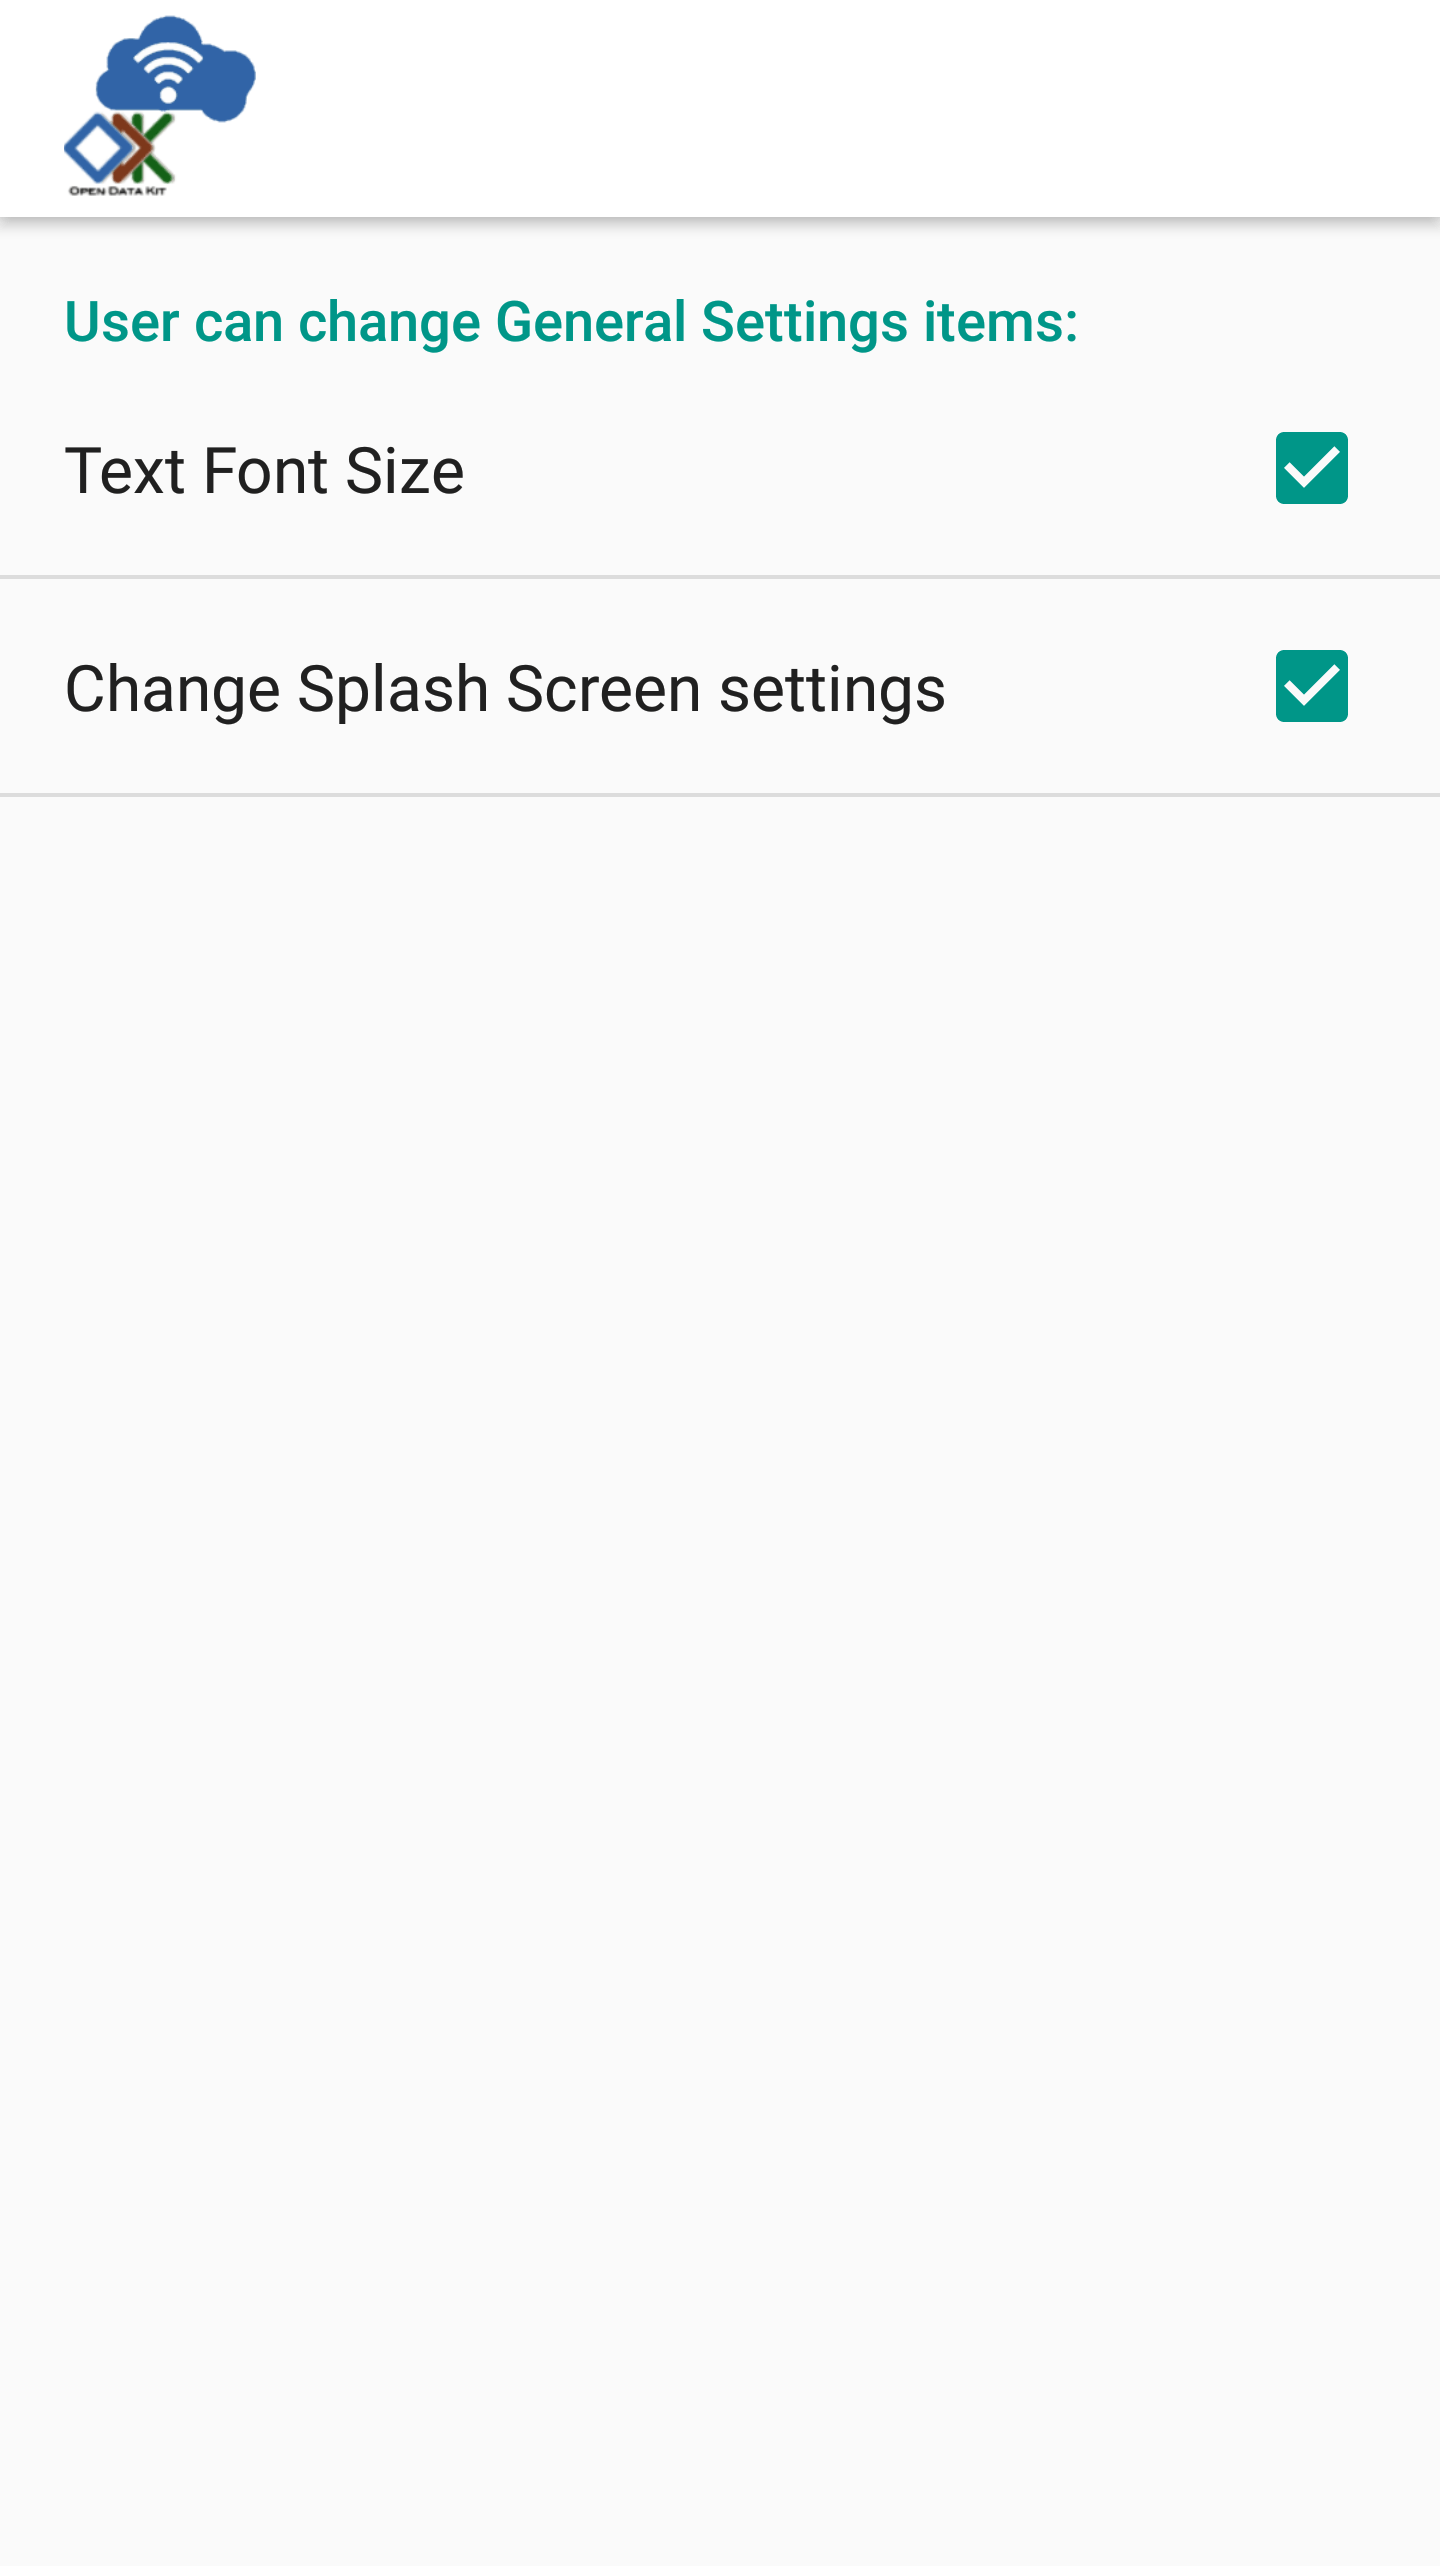
- if checked the text font size will be locked.
- if checked the splash screen image and enable/disable flag will be locked.
Locking Administrator Settings
When you have finished configuring the administrator settings, back out of the menu. You will then see the normal settings menu, but with all appropriate settings locked. To modify these locked settings, follow the instructions for Accessing Administrator Settings and repeat the process.
Resetting Configuration
This option will clear the ODK-X cache of table and form definitions and scan the file system to refill that cache. This is automatically run after each successful sync operation to ensure that Survey and Tables display the correct information. If you have manually modified files inside of the /sdcard/opendatakit/ folder via grunt commands, with Files by Google, or by some other means, you may need to use this option to refresh the cache. If you are not seeing forms or tables that you expect, this option may fix that problem.
Note
This option does NOT delete any data or files. It also does not reset your server URL setting. But it will log you out of your currently authenticated user and clear your device and tables settings.
After pressing this option, you will be prompted to confirm this is what you want to do.
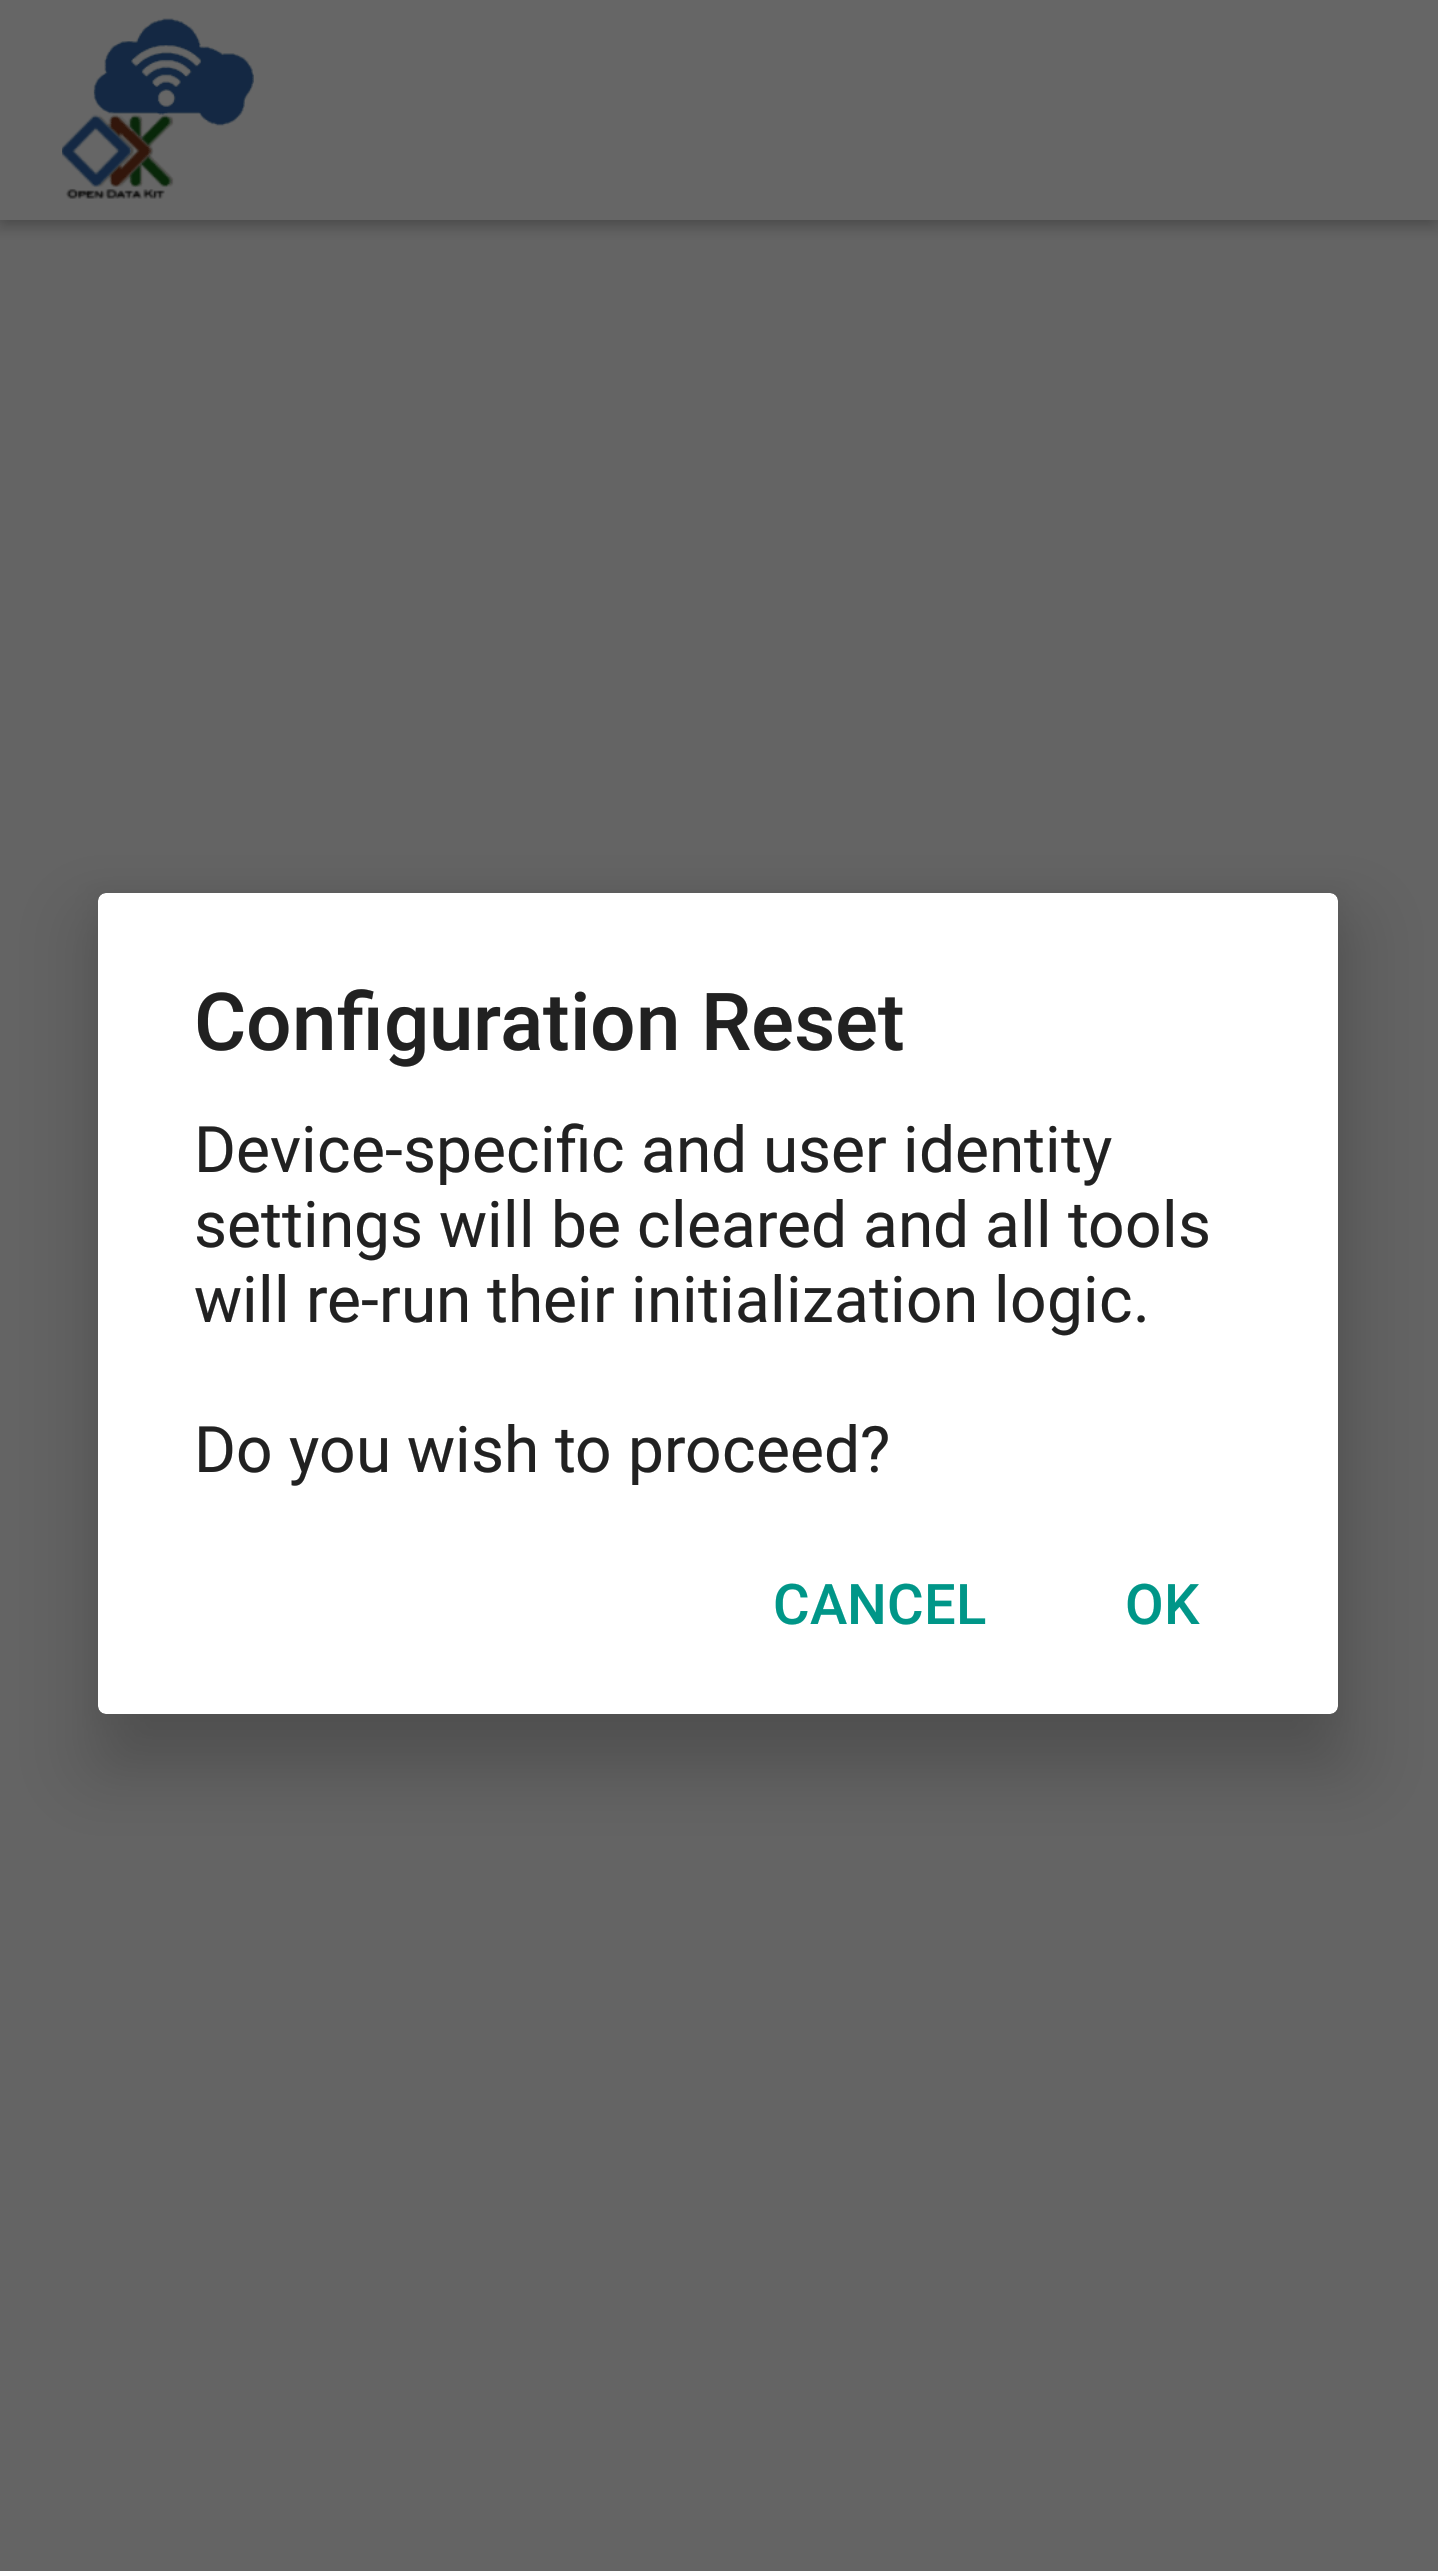
Press OK to clear the config. Back out of the Settings menu. The next time you run Tables or Survey they will rerun their initialization logic, which may take a few moments.