Using ODK-X Notify
Skunkworks-Parrot (Desktop App):
Creating Notification:
Launch the Desktop application(Skunkworks-Parrot)
Enter the Username and Password in the provided field and click .
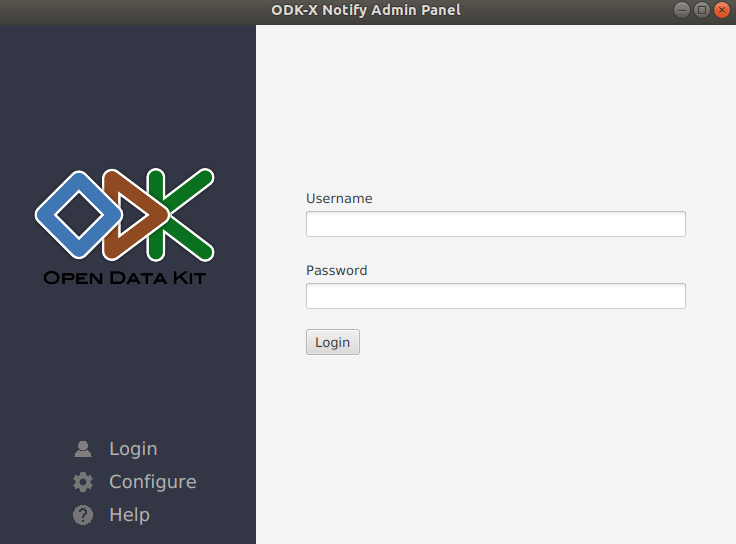
Note
Only users with the default group “ROLE_SITE_ACCESS_ADMIN” are allowed to log in to the Desktop application.
After a successful login, the user will be redirected to “Create Notification” window as shown below.
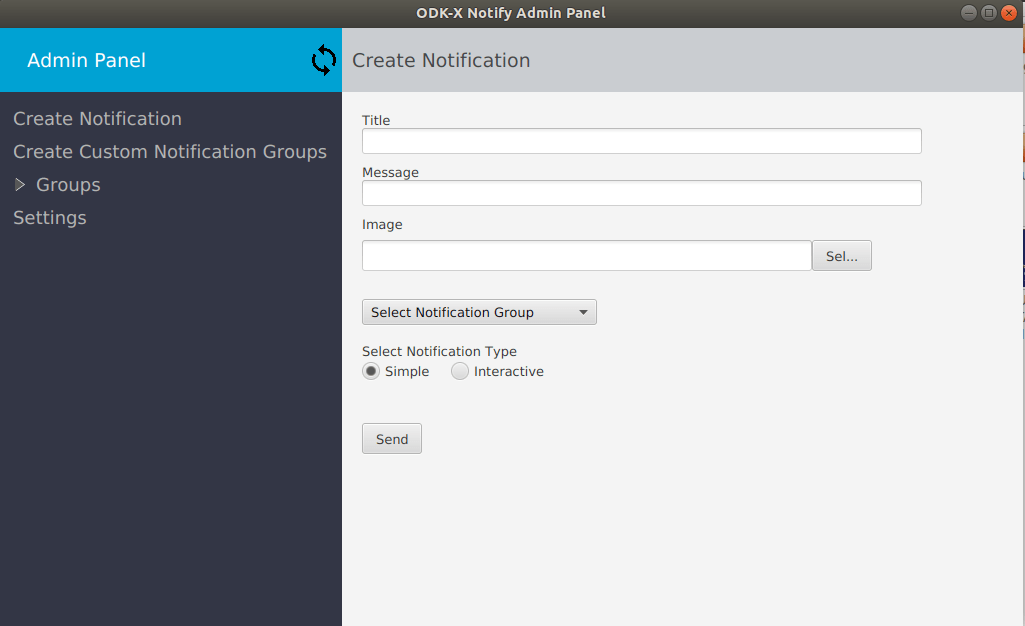
Enter Title and the message for the Notification in the provided fields.
Users can also send an image with the notification. To send the image click the button under the Image tab and select the image from your PC. Sending image with the notification is optional.
Select the Notification group to which you want to send a notification.
Select notification type and click .
Note
Simple Notification: Recipients of simple notification can not send a reply to that notification.
Interactive Notification: Recipients of interactive notification can send a reply to that notification which Desktop App user can view in Desktop app.
Creating Group:
By default following ODK groups are present in the list of groups.
ROLE_DATA_OWNER
ROLE_DATA_VIEWER
ROLE_SUPER_USER_TABLES
ROLE_ADMINISTER_TABLES
ROLE_USER
ROLE_DATA_COLLECTOR
ROLE_SYNCHRONIZE_TABLES
ROLE_SITE_ACCESS_ADMIN
Desktop App users can send messages to any of the above groups and users who are part of that group will receive that message.
If the user wants to create a new group apart from the above-mentioned default groups they can use Create Group Option.
Example: If Desktop App users want to send notifications to all the peoples working in a particular time slot, they can create a new group say "XYZ" of those peoples and can send notification to that group.
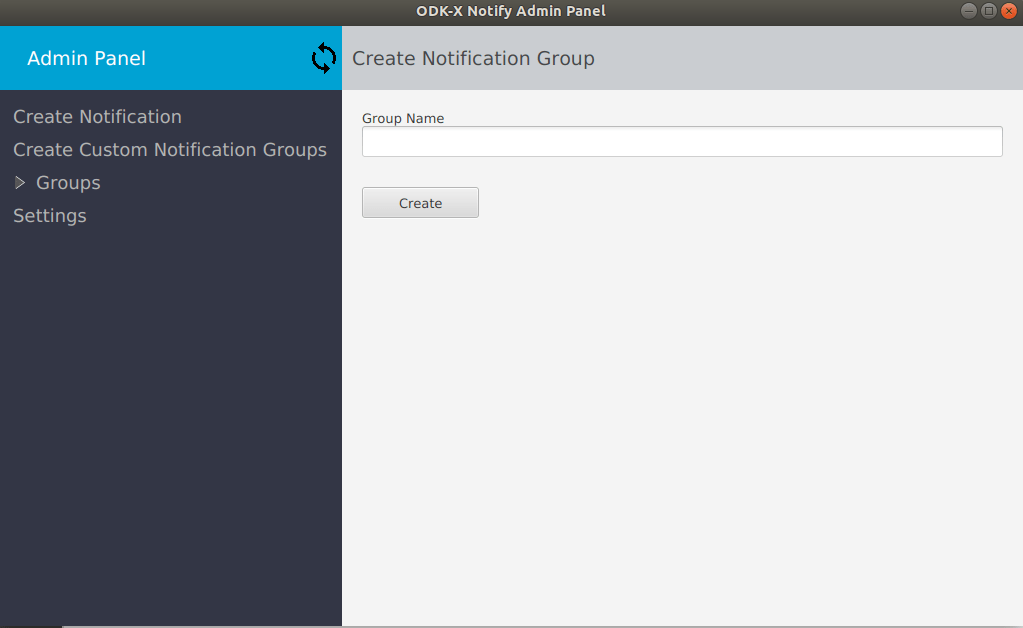
For creating a new group:
Click .
Enter the name of the Group and click .
After the successful creation of the Group user can see the link and QR code for joining the notification group.
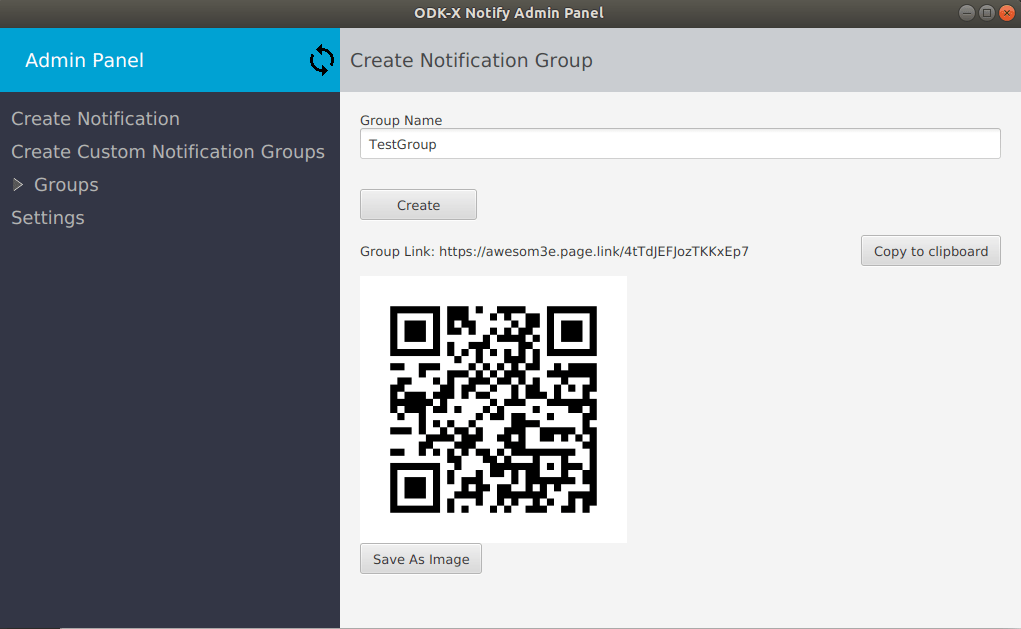
Mobile app users now can join the group by scanning the QR code or by going to the group link.
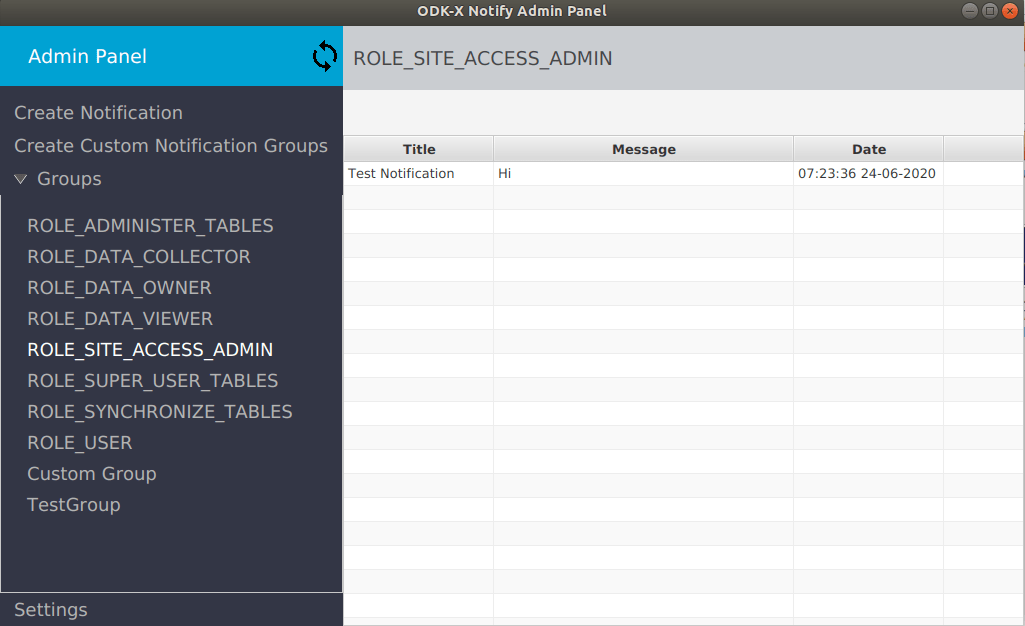
Viewing sent messages and Responses:
To view sent messages and responses from users:
Click . A list of all the groups will appear below that.
Click on the name of a group whose messages you want to see.
A window shown below will appear where you can see messages of that group.
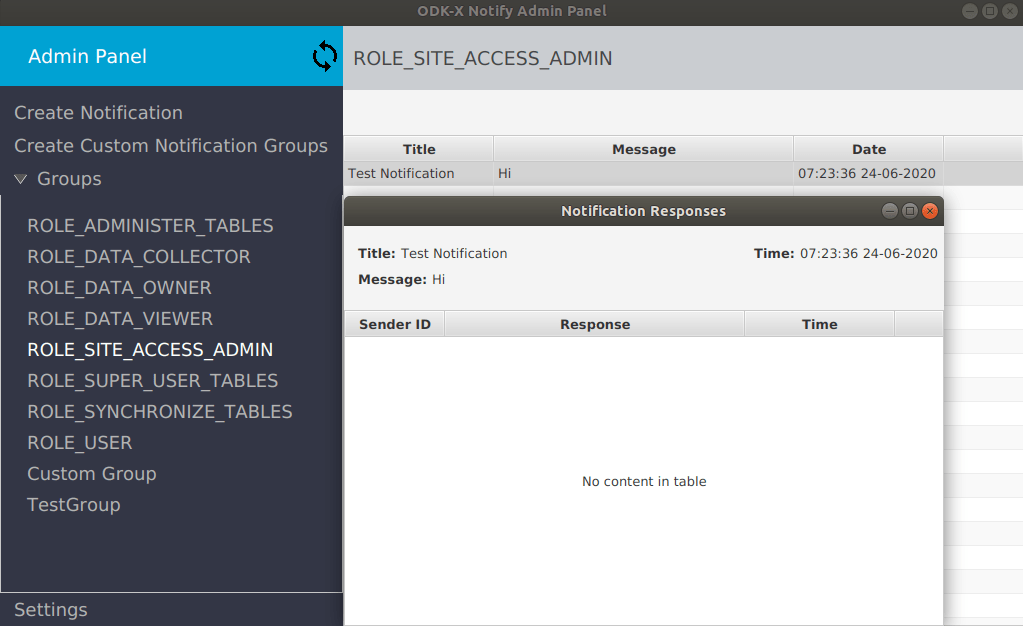
To view the responses of Interactive messages double click on the notification row. A pop-up window as shown below will appear where user can see responses to that notifications.
Skunkworks-Bat (Android App):
Make sure you have downloaded an ODK-X Services app before using ODK-X Notify Android App.
Note
ODK-X Notify Bat App displays the data corresponding to the user logged in to the ODK-X Services app.
Joining Group:
Sync the data with server database using ODK-X Services App.
Click on QR-Code button on the home screen of the Skunkworks-Bat App.
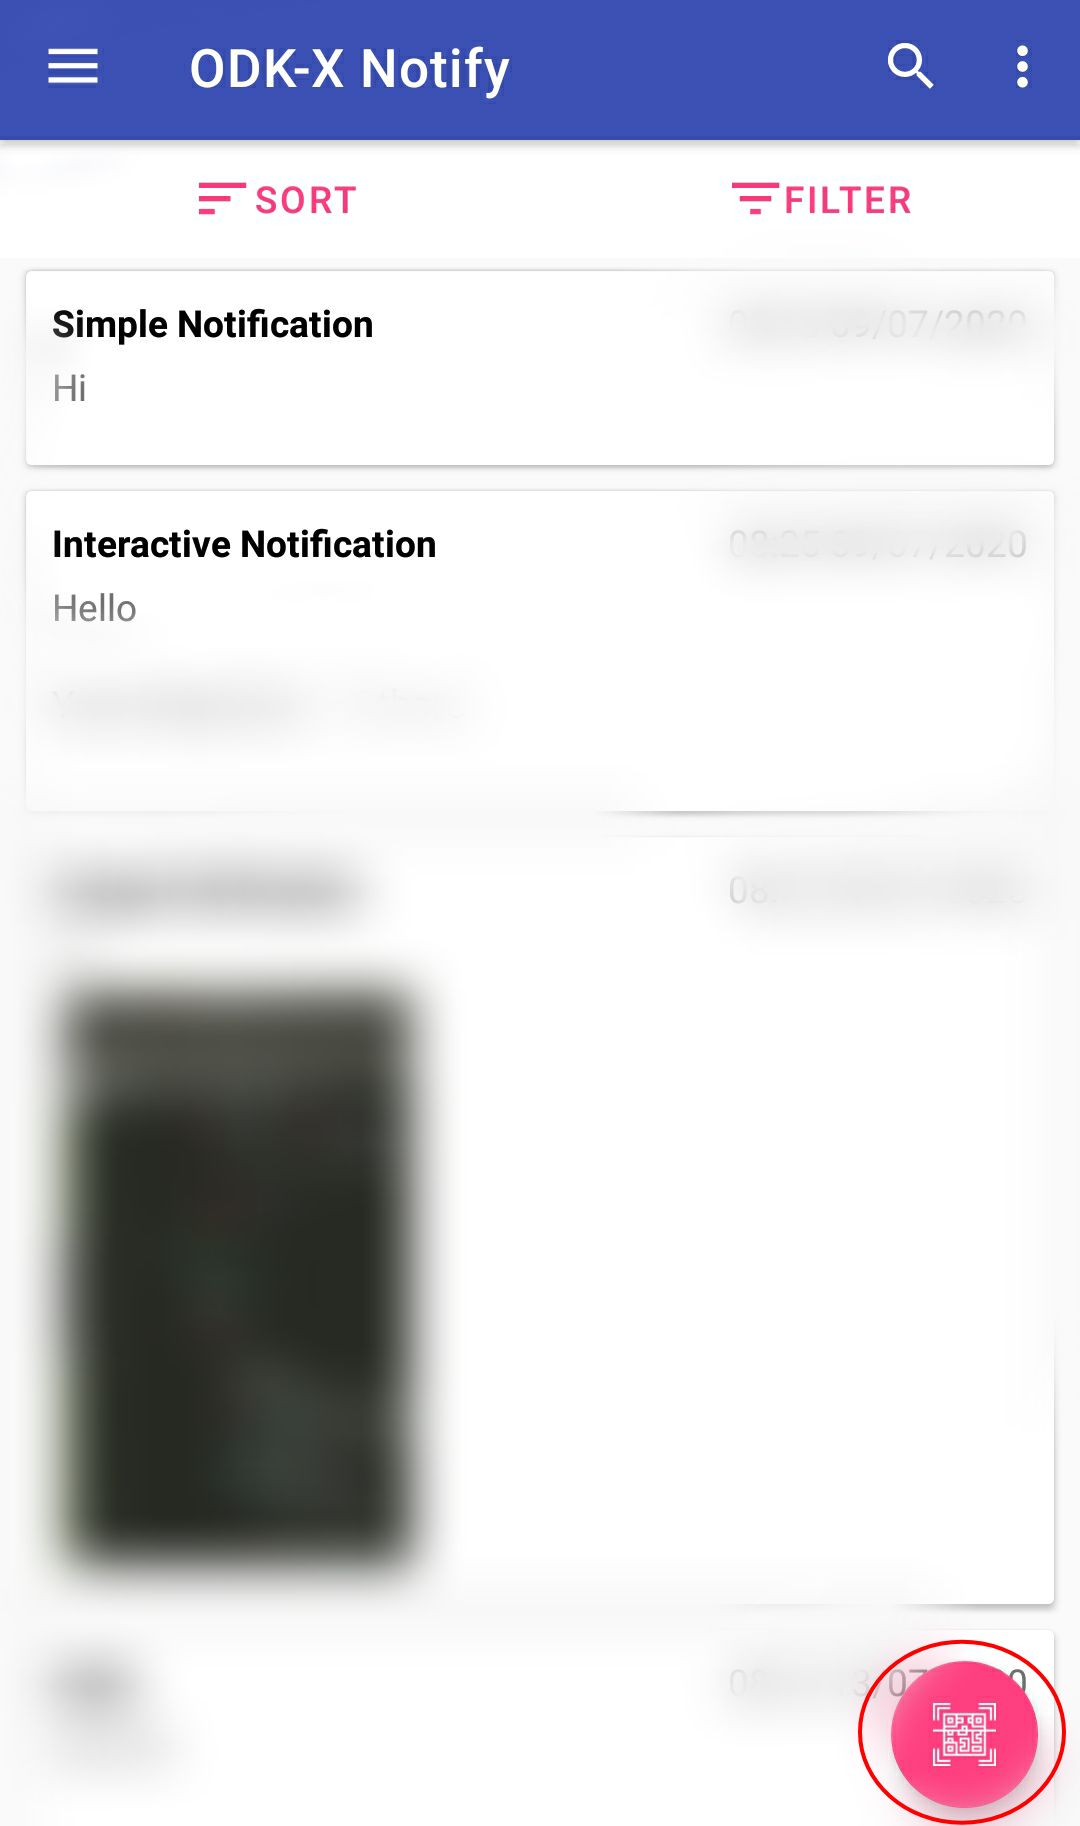
If asked for permission to use camera, allow it.
Scan the QR code of the group, generated using Desktop App.
Syncing Data:
ODK-X Notify uses 3 different databases to store the data.
Server Database (ODK-X Sync Endpoint)
Android ODK-X Database (Stores data of all ODK-X apps present in an Android device)
Android Notify Database (Stores data of Skunkworks-Bat app in an Android device)
User data in a Skunkworks-Bat app is displayed by using both Android ODK-X Database and Android Notify Database.
Syncing Server Database and Android ODK-X Database:
For syncing Server and Android ODK-X Database user needs to use services app.
Here you can find more about syncing data using services app.
Note
Before joining the new notification group and after sending reply to interactive notification it is necessary for user to sync Server and Android ODK-X Database.
Syncing Android Notify Database and Android ODK-X Database:
For syncing Android Notify Database and Android ODK-X Database:
Open Skunkworks-Bat app.
Click on the option button at top-right corner.
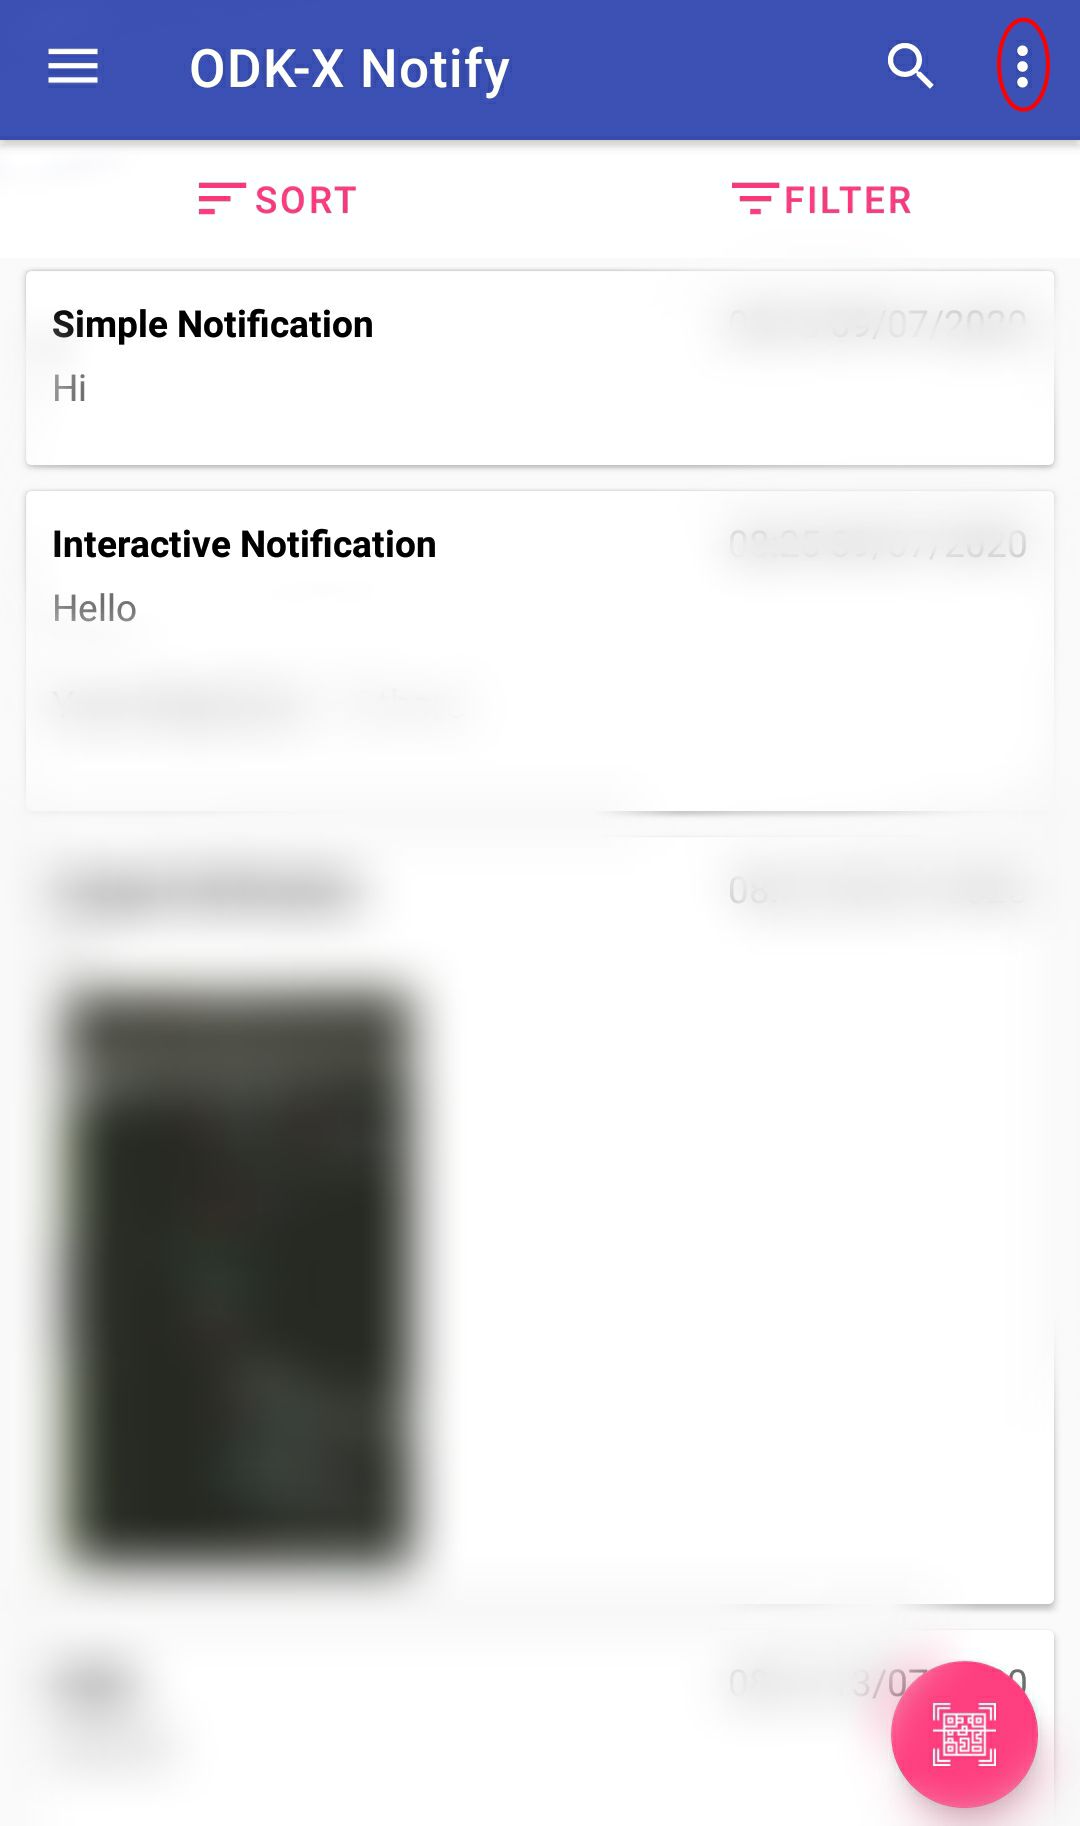
Click .