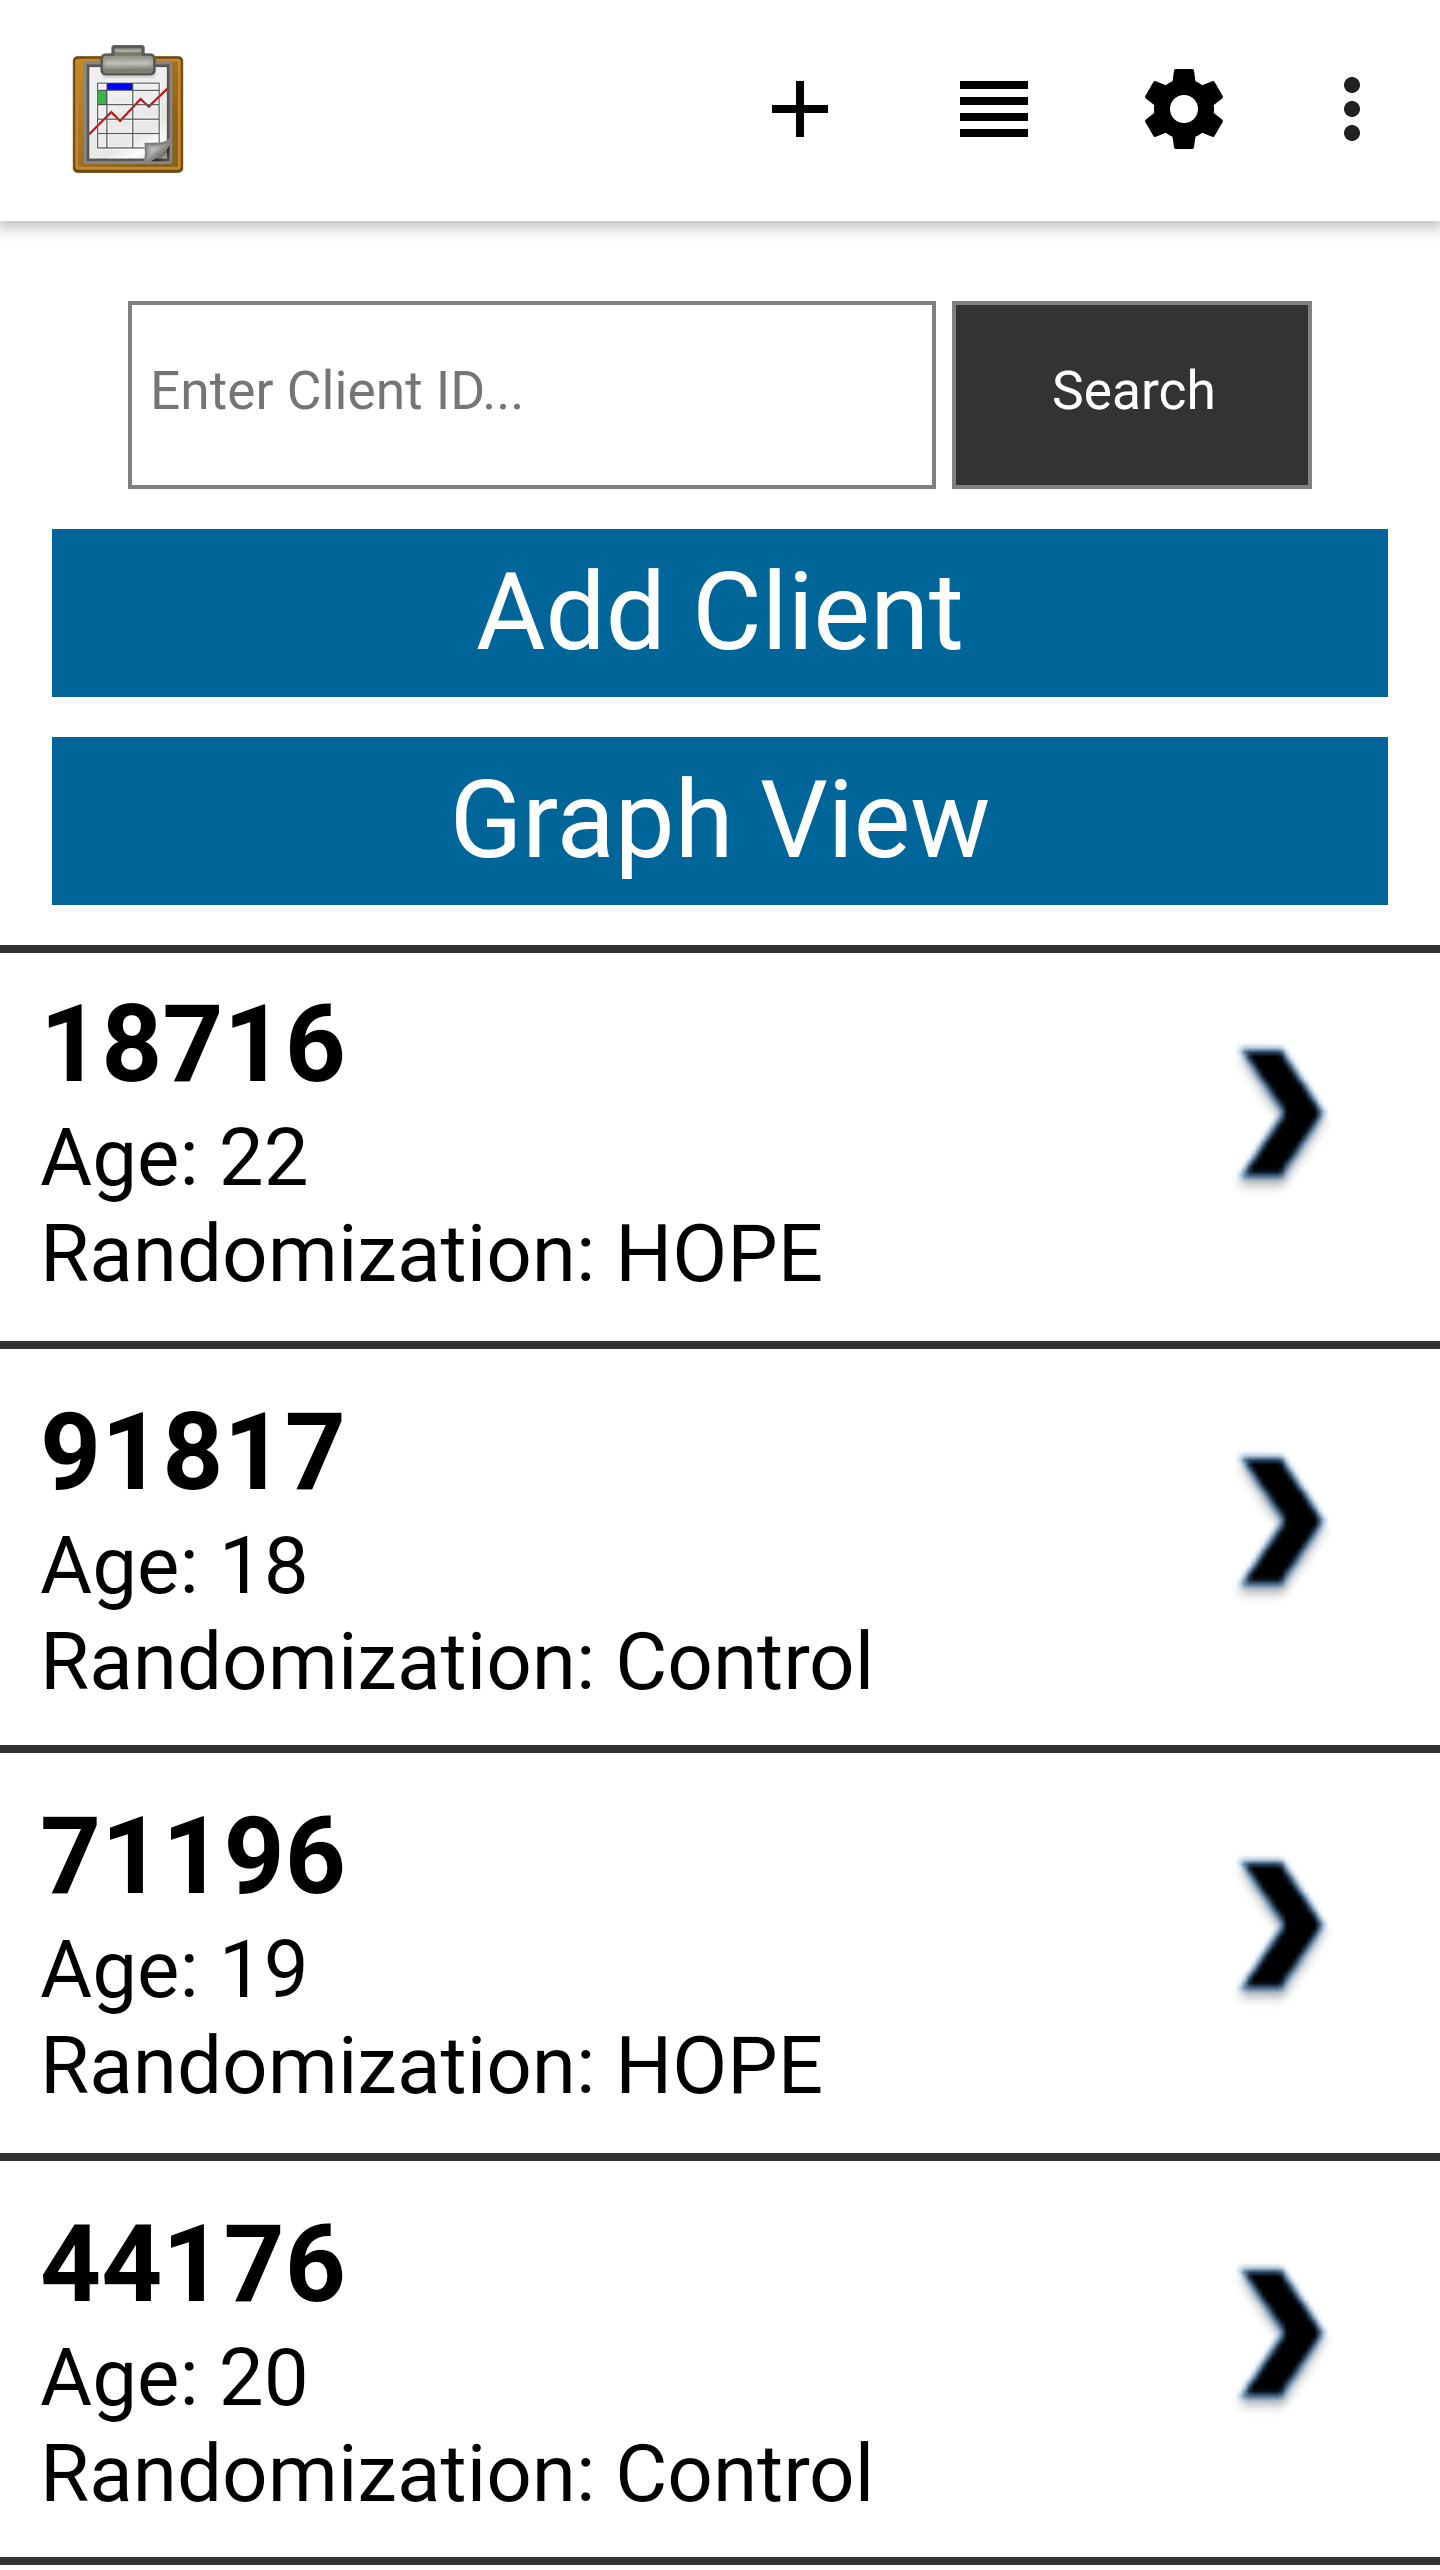
Existing Client List
Function
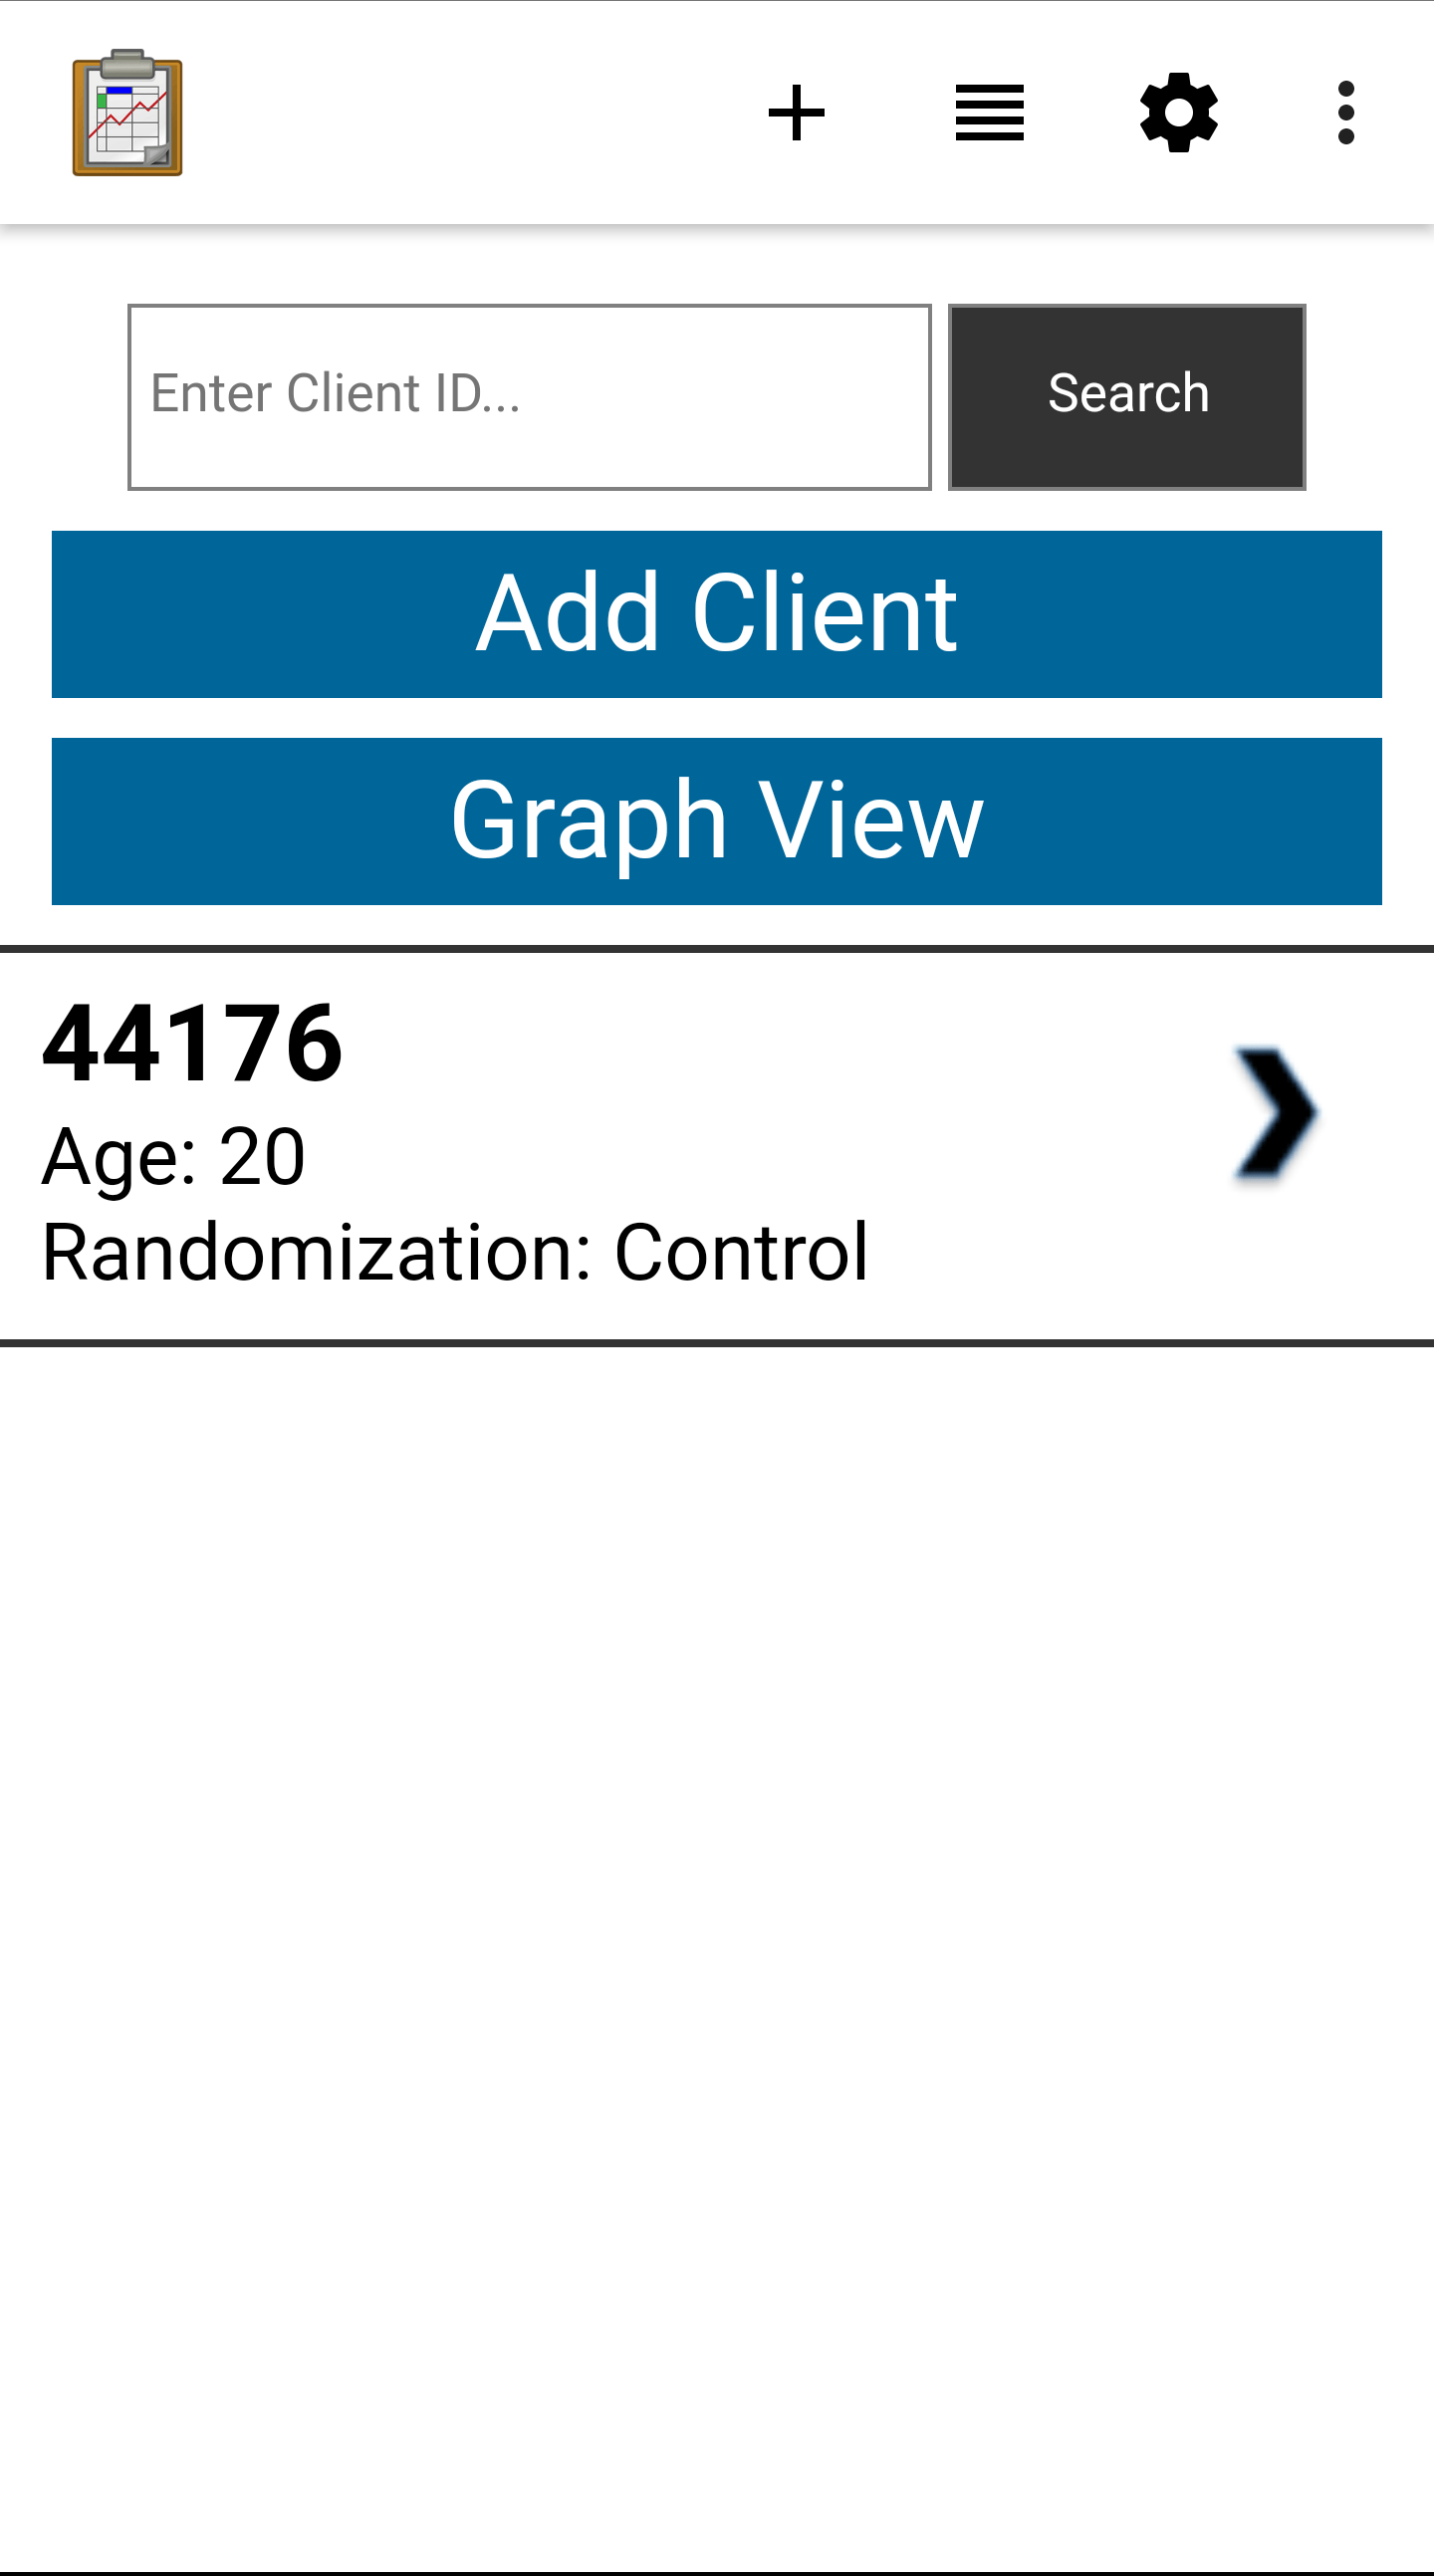
The Existing Client module is used to perform follow up interactions with existing clients, or to view statistics about the current client pool. It displays a list of all of the currently registered clients with their client ID, age, and randomization status. This list will grow to be quite long, so searching by client ID is supported. Typing in the desired client ID will leave only the matching client in the list below. If you were to search for client ID 44176, the interface would update as shown in the following image.
Tapping a client in the list will launch the Client Details module.
If a new client needs to be added, bypassing the screening process (for example, if a registered client is scheduled for an interview but they are not showing up in the system because a worker didn't synchronize recently enough) the Add Client button will launch the survey: Add Client Brief. This form contains a brief questionnaire (a subset of the full Add Client form from the Screen Client module) that writes to the same database table (femaleClients). After the form is saved it will appear on the Existing Clients list and a follow up survey can be performed.
Pressing the Graph View button will launch the Graph View module.
Implementation
The HTML file tables/femaleClients/html/femaleClients_list.html provides a a form to contain the search function and a division to contain the list of records. The interface is implemented in tables/femaleClients/js/femaleClients_list.js.
The JavaScript in femaleClients_list.js implements that standard workflow for a List View. The API call that launches the view provides a query to define the list of records that will compose the List View. This query is queued and ready, and the results are retrieved with the odkData.getViewData(...) function. The returned list of female clients are used by the render() function to build the client list's HTML elements and display them. Each list item is coded to call the handleClick(...) function if they are pressed, which launches the Detail View of the selected record with odkTables.openDetailView(...).
The render() function also creates the Add Client and Graph View buttons. These are hard-coded to launch odkTables.addRowWithSurvey(...) and odkTables.openTableToListView(...) respectively. This particular graph view is a special case of a List View, and the query provided (selecting every client) provides the data the graph will use to render its visualizations. Each of these calls modifies or reads the femaleClients table.
The survey that is launched by the Add Client button is defined by tables/femaleClients/forms/addClient.xlsx. It is quite short and simple, and is a subset of the form described in the Screen Client implementation details.
The function getResults() implements the search functionality. It queries the database with odkData.query(...), searching for the provided client ID. If that client is found, it opens up a new instance of this module with the same query, ensuring the List View will only show the desired client. Opening a new client, rather than updating the current list, ensures that when the user presses the back button they will return to the current instance of the module with the full list of clients instead of returning to the home screen.
Files
tables/femaleClients/html/femaleClients_list.html
tables/femaleClients/js/femaleClients_list.js
tables/femaleClients/forms/addClient.xlsx
Forms
Add Client Brief with form ID addClient
Database Tables
femaleClients