Getting Started Building an Application
Now that we have seen how a device can join an already-configured application, and synchronize its view of the data with the ODK-X Sync Endpoint server hosting the application, it is time to set up our own ODK-X application.
Prerequisites
This guide continues the tour where Trying Out ODK-X Survey left off. If you haven't yet completed that tour, do it first. When you have concluded the tour of the ODK-X Survey example application's screens, return to this guide and we will turn to setting up our own application.
Setting up ODK-X Application Designer
Read the Intro and Overview sections to get a sense of the features and functionality of the ODK-X Application Designer environment (we will install it below). Follow this guide to Setting Up ODK-X Application Designer.
Finally, follow this guide to Launching the Application Designer.
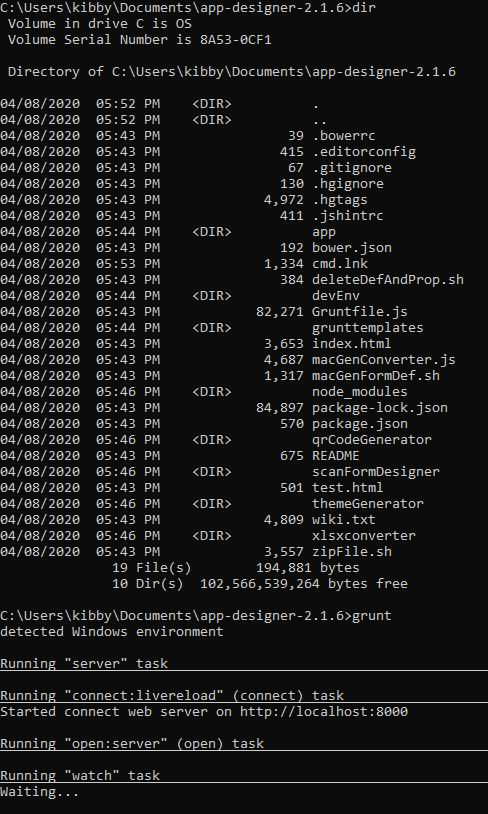
If successful, the cmd window (on Windows) should display some status messages. Below is a screen-shot of my cmd window beginning with a dir of the contents of the directory, and running grunt in that directory:
And a Chrome browser window should open to display:
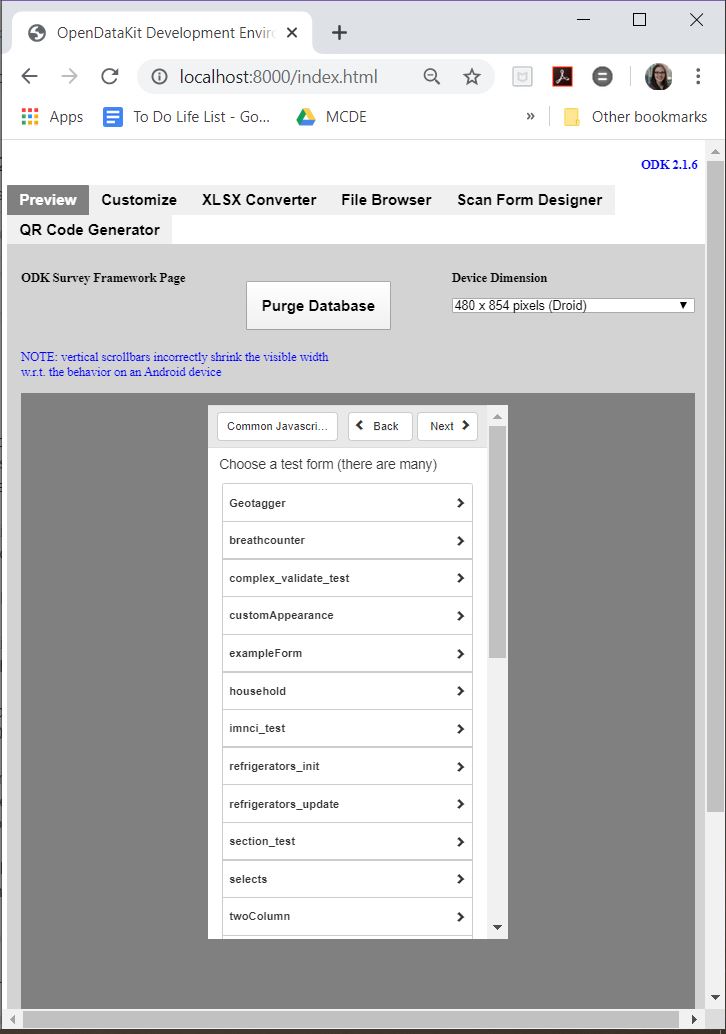
If a Chrome browser does not open, try manually launching it and opening http://localhost:8000/index.html.
You can further verify that the Application Designer works by clicking on the exampleForm button, then clicking on Follow link. This opens the Example Form on your computer, and simulates all the features available to you on your device.
You can also try other things, like choosing different device dimensions to see how the form renders on different screen geometries.
Modifying an ODK-X application
The next task is to modify the Example Form application by adding a new data field to it.
Return to your cmd window and once again launch the ODK-X Application Designer environment (and a Chrome browser) by typing:
$ grunt
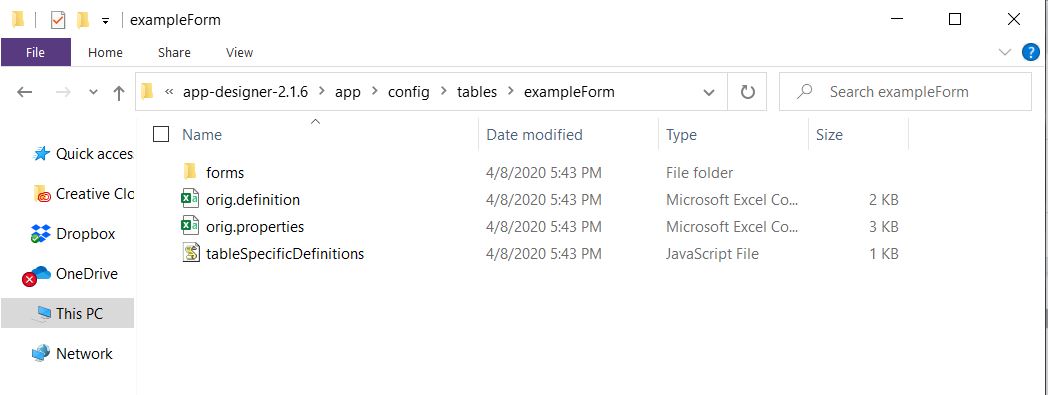
Now, open a file browser and navigate to the directory where you downloaded the Application Designer. Then navigate within that directory to app/config/tables/exampleForm. Rename the properties.csv and definition.csv files in this directory to orig.properties.csv and orig.definition.csv. These were the initialization files needed by ODK-X Tables and they will need to be regenerated because we are altering the data table to incorporate an additional question. When finished, the folder should look like this:
Navigate within that directory to app/config/tables/exampleForm/forms/exampleForm. Open the exampleForm.xlsx file in Excel (or OpenOffice). This is the form definition used by ODK-X Survey.
We will be adding a question to ask the user to enter their favorite color. For this example, we will be collecting a text response. A more useful modification might restrict the user to a set of choices (red, orange, yellow, green, and so on).
On the survey worksheet, insert a row below the first row. Edit the values of the created row in each of the columns shown below, and leave the cells under all other columns in this row empty.
type |
name |
display.prompt.text |
|---|---|---|
string |
Color |
What is your favorite color? |
Save your changes and go back to the Application Designer window. Click on the tab that says XLSX Converter. Choose this XLSX file or use your file browser to drag and drop the exampleForm.xlsx file onto this screen (dragging and dropping is not supported on all operating systems).
You should now see some JSON in the output window. Hit the Save to File System button. This will display three pop-up notifications announcing that the Application Designer is
Updating the
definition.csvfile.Updating the
properties.csvfile.Updating the
tableSpecificDefinitions.jsfile.Writing the updated ODK-X Survey form definition into the
formDef.jsonfile in the same location as theexampleForm.xlsxfile.
Note
The definition.csv and properties.csv files are updated because the form_id is the same as the table_id.
On the Chrome Browser, click on the Preview tab. Click on Purge Database. This will delete the earlier Example Form data table – a necessary step because we are adding a Color column to that data table. Select exampleForm if you do not already have that form open.
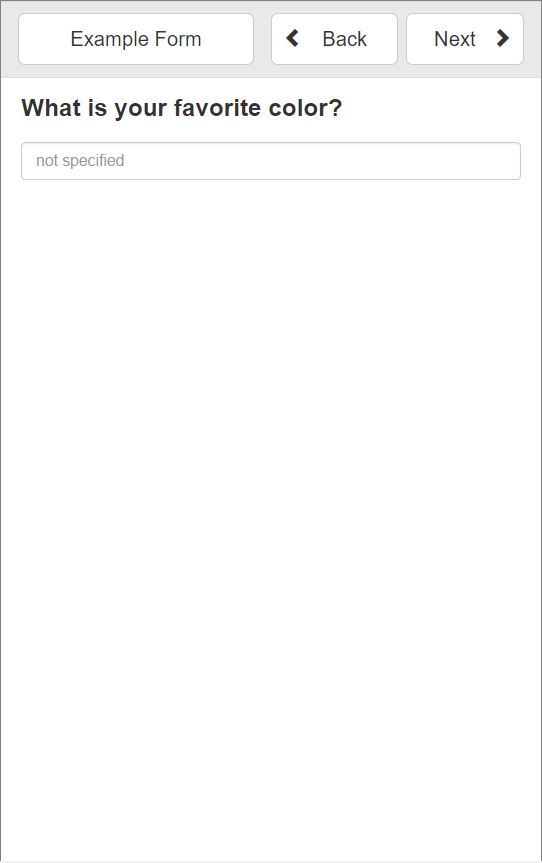
Create a new instance of the Example Form and advance through it (this will create the data table with the new Color column). Confirm that the new question is displayed as shown below.
You have successfully modified the form. We will now walk through how to deploy your updated application to your device.
Deploying to the Device
Now that we have the design environment installed and have successfully modified the Example Form application, we can work through the steps of deploying that application to your device.
Preparing the Device
If you followed along with the Trying Out ODK-X Survey, you should already have all the necessary tools installed on your device. If not, follow the Installing ODK-X Basic Tools instructions to install ODK-X Services, ODK-X Survey, and ODK-X Tables.
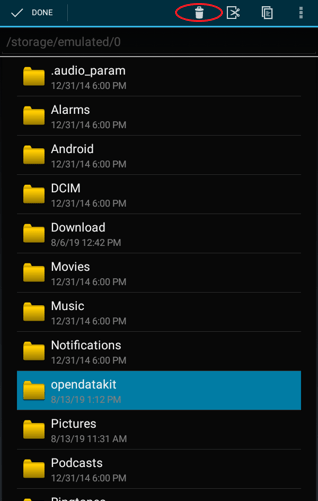
First, open the Files by Google app on the device. Delete the whole opendatakit folder by clicking the folder and holding it until it becomes highlighted in blue. Then press the delete icon, and click OK in the resulting window.
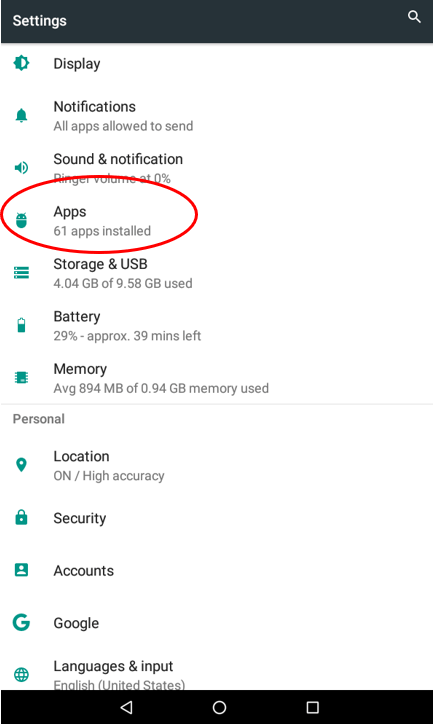
Next, you must force stop all ODK-X apps on the device. To do this, navigate to your device’s Settings, then go to Apps.
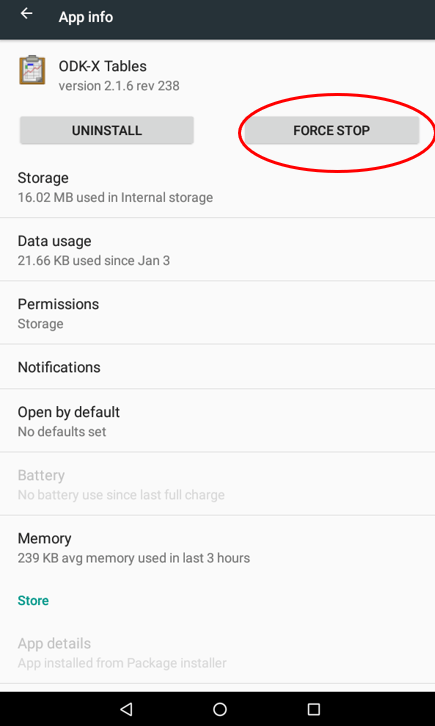
Navigate to the three ODK-X Apps and Force Stop each of them (ending with ODK-X Services as the other two apps rely on it).

Finally, confirm that your device has USB debugging enabled inside your device's Settings. This checkbox is in different places on different devices and may be hidden by default on some. See this guide to USB debugging on Android for instructions.
Pushing the Application to the Device
Return to the cmd window on your computer. Control-C to stop the grunt command that popped-open the Chrome browser. On Windows, you will be asked to confirm this Terminate batch job (Y/N)?. Enter Y to confirm.
Connect your device to your computer via USB. Wait for the storage connection to be established (on Windows, this will generally pop up a file browser or an options box that enables you to select a file browser). Be sure you trust your computer on your Android device, or it will cause unexpected errors.
At the command prompt, navigate to the Application Designer folder and type:
$ grunt adbpush
Warning
This command will force-close ODK-X Services, Survey, and Tables, and it will clear all ODK-X data from the device. The data you are pushing will overwrite any existing application or collected data you might have. Be sure to make backups and be sure you are ready before running this command.
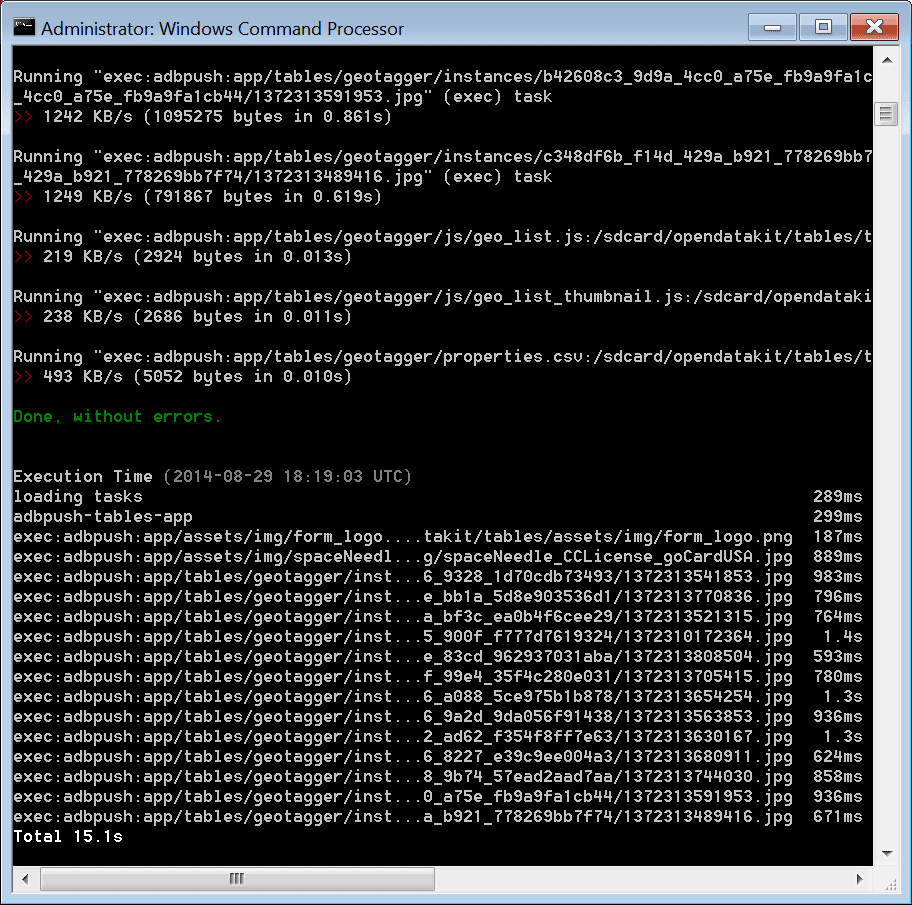
This pushes the configured ODK-X application within this ODK-X Application Designer directory to your device. When you issue this command, the cmd window will display a long series of commands and conclude with a display of overall progress and timings:
Now, on your device, launch ODK-X Survey.
This will initiate the configuration of ODK-X Survey and conclude with a Configuration Summary pop-up reporting that everything was imported successfully. Click OK.
Scroll to and select the Example Form. Create a new instance of the survey, and click Go to next prompt. You should now be looking at the question you added to the form.
You have now successfully deployed a modified ODK-X application onto a device.
Next Steps
Survey and Tables each have a basic sample application that walks through their features:
To get started building applications, first set up the ODK-X Application Designer. After you have familiarized yourself with that tool, you can try building and deploying an application:
A more complete guide to using ODK-X XLSX Converter is provided in the ODK-X XLSX Converter documentation. More details about Tables web views are available in ODK-X Tables Web Pages and ODK-X WebKit.
For examples of real world applications and details about they are implemented, try out the: Example Applications.
We also provide guides for setting up your own ODK-X application for each of the Android and Desktop tools.
However, the user guides for these tools are also useful for everyone.
Finally, to expand your knowledge of the more advanced features of the platform, such as data permission filters, read the Advanced Application Building Topics.